B9 M3 General Utility Non-Theorizing Environmental Control Robot


B9 M3 General Utility Non-Theorizing Environmental Control Robot
Published 2018-02-12T12:11:30+00:00
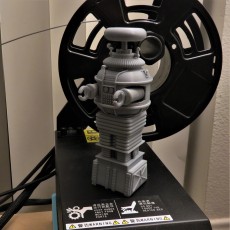
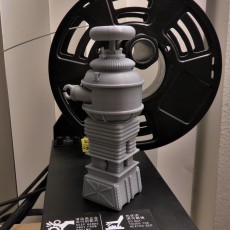
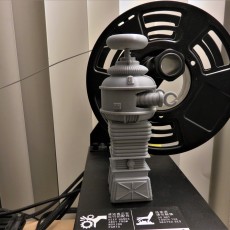
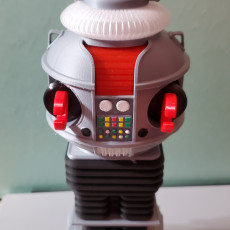
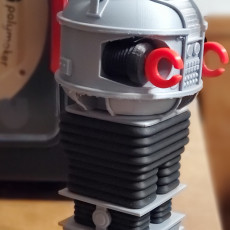
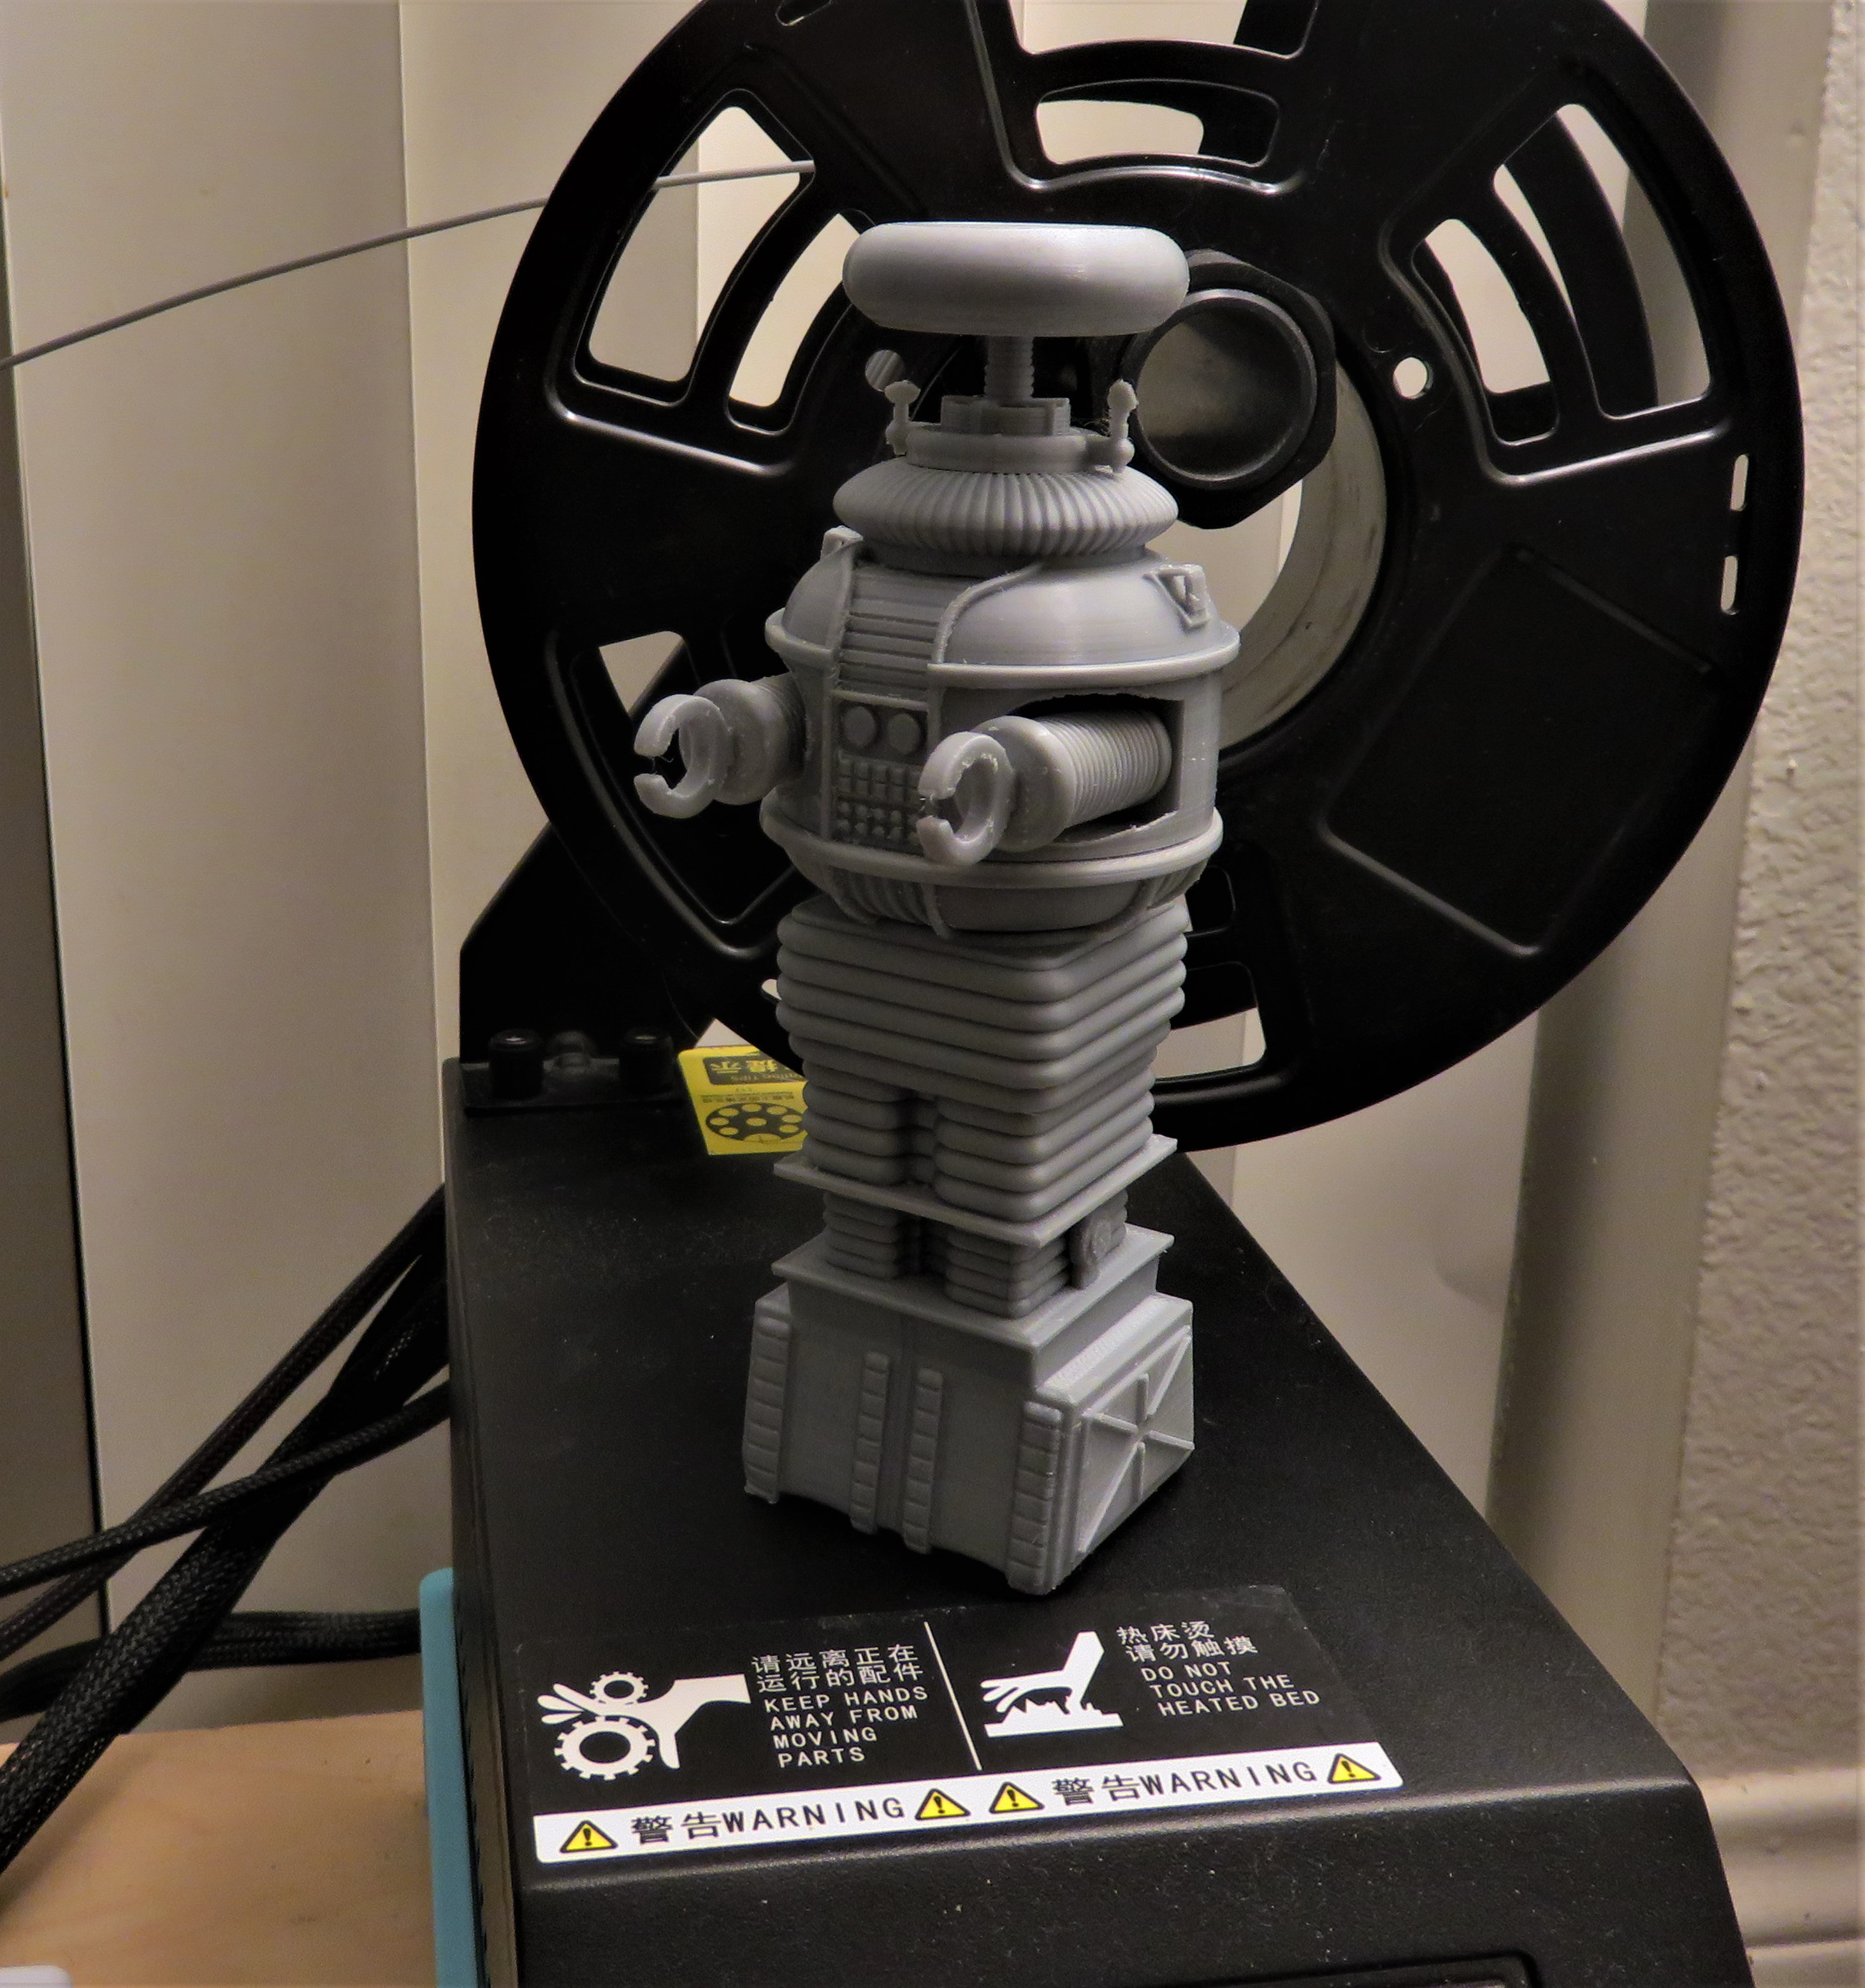
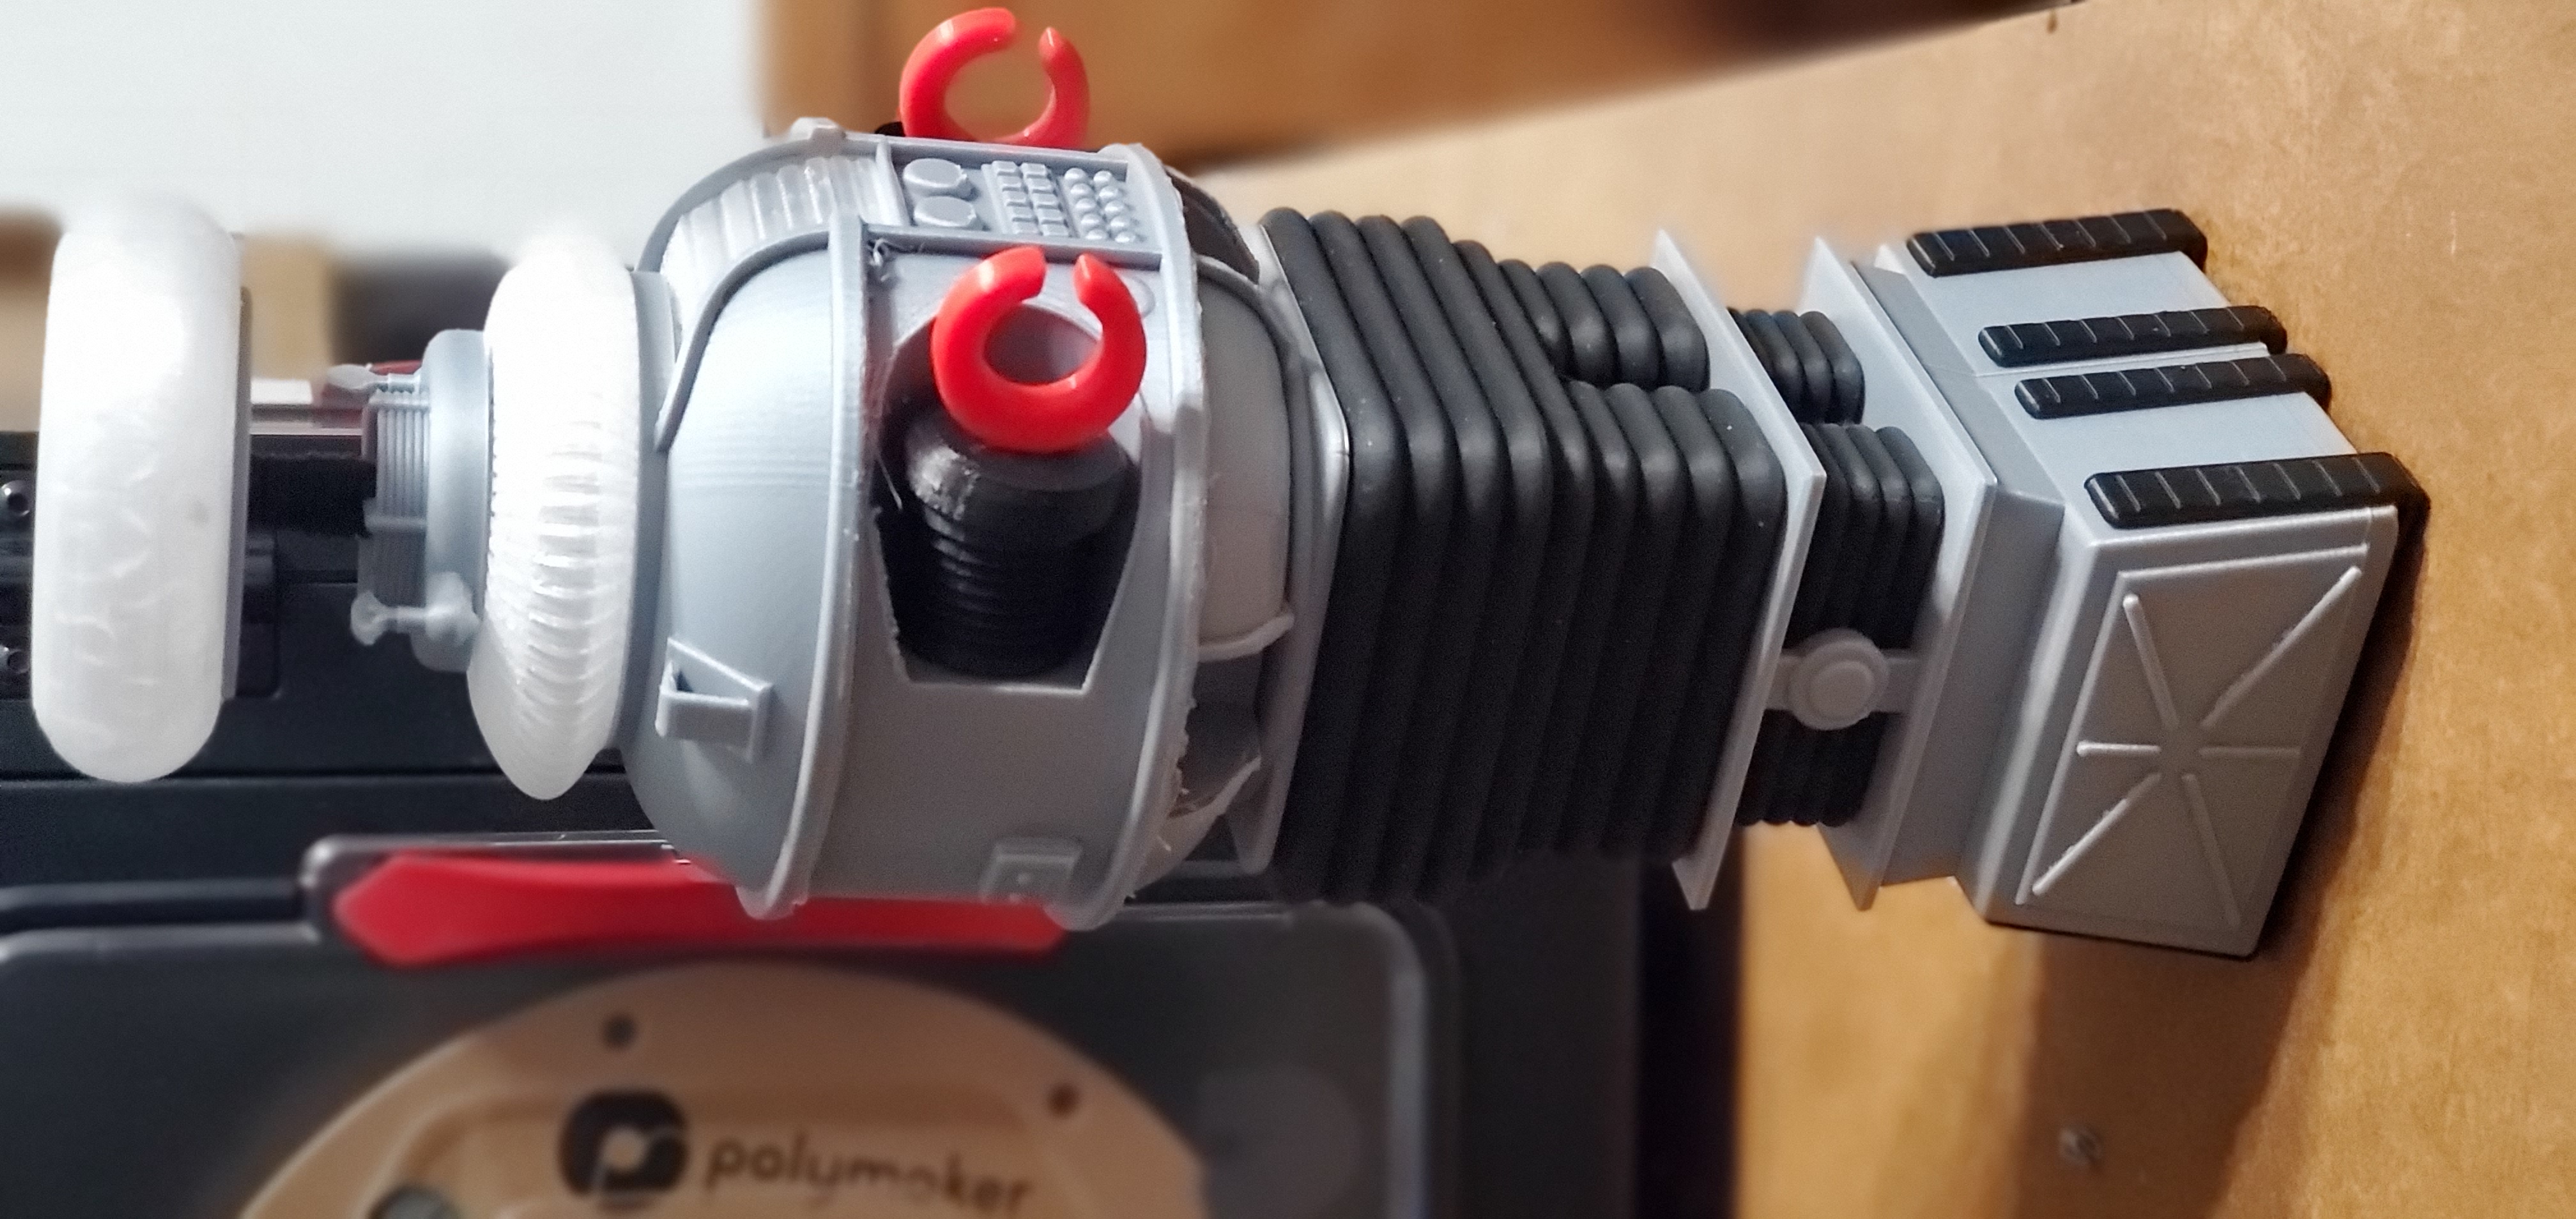
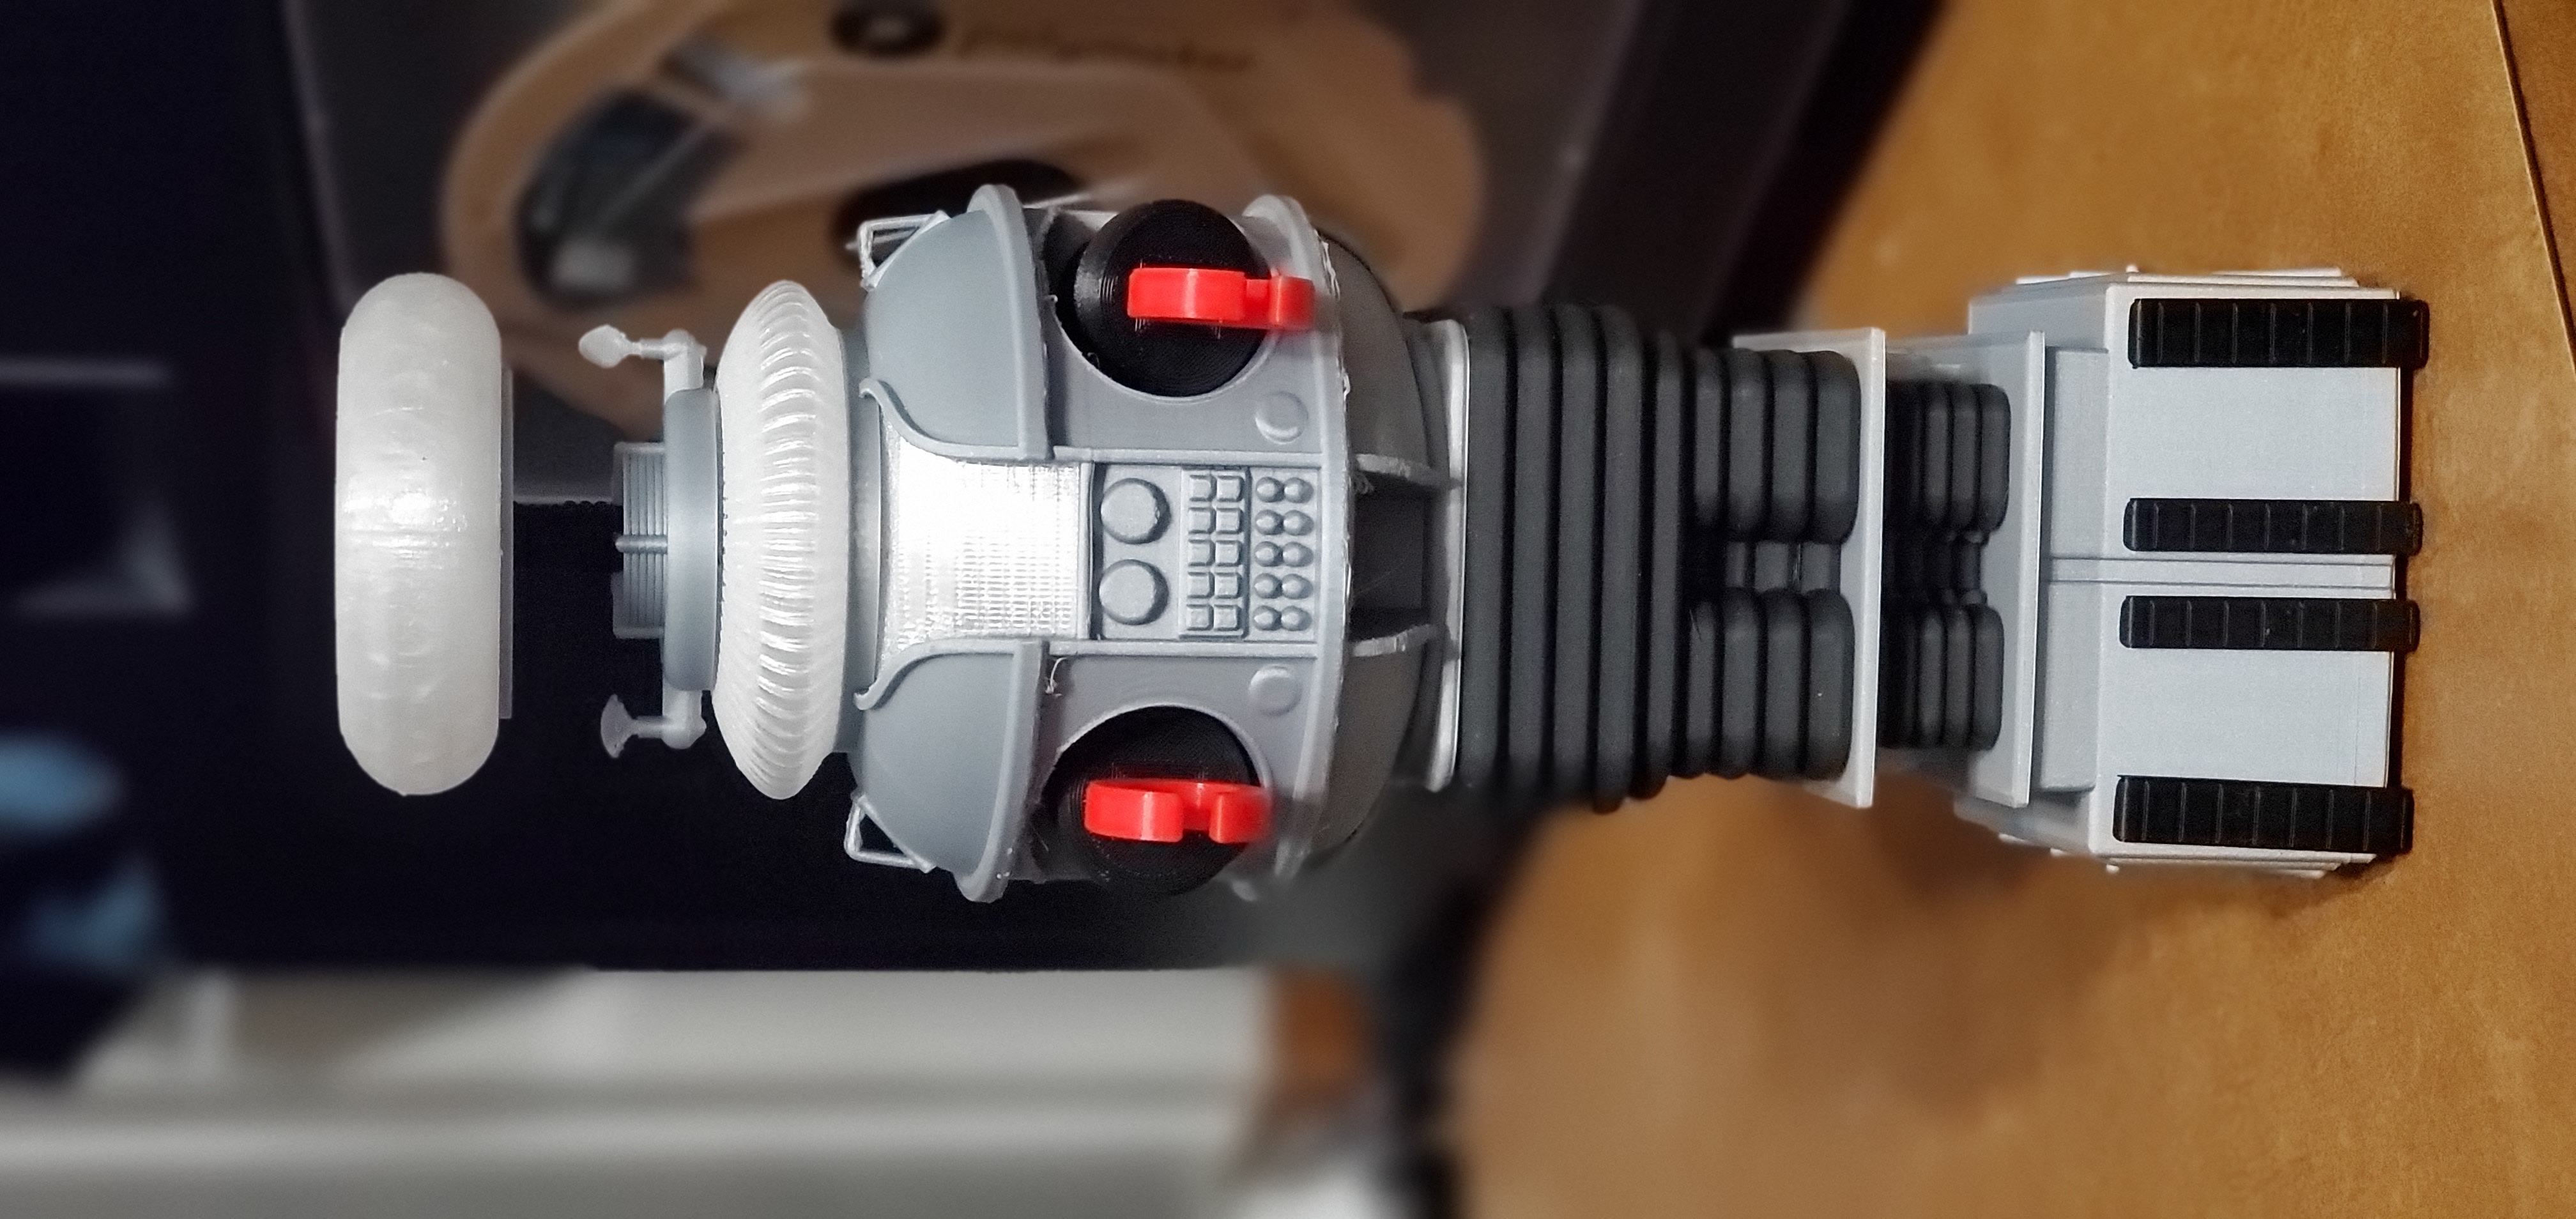
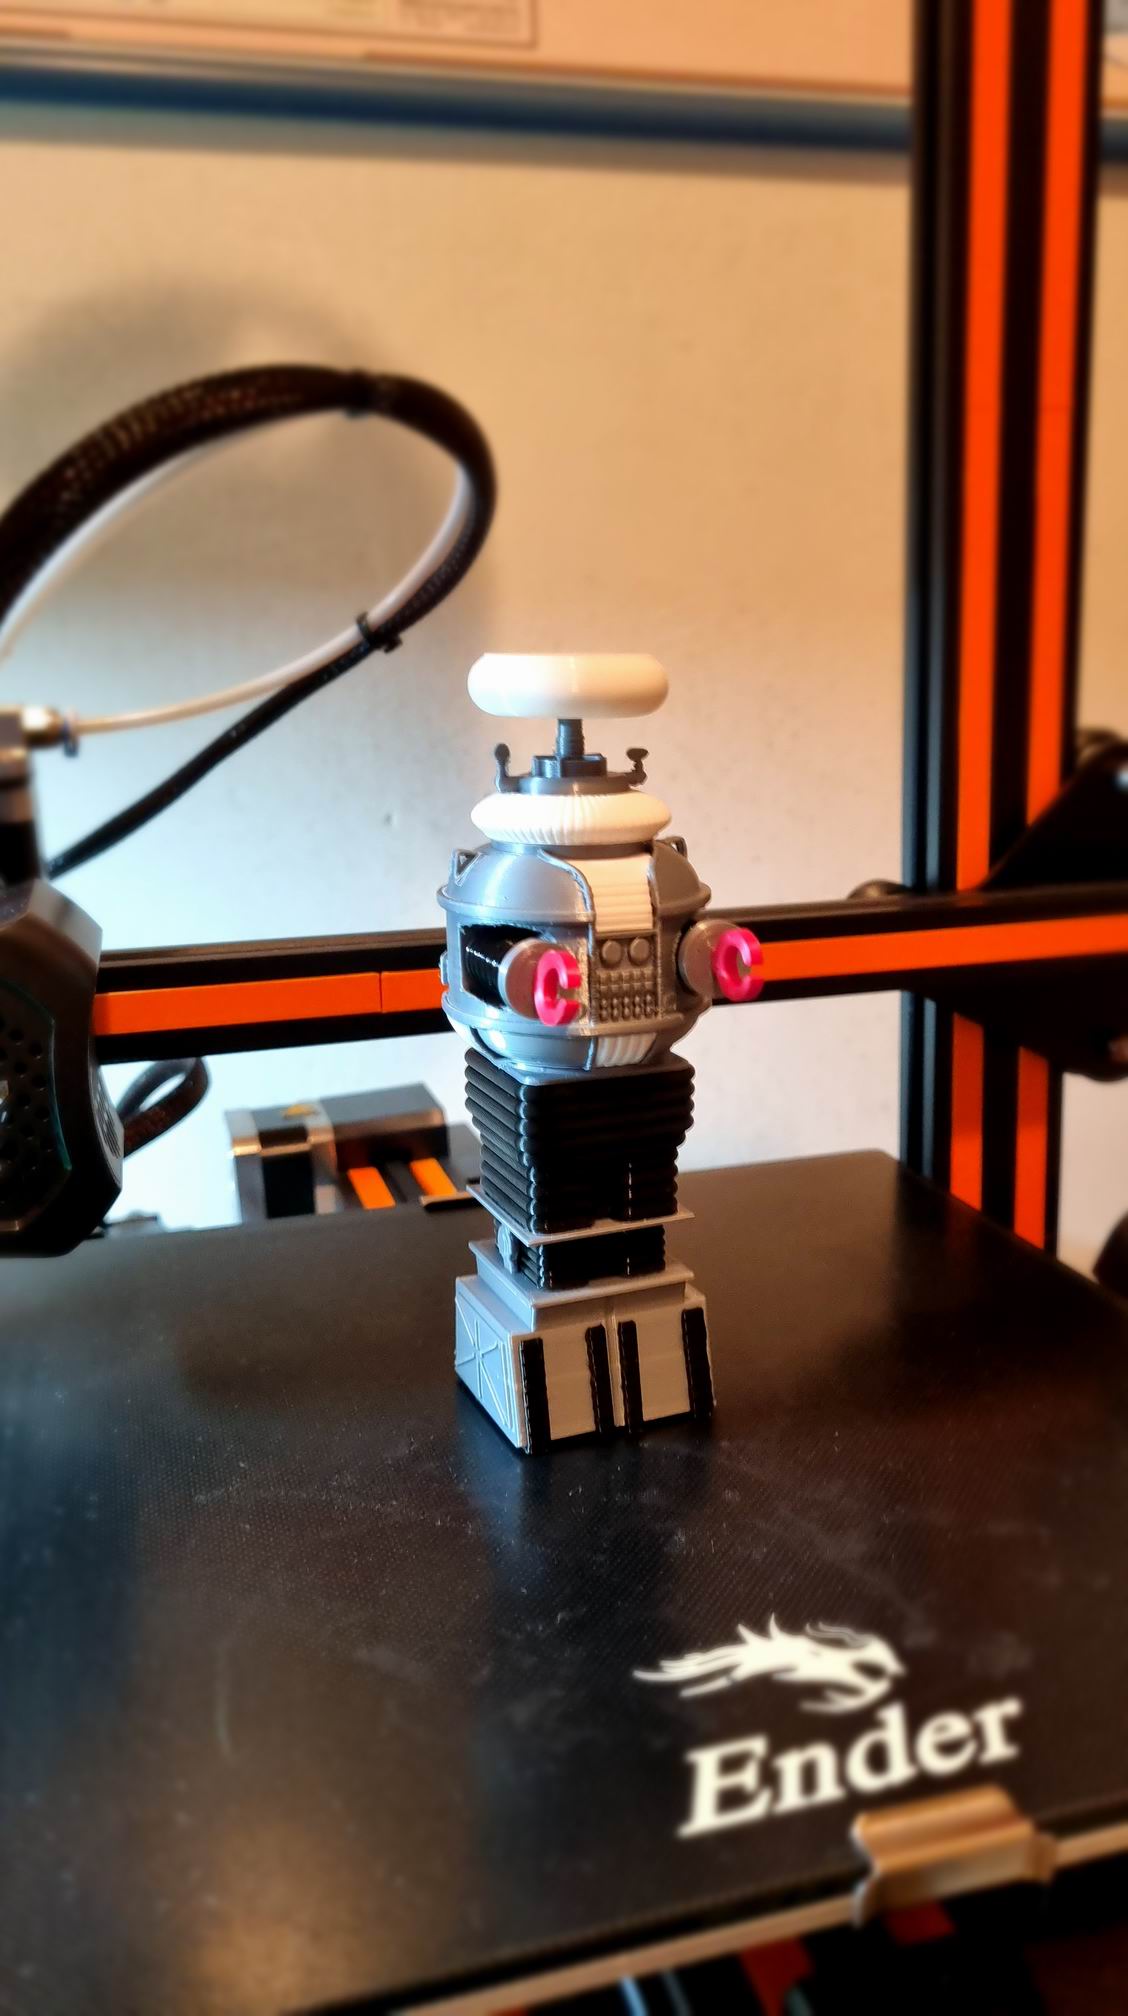
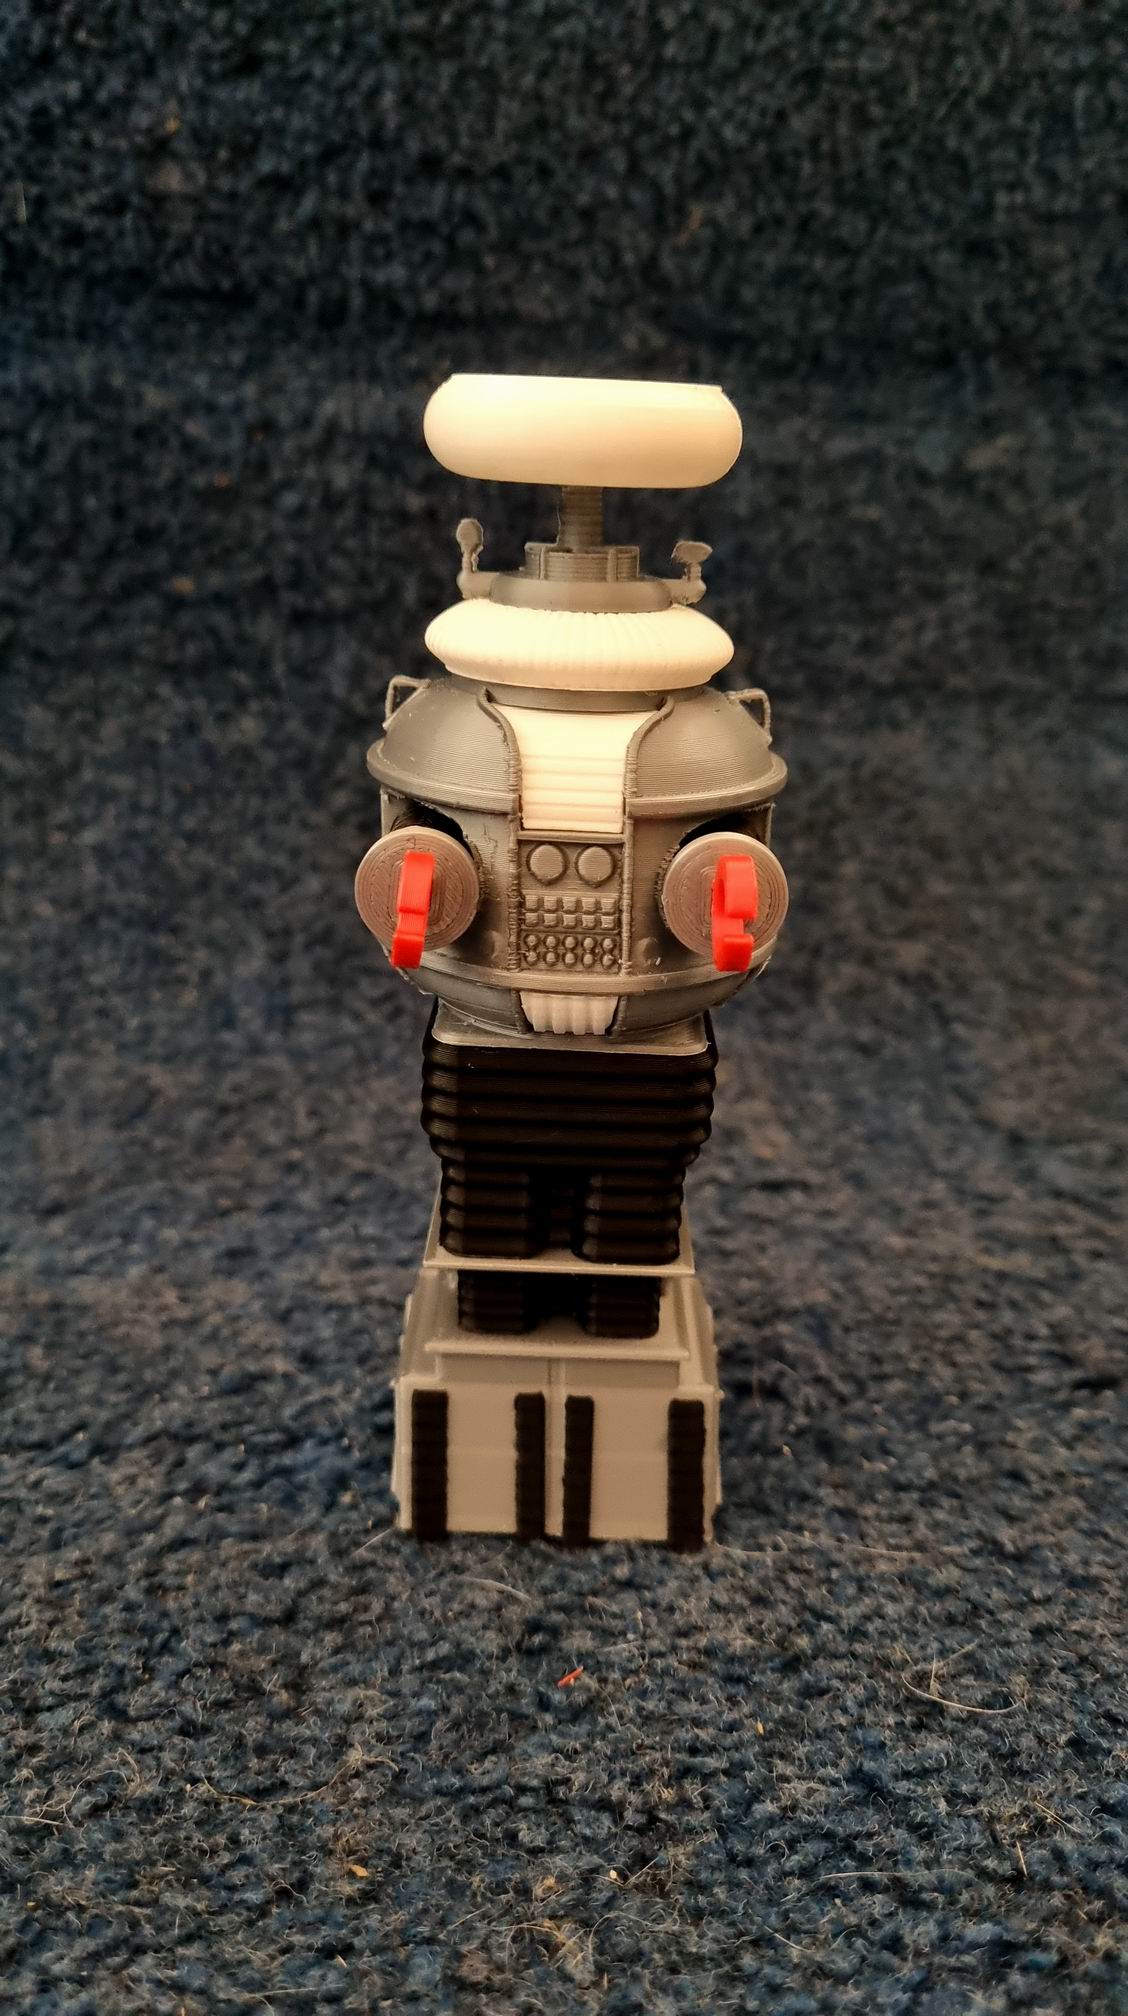
With the Netflix revival on the horizon I thought I'd pay some dues to my favorite character from the original Lost In Space series, the Robot.
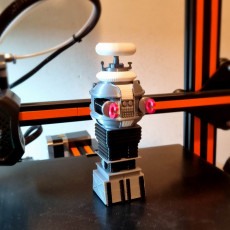
Modeled completely from scratch in Fusion 360 you can build the Robot in a number of different ways.


Print Settings for the Original Prusa MK2:
Layer Height = .15
Top Layers = 6
Bottom Layers = 3
Outline / Perimeter Shells = 3
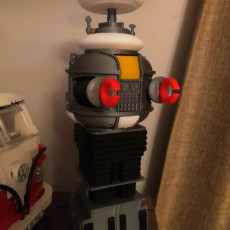
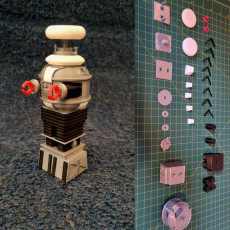
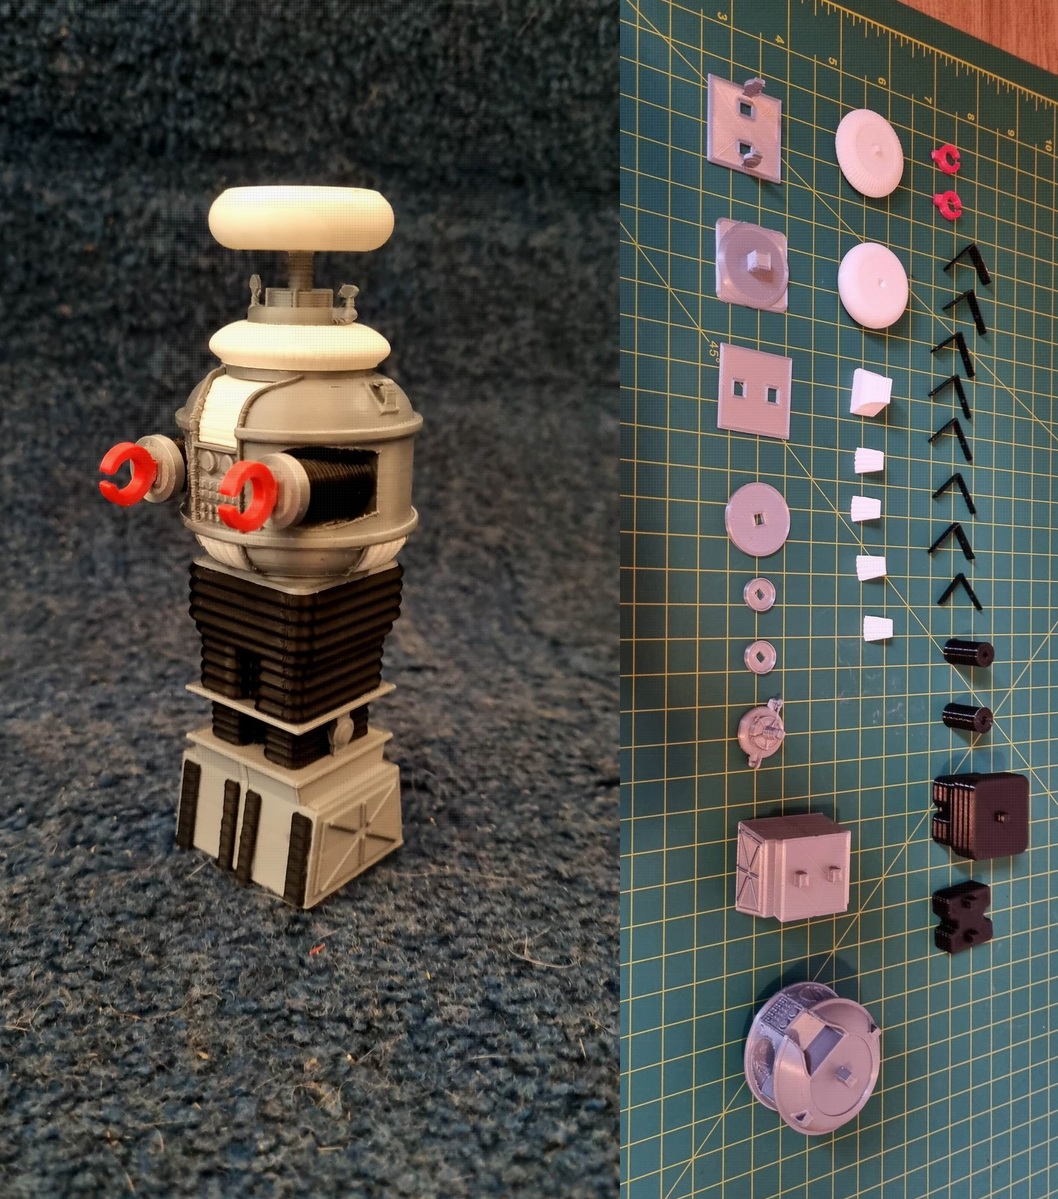
Directions for colored piece model:
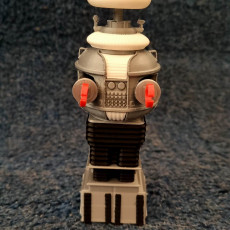
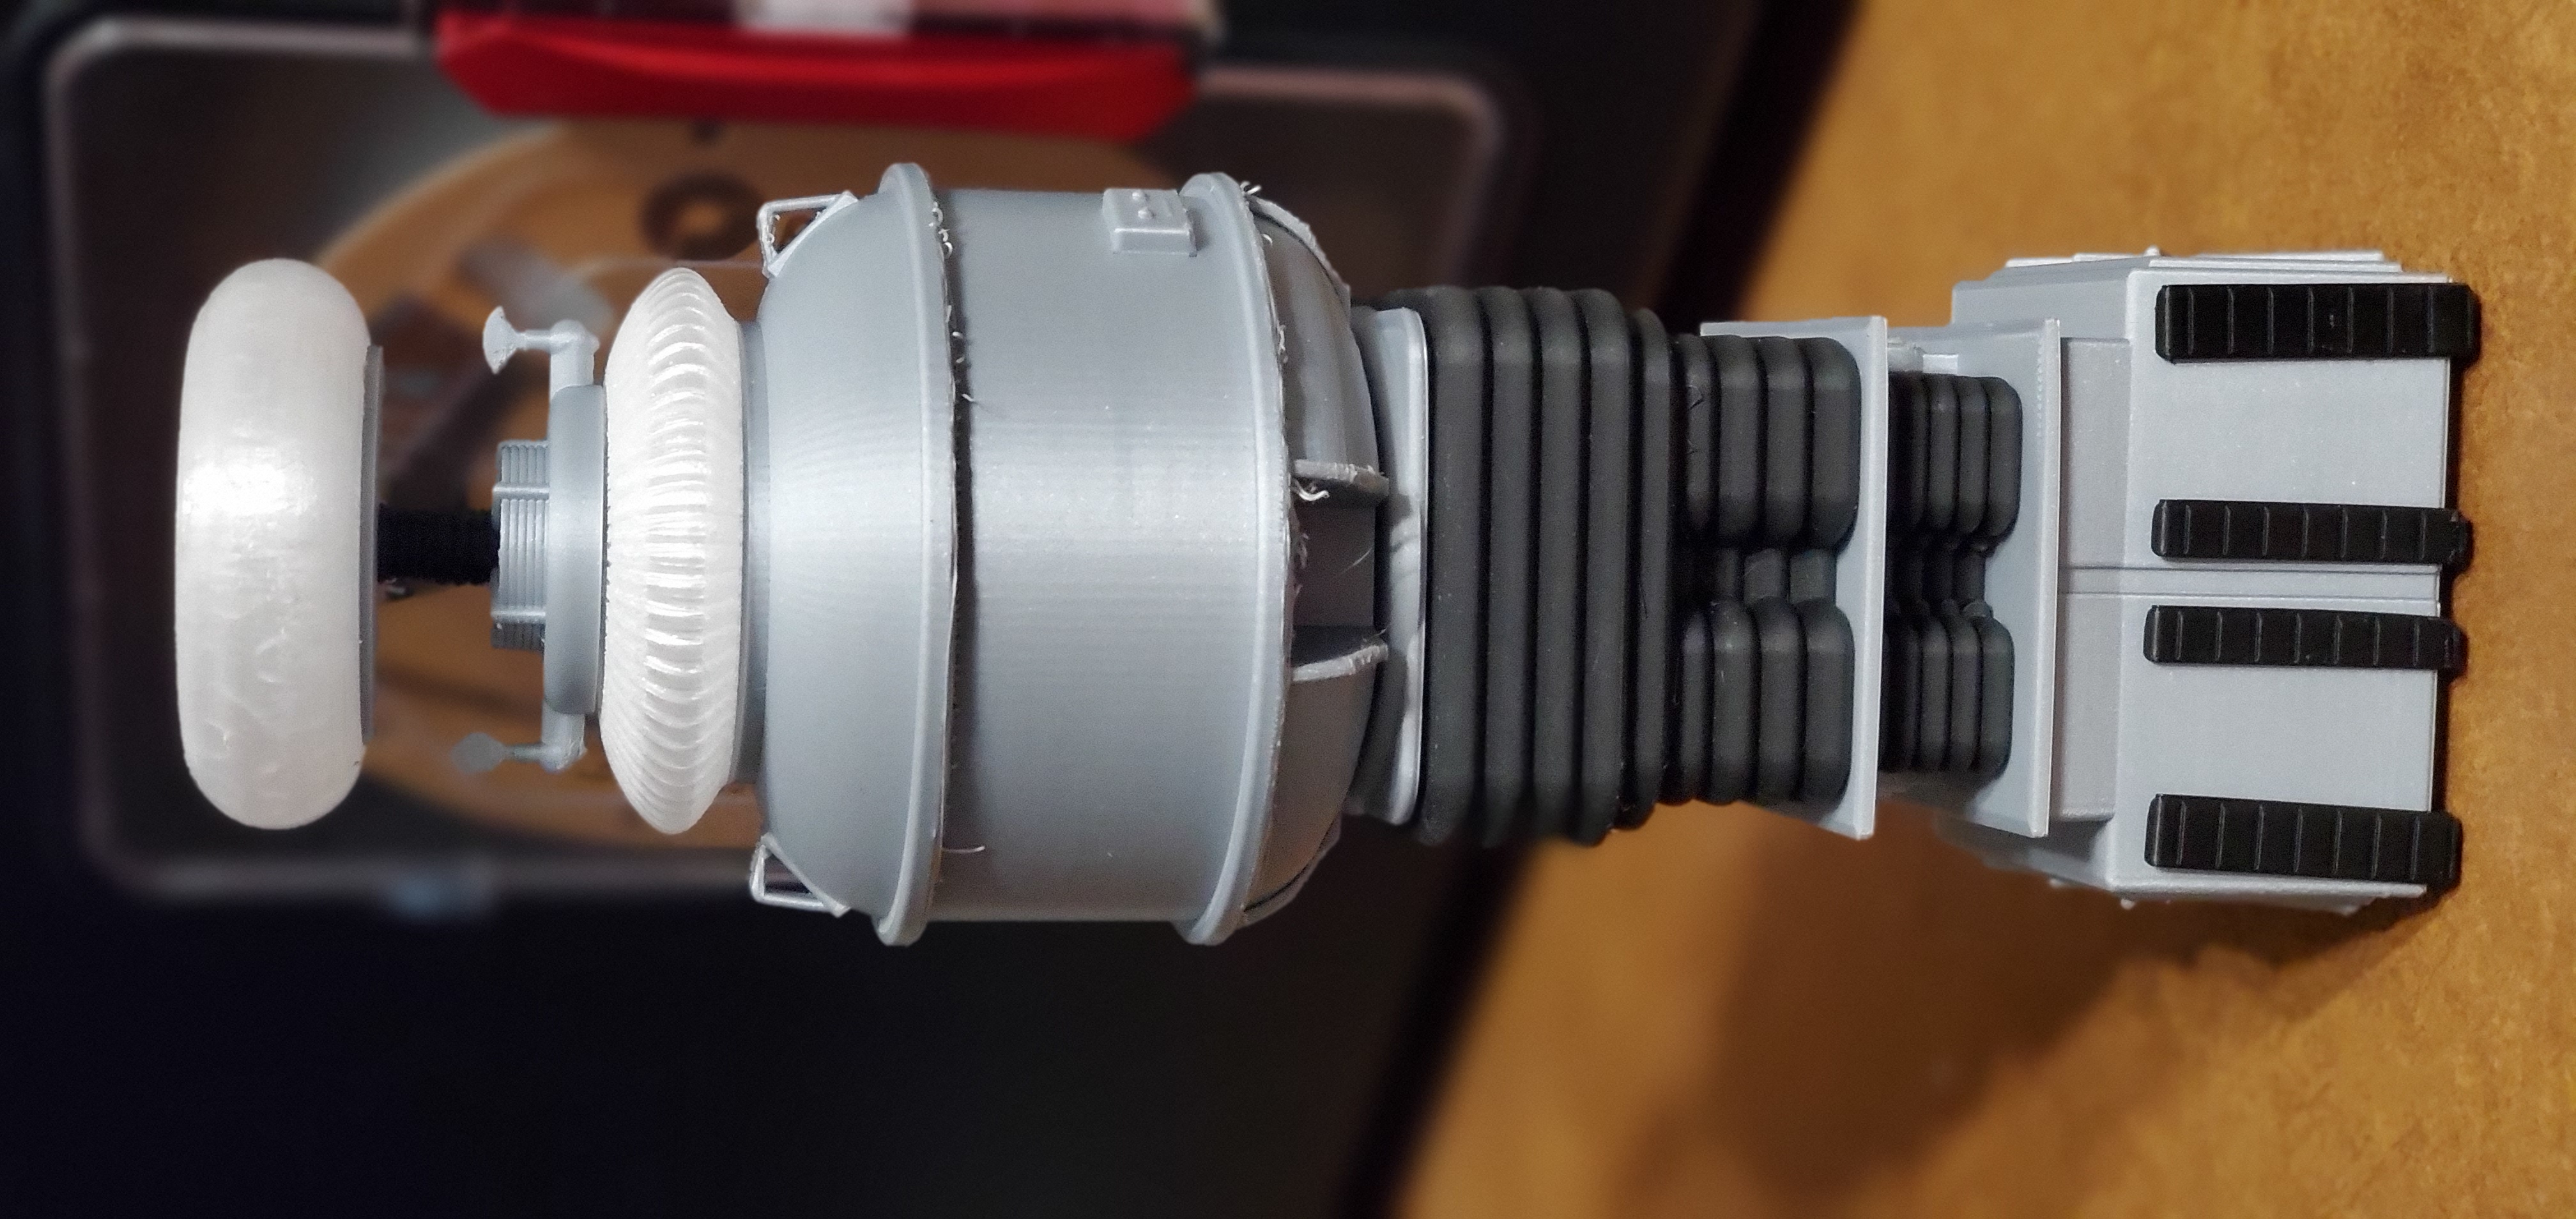
1. Print four (4) thick treads and four (4) thin treads. I used black PLA.
2. Print the Base. I used silver PLA and gold for the “Golden Boy” version.
3. Super glue the treads to the base. There are slots and pegs to help you line things up.
4. Print Plate 1 and glue to the Base.
5. Print the shins and glue to Plate 1.
6. Print Plate 2 and glue to the shins.
7. Print the legs and glue to Plate 2
8. Print Plate 3 and glue to the legs.
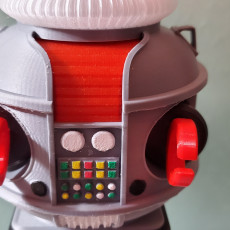
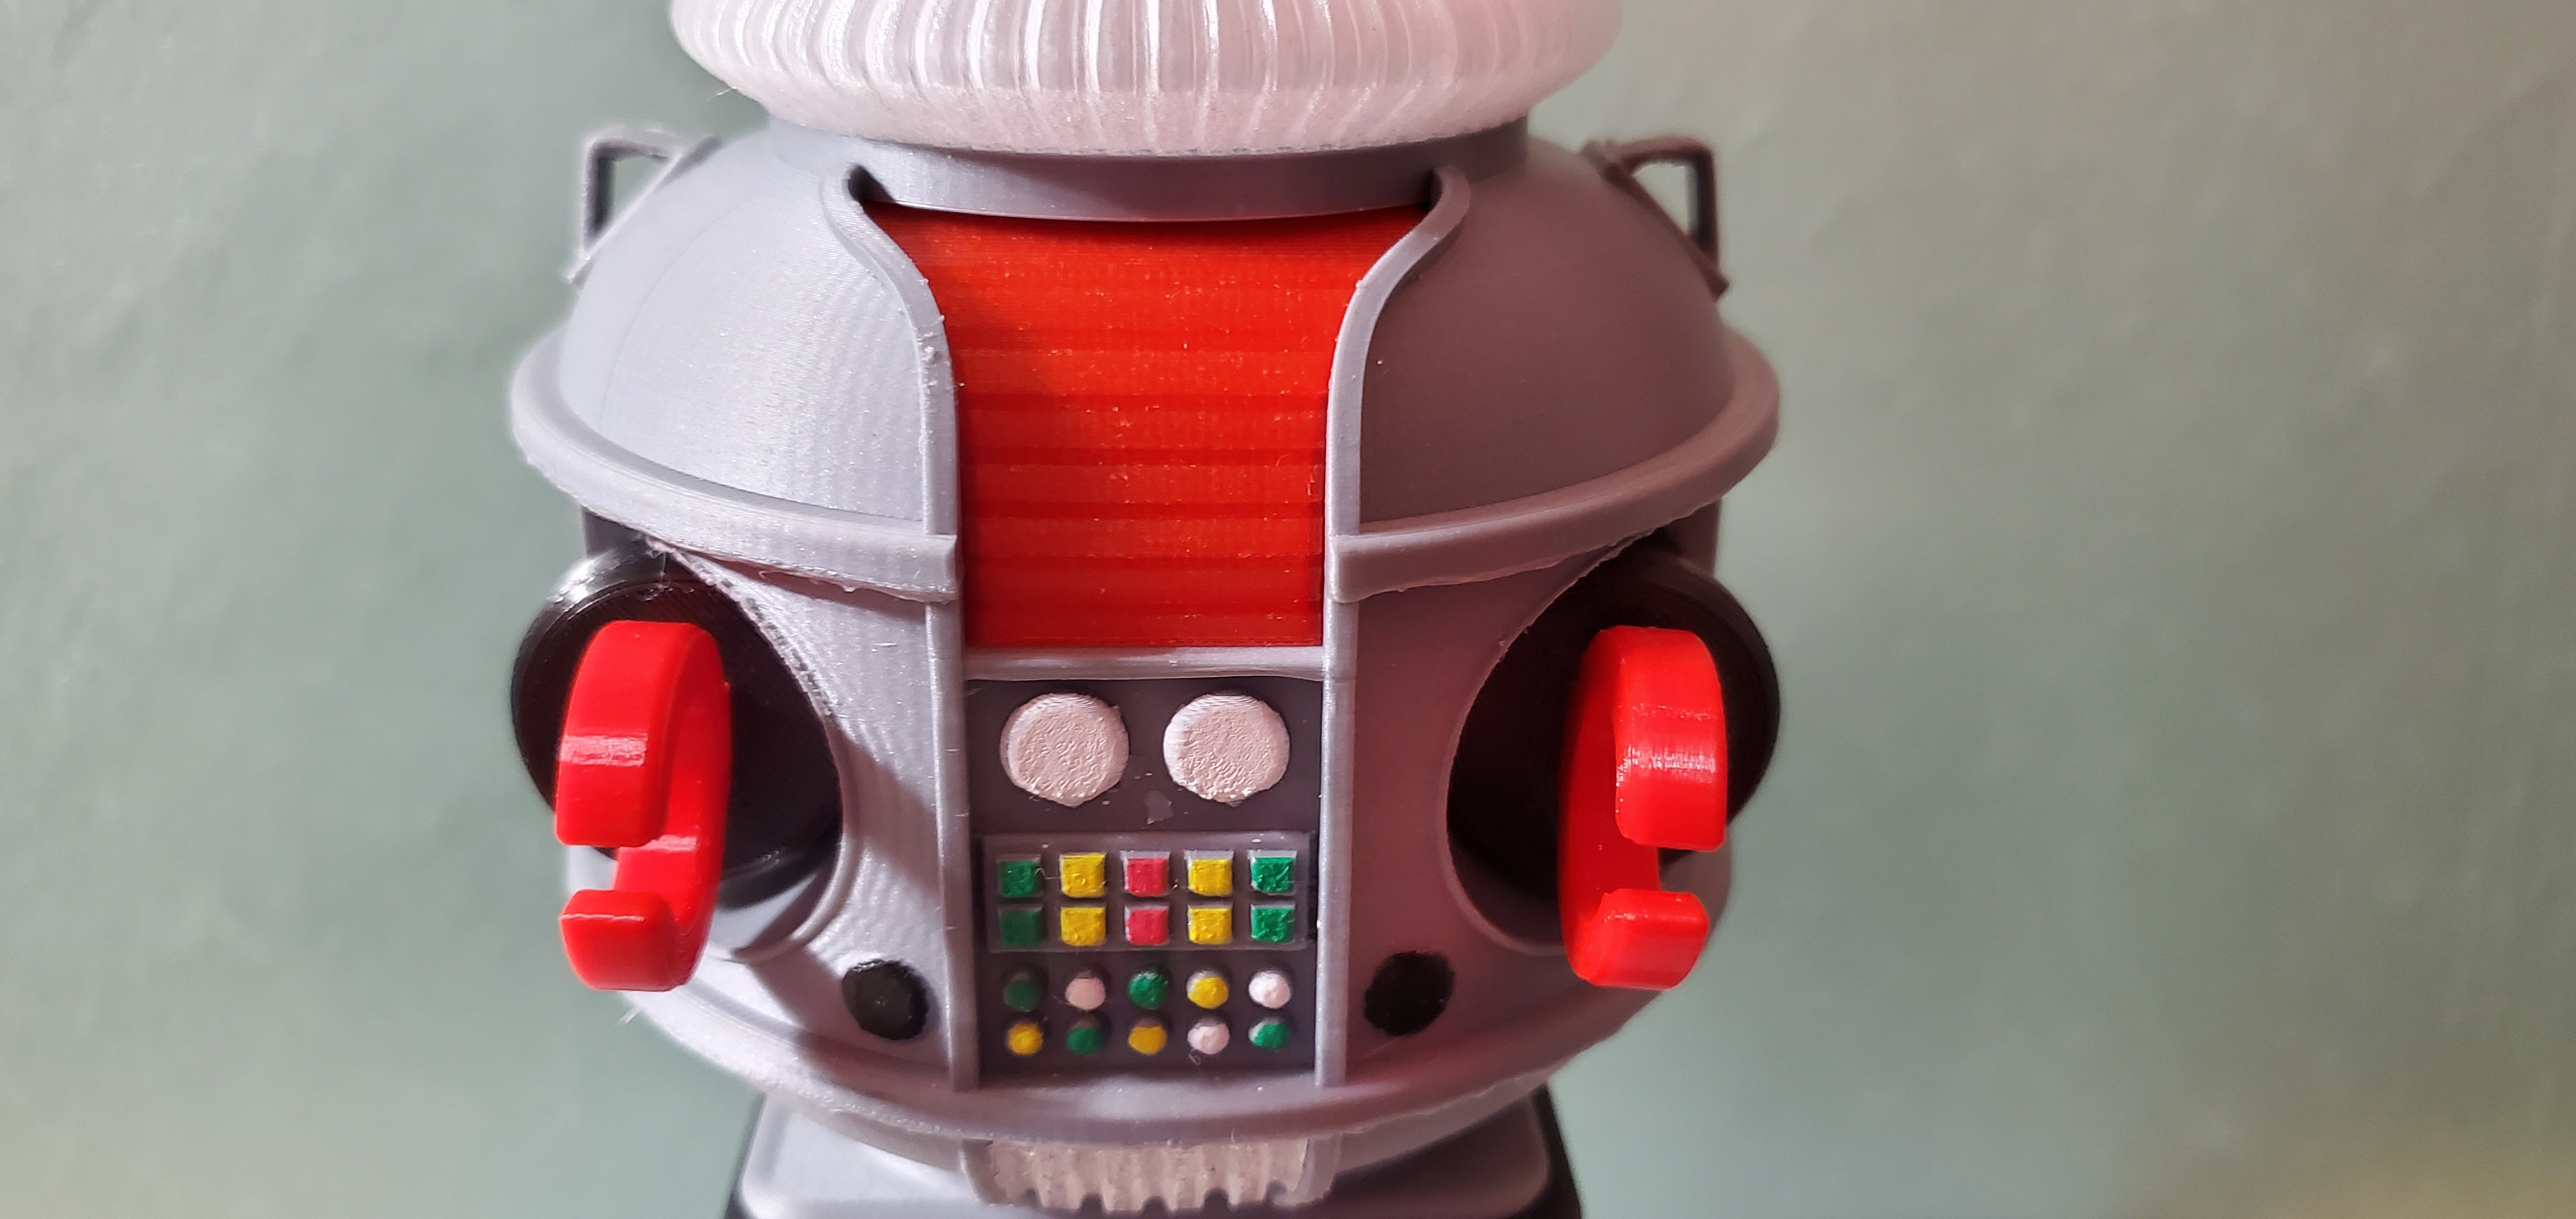
9. Print the Torus. This will require some supports.
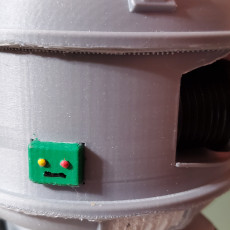
10. Print four (4) bottom glass pieces and one (1) mouth. Glue into the appropriate slots on the torus.
11. Print Plate 4 and glue it on the Torus above the mouth.
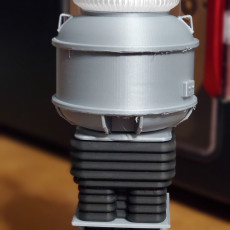
12. Print the Glass Ring and glue it to Plate 4.
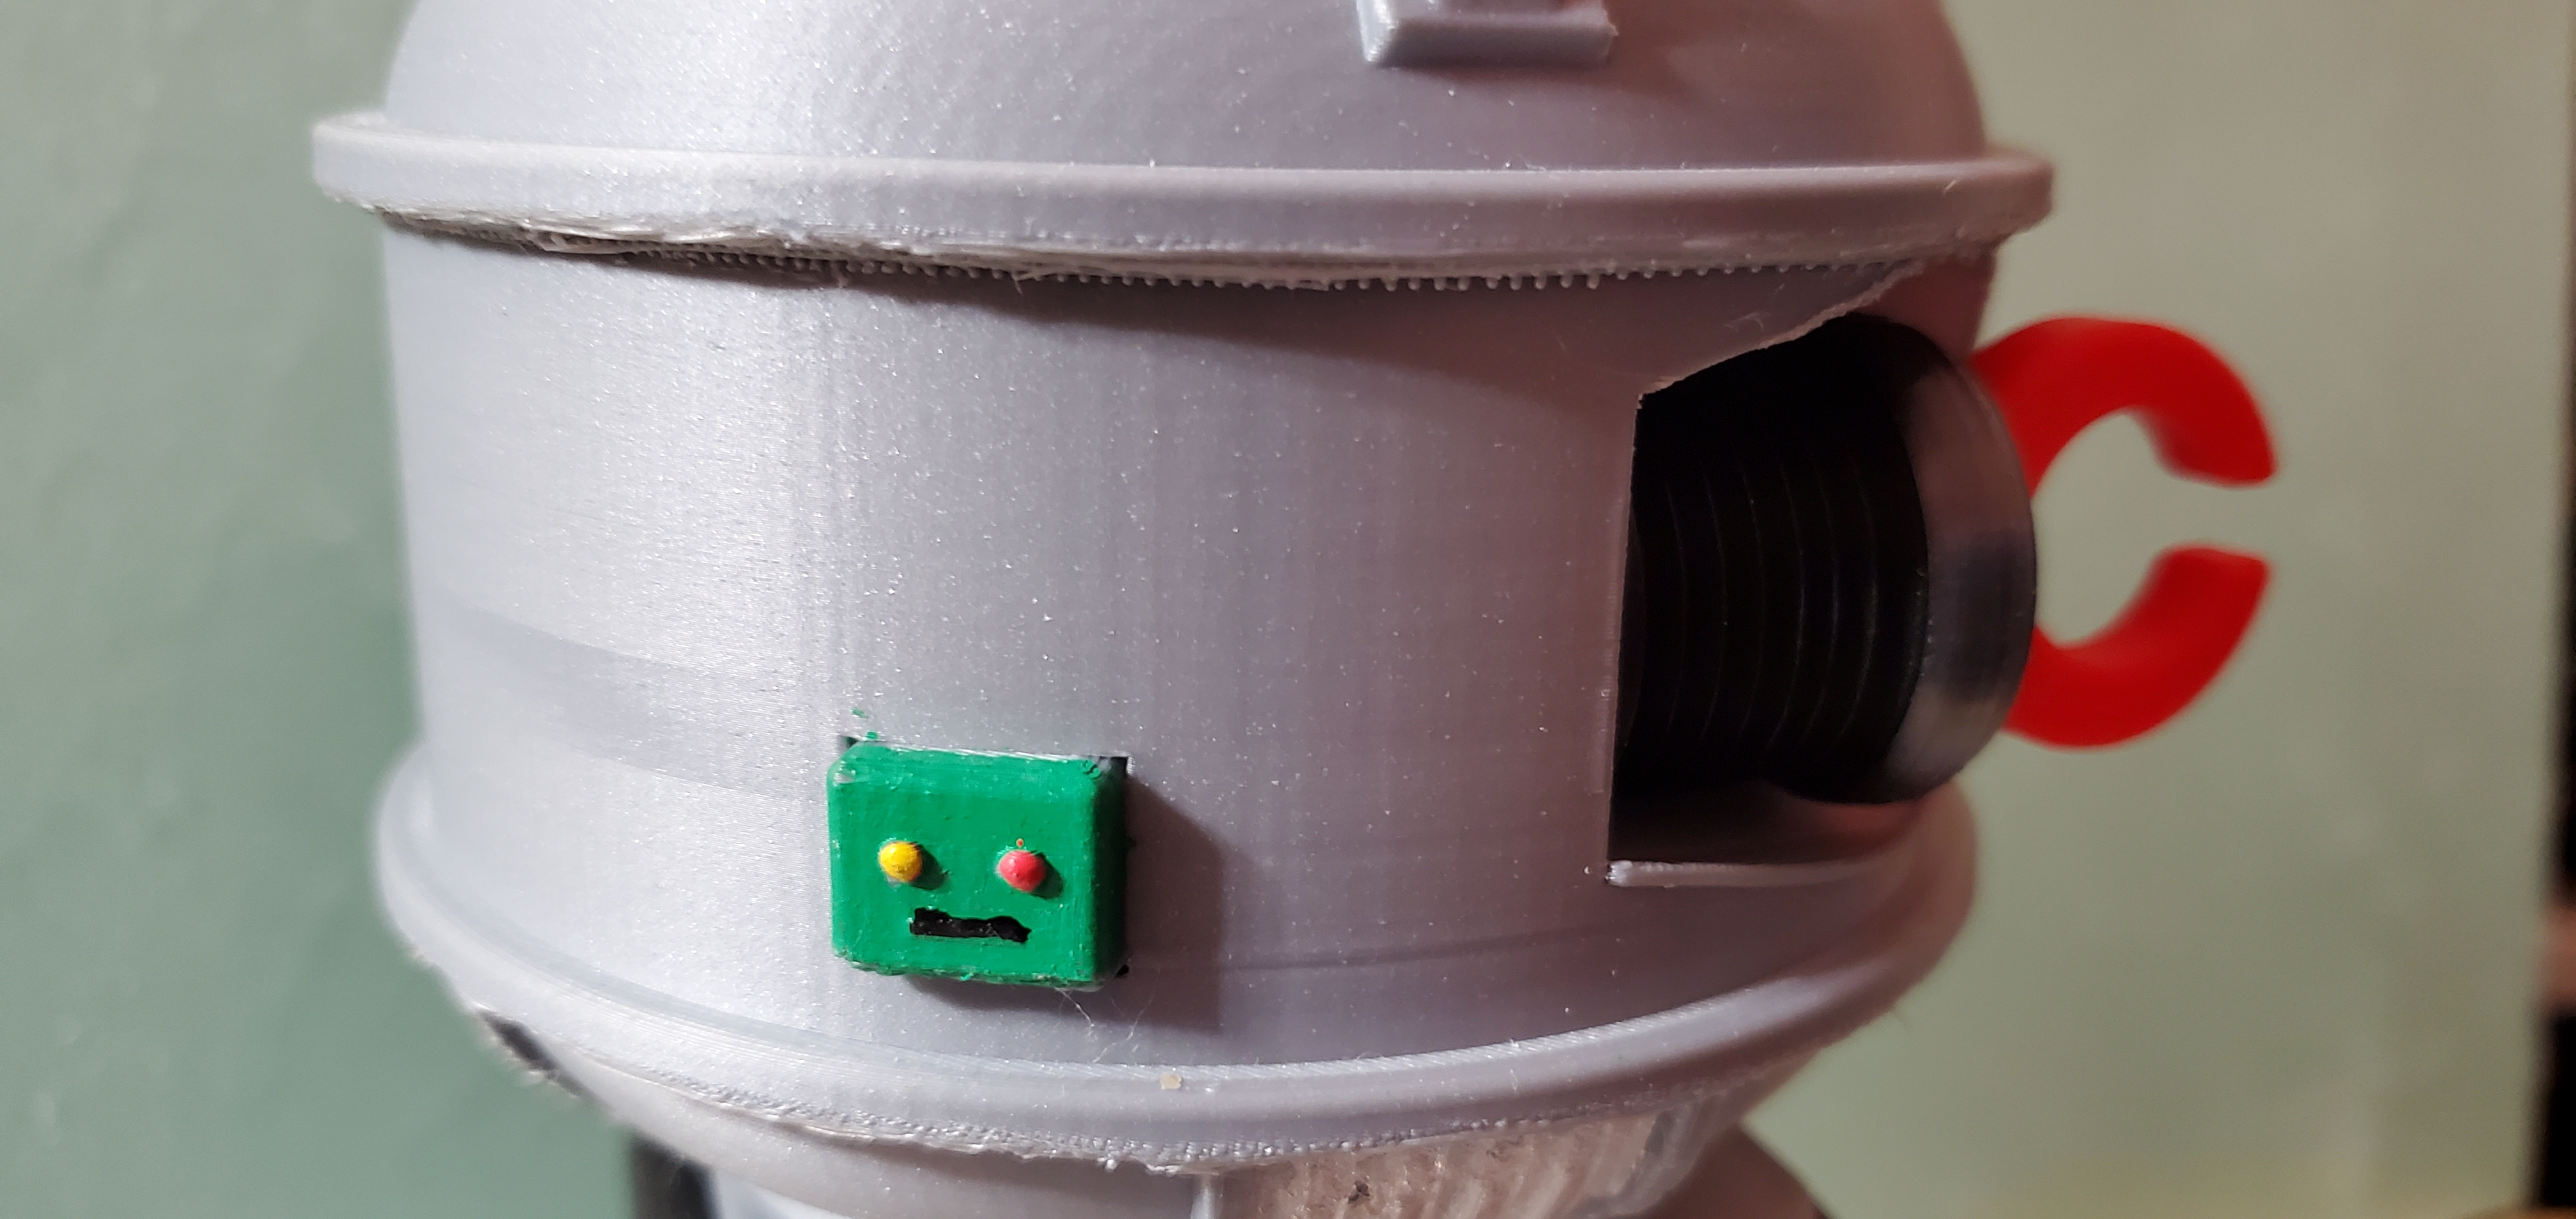
13. Print the Ears and glue it to the Glass Ring.
14. Print the Dome and glue it to the Ears.
Note: I've also included models for a hollow dome and the brain/ears piece. If you have the ability to print transparent pieces you can create a robot that looks even more like the original.
If you just want to print the robot in a single color use B9_Part_# 1-6 – some will need supports and glue them together.
I've also included a single STL of the entire Robot.
Good luck printing and making! Please upload any pics of your finished products!
| 发表的日期 | 12/02/2018 |
| 让时间去下载 | 600 - 分钟 |
| 尺寸大小 | 10 1/2 Inches Tall |
| 打印工艺 | FDM |
| 复杂程度 | 容易 |


Thanks for the great model! Just had to print one up as I loved watching the old reruns as a kid.