The Mixer #TinkerMechanical


The Mixer #TinkerMechanical
Published 2019-12-04T15:42:33+00:00
This object was made in Tinkercad. https://www.tinkercad.com/things/fgTzxdYZYGp
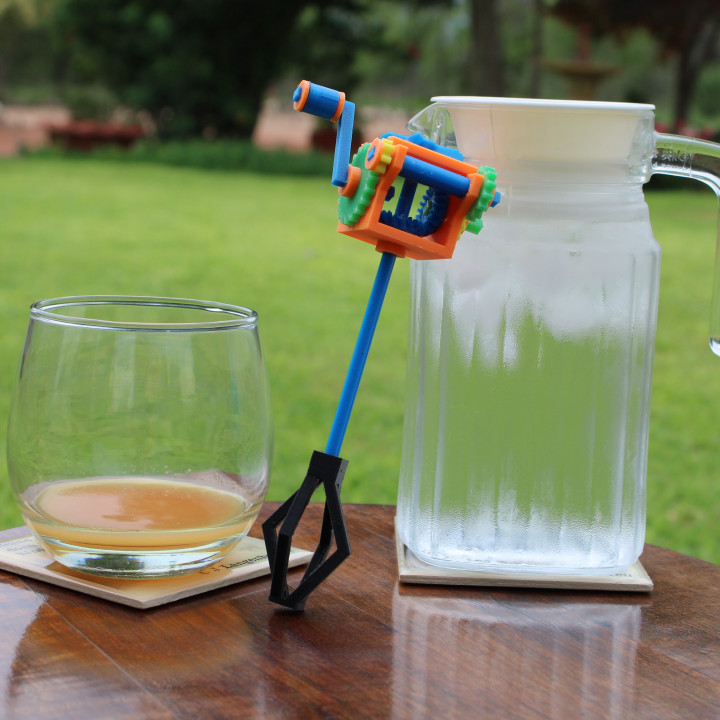
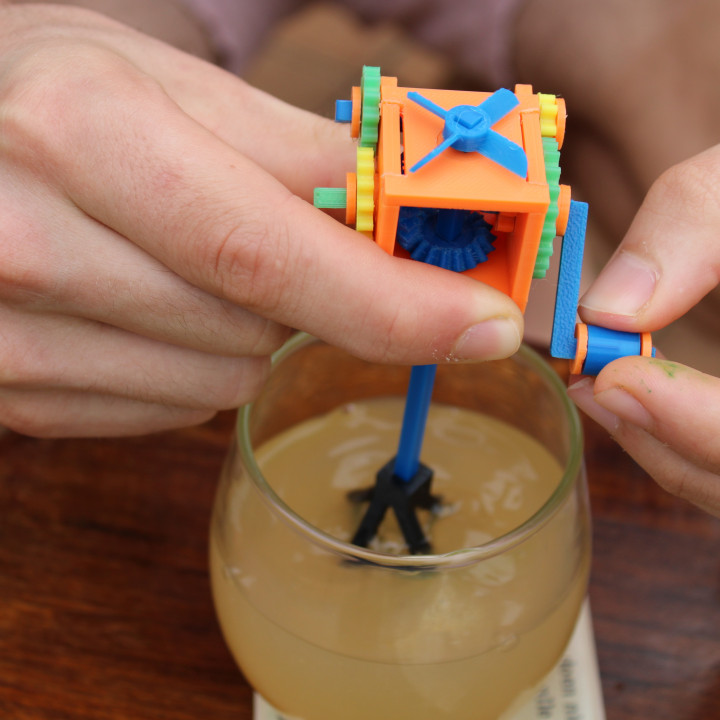
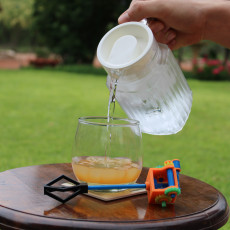
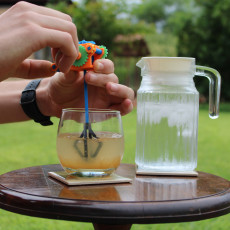
Want a cool mechanical device to show off 3D printing to your friends?
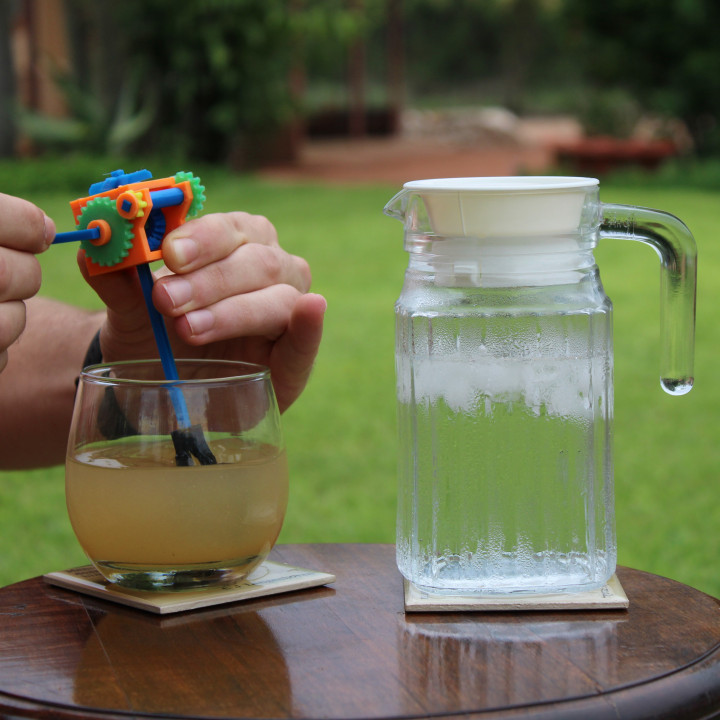
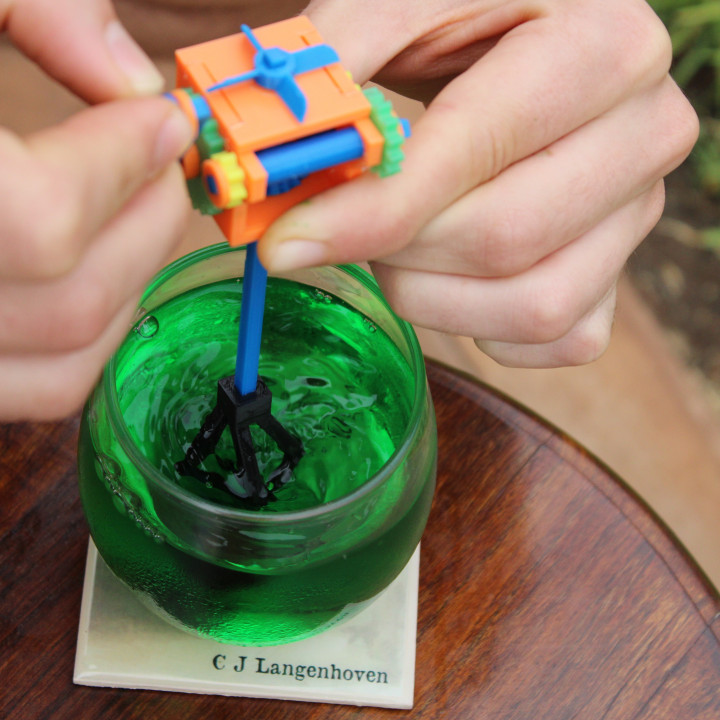
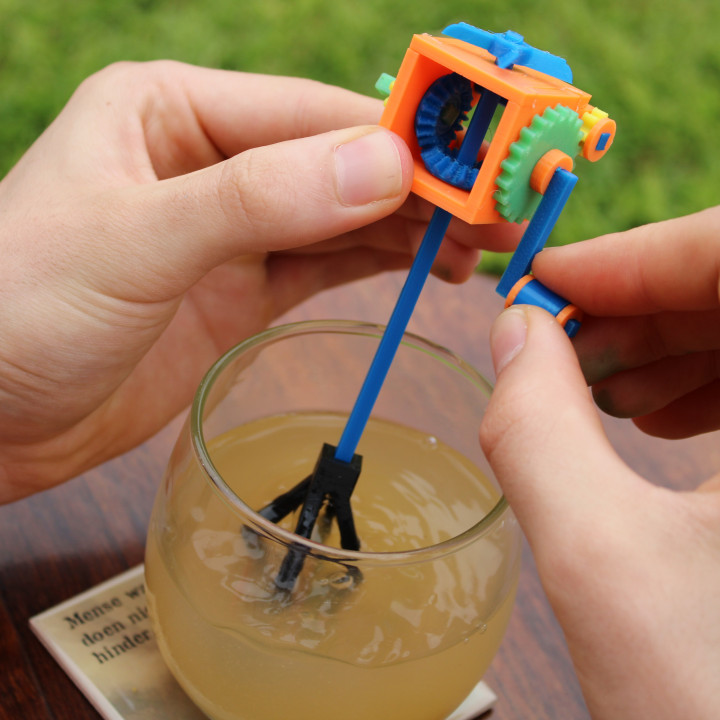
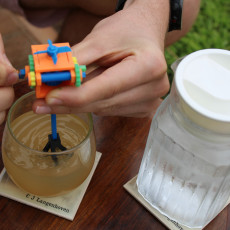
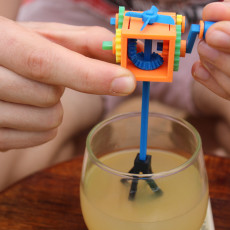
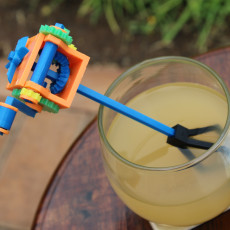
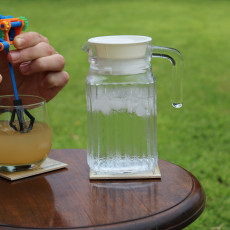
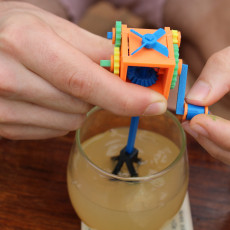
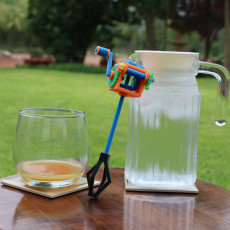
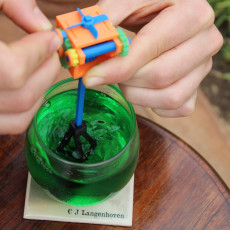
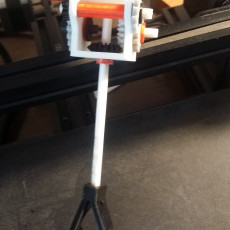
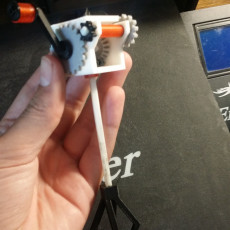
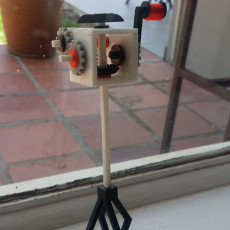
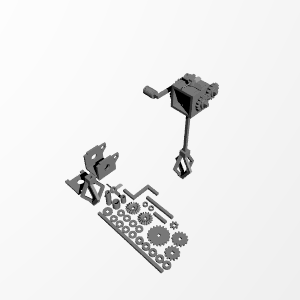
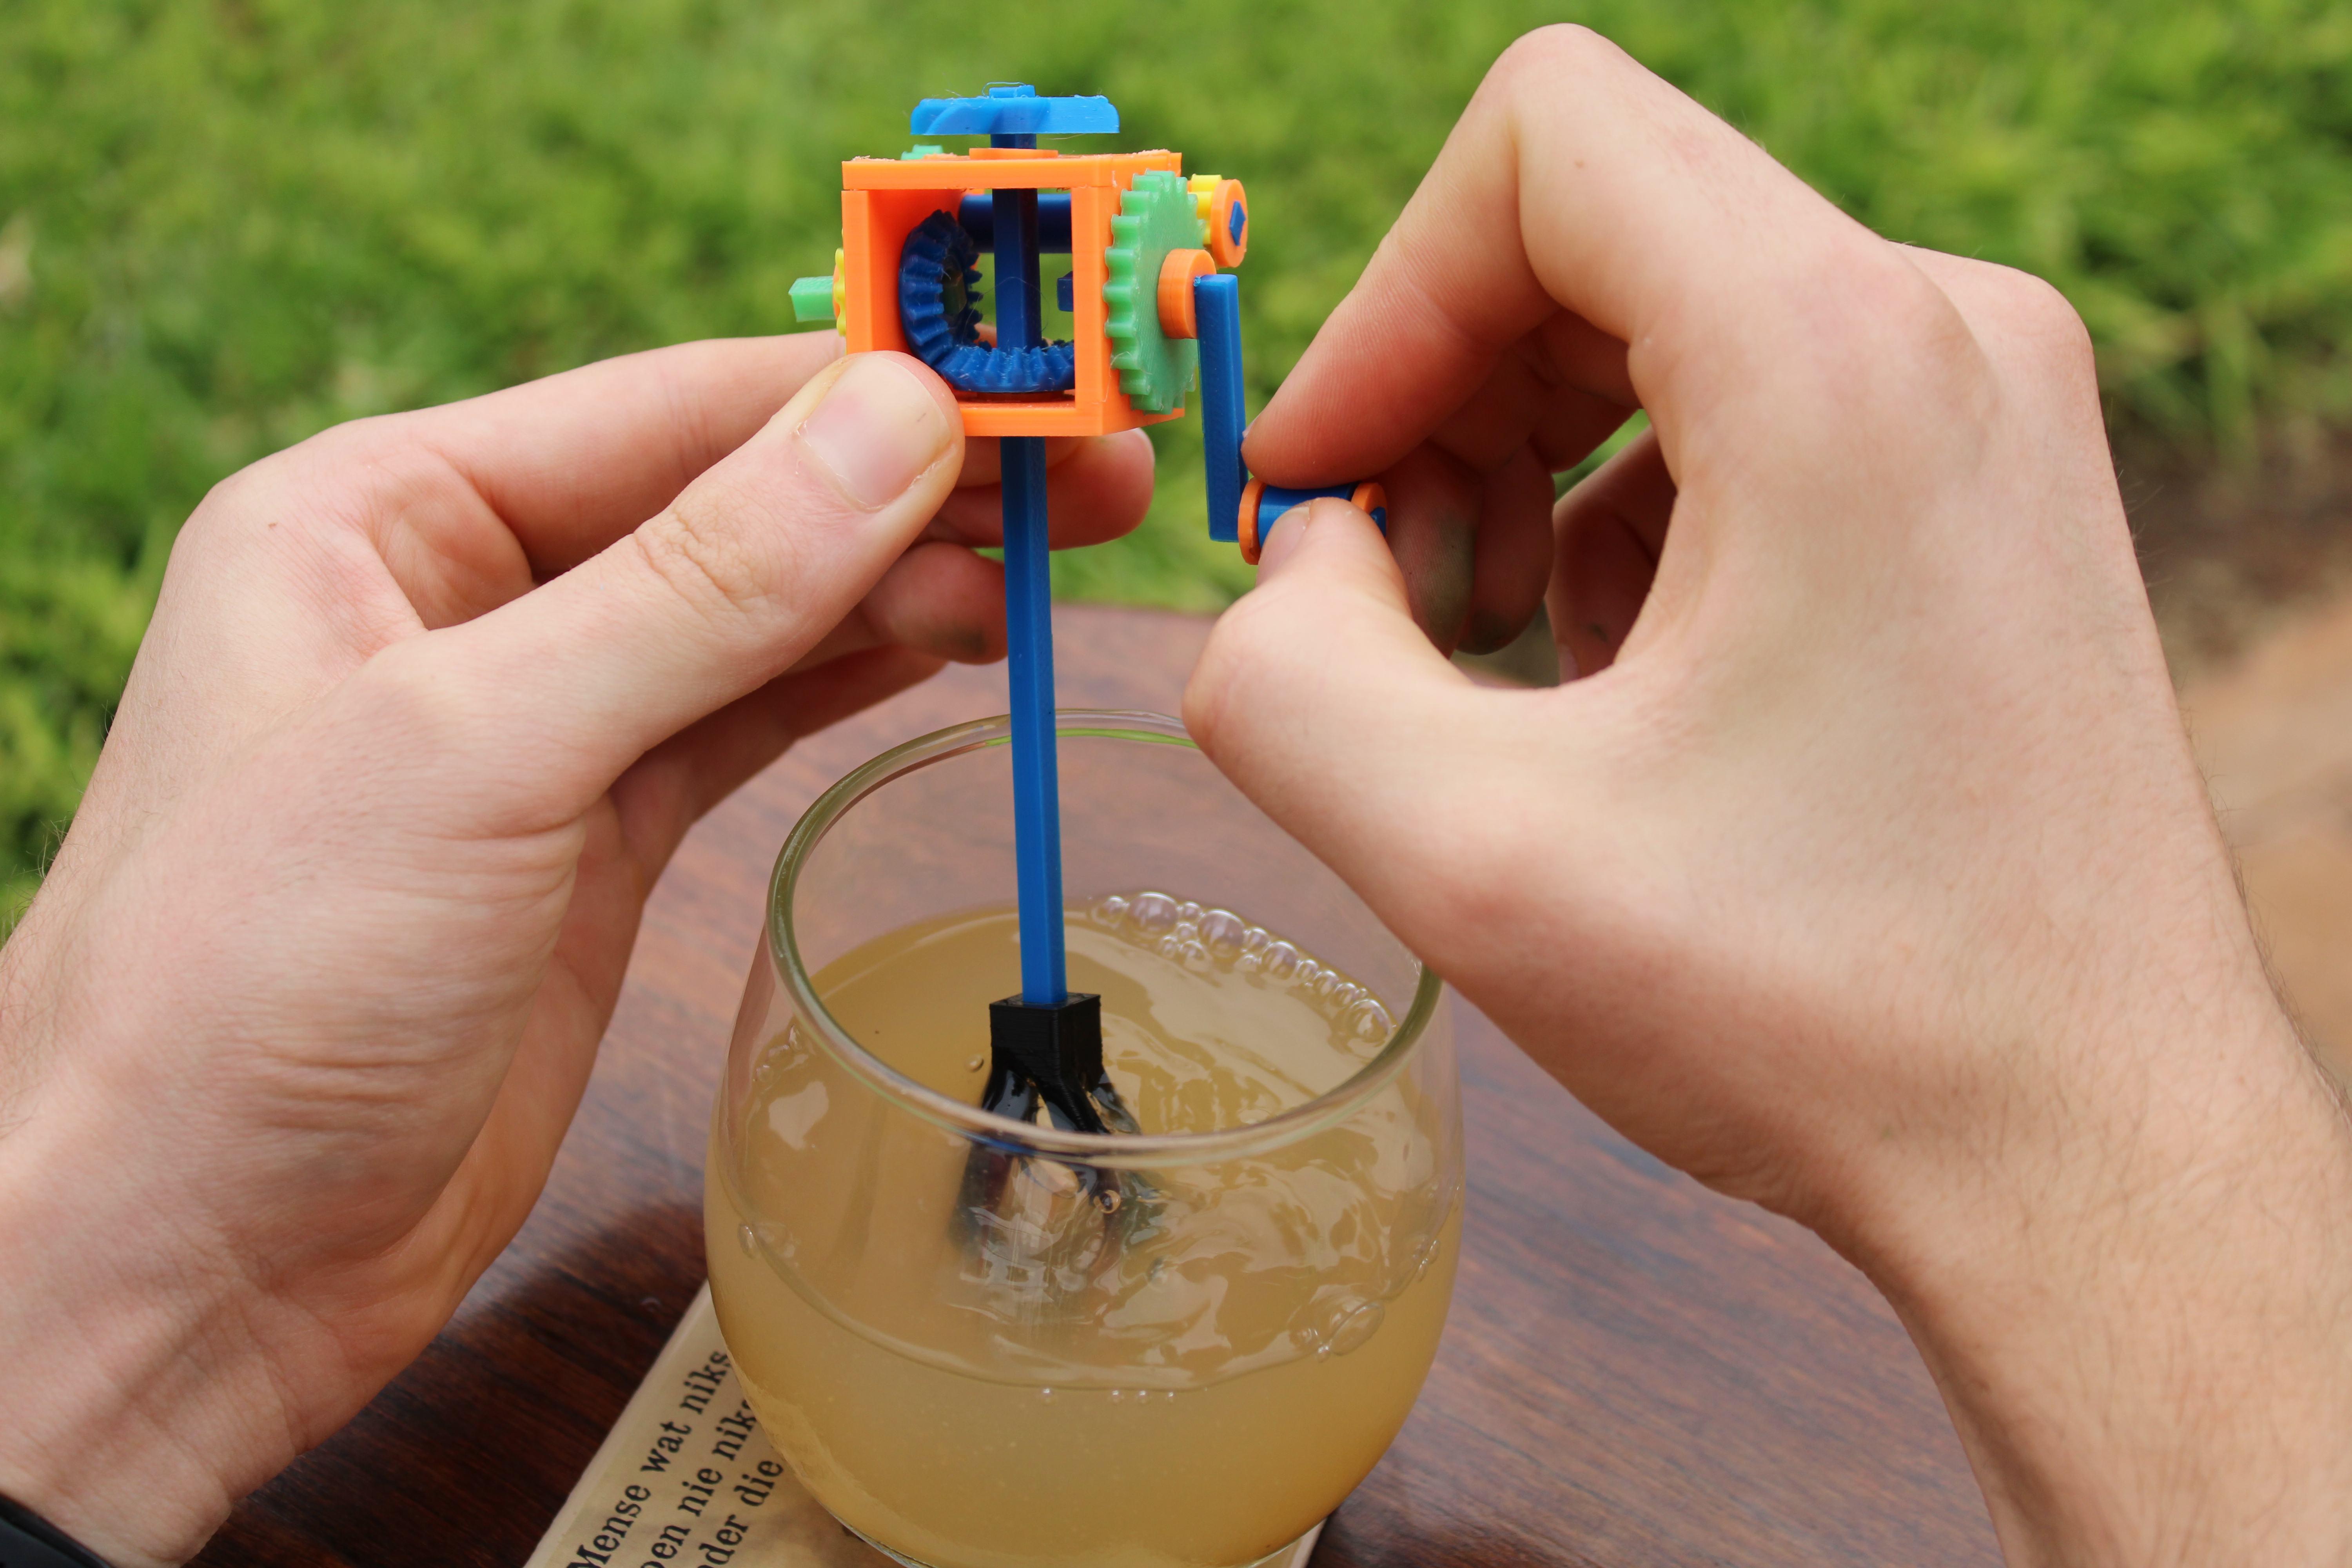
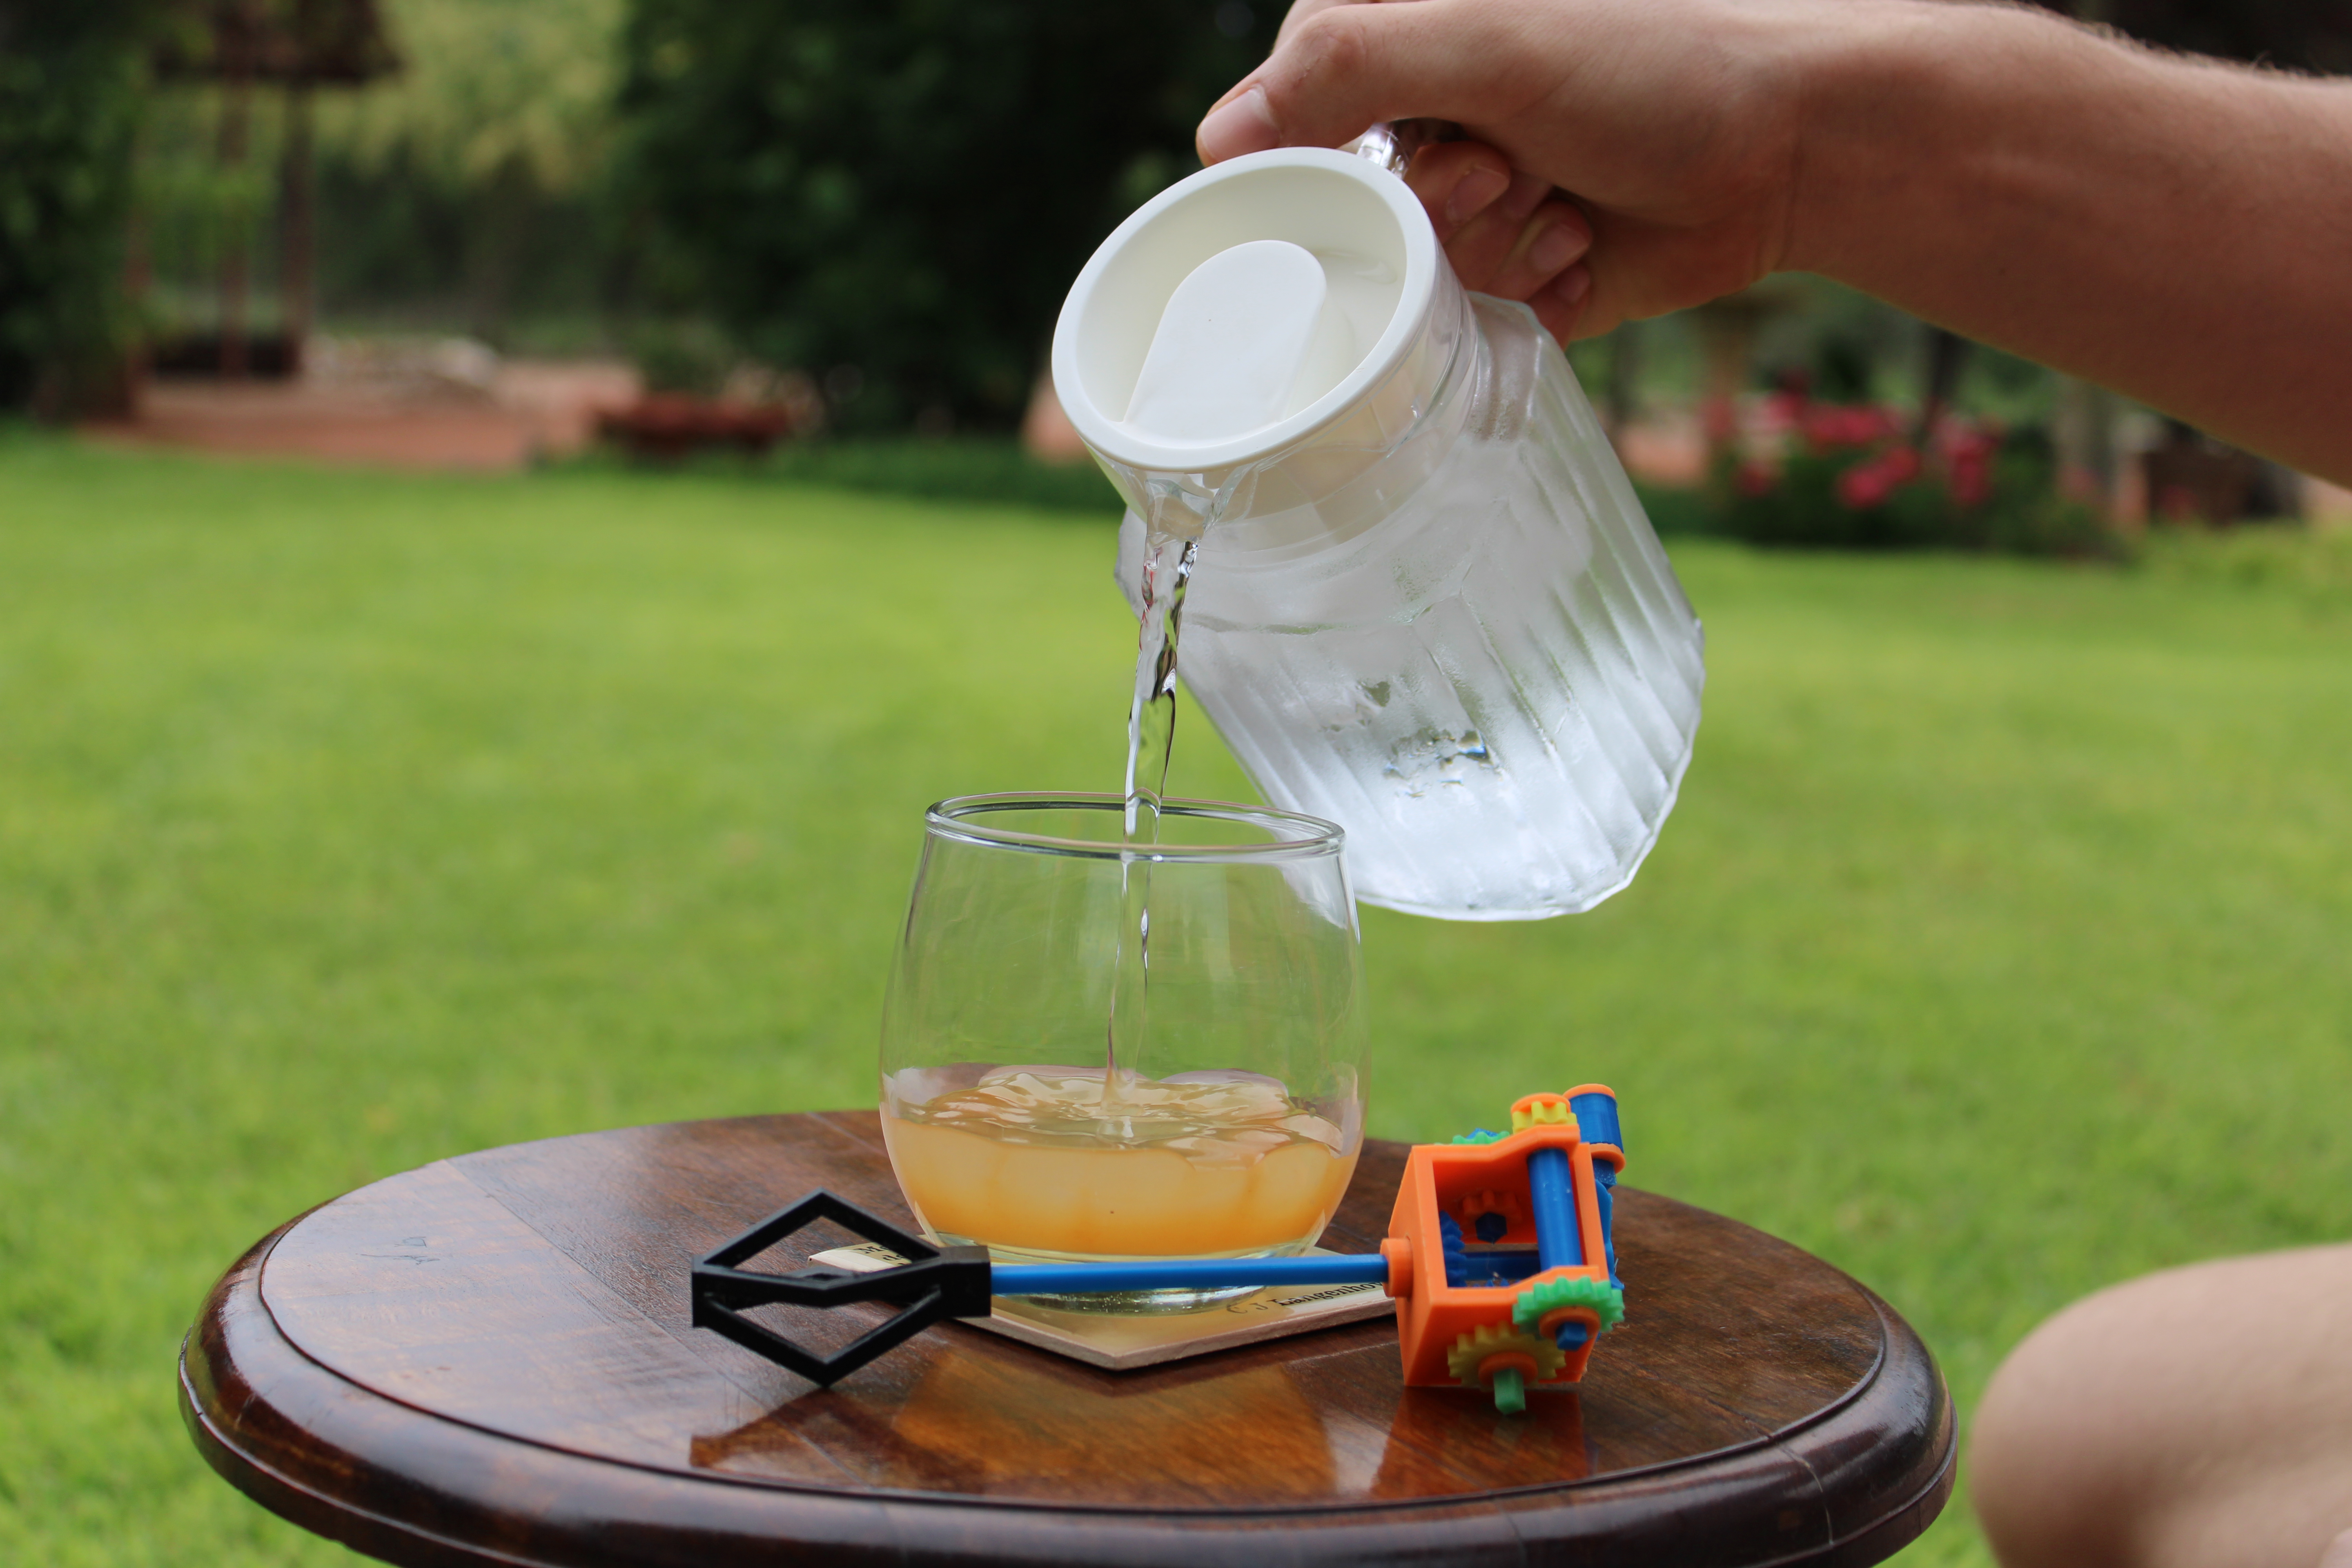
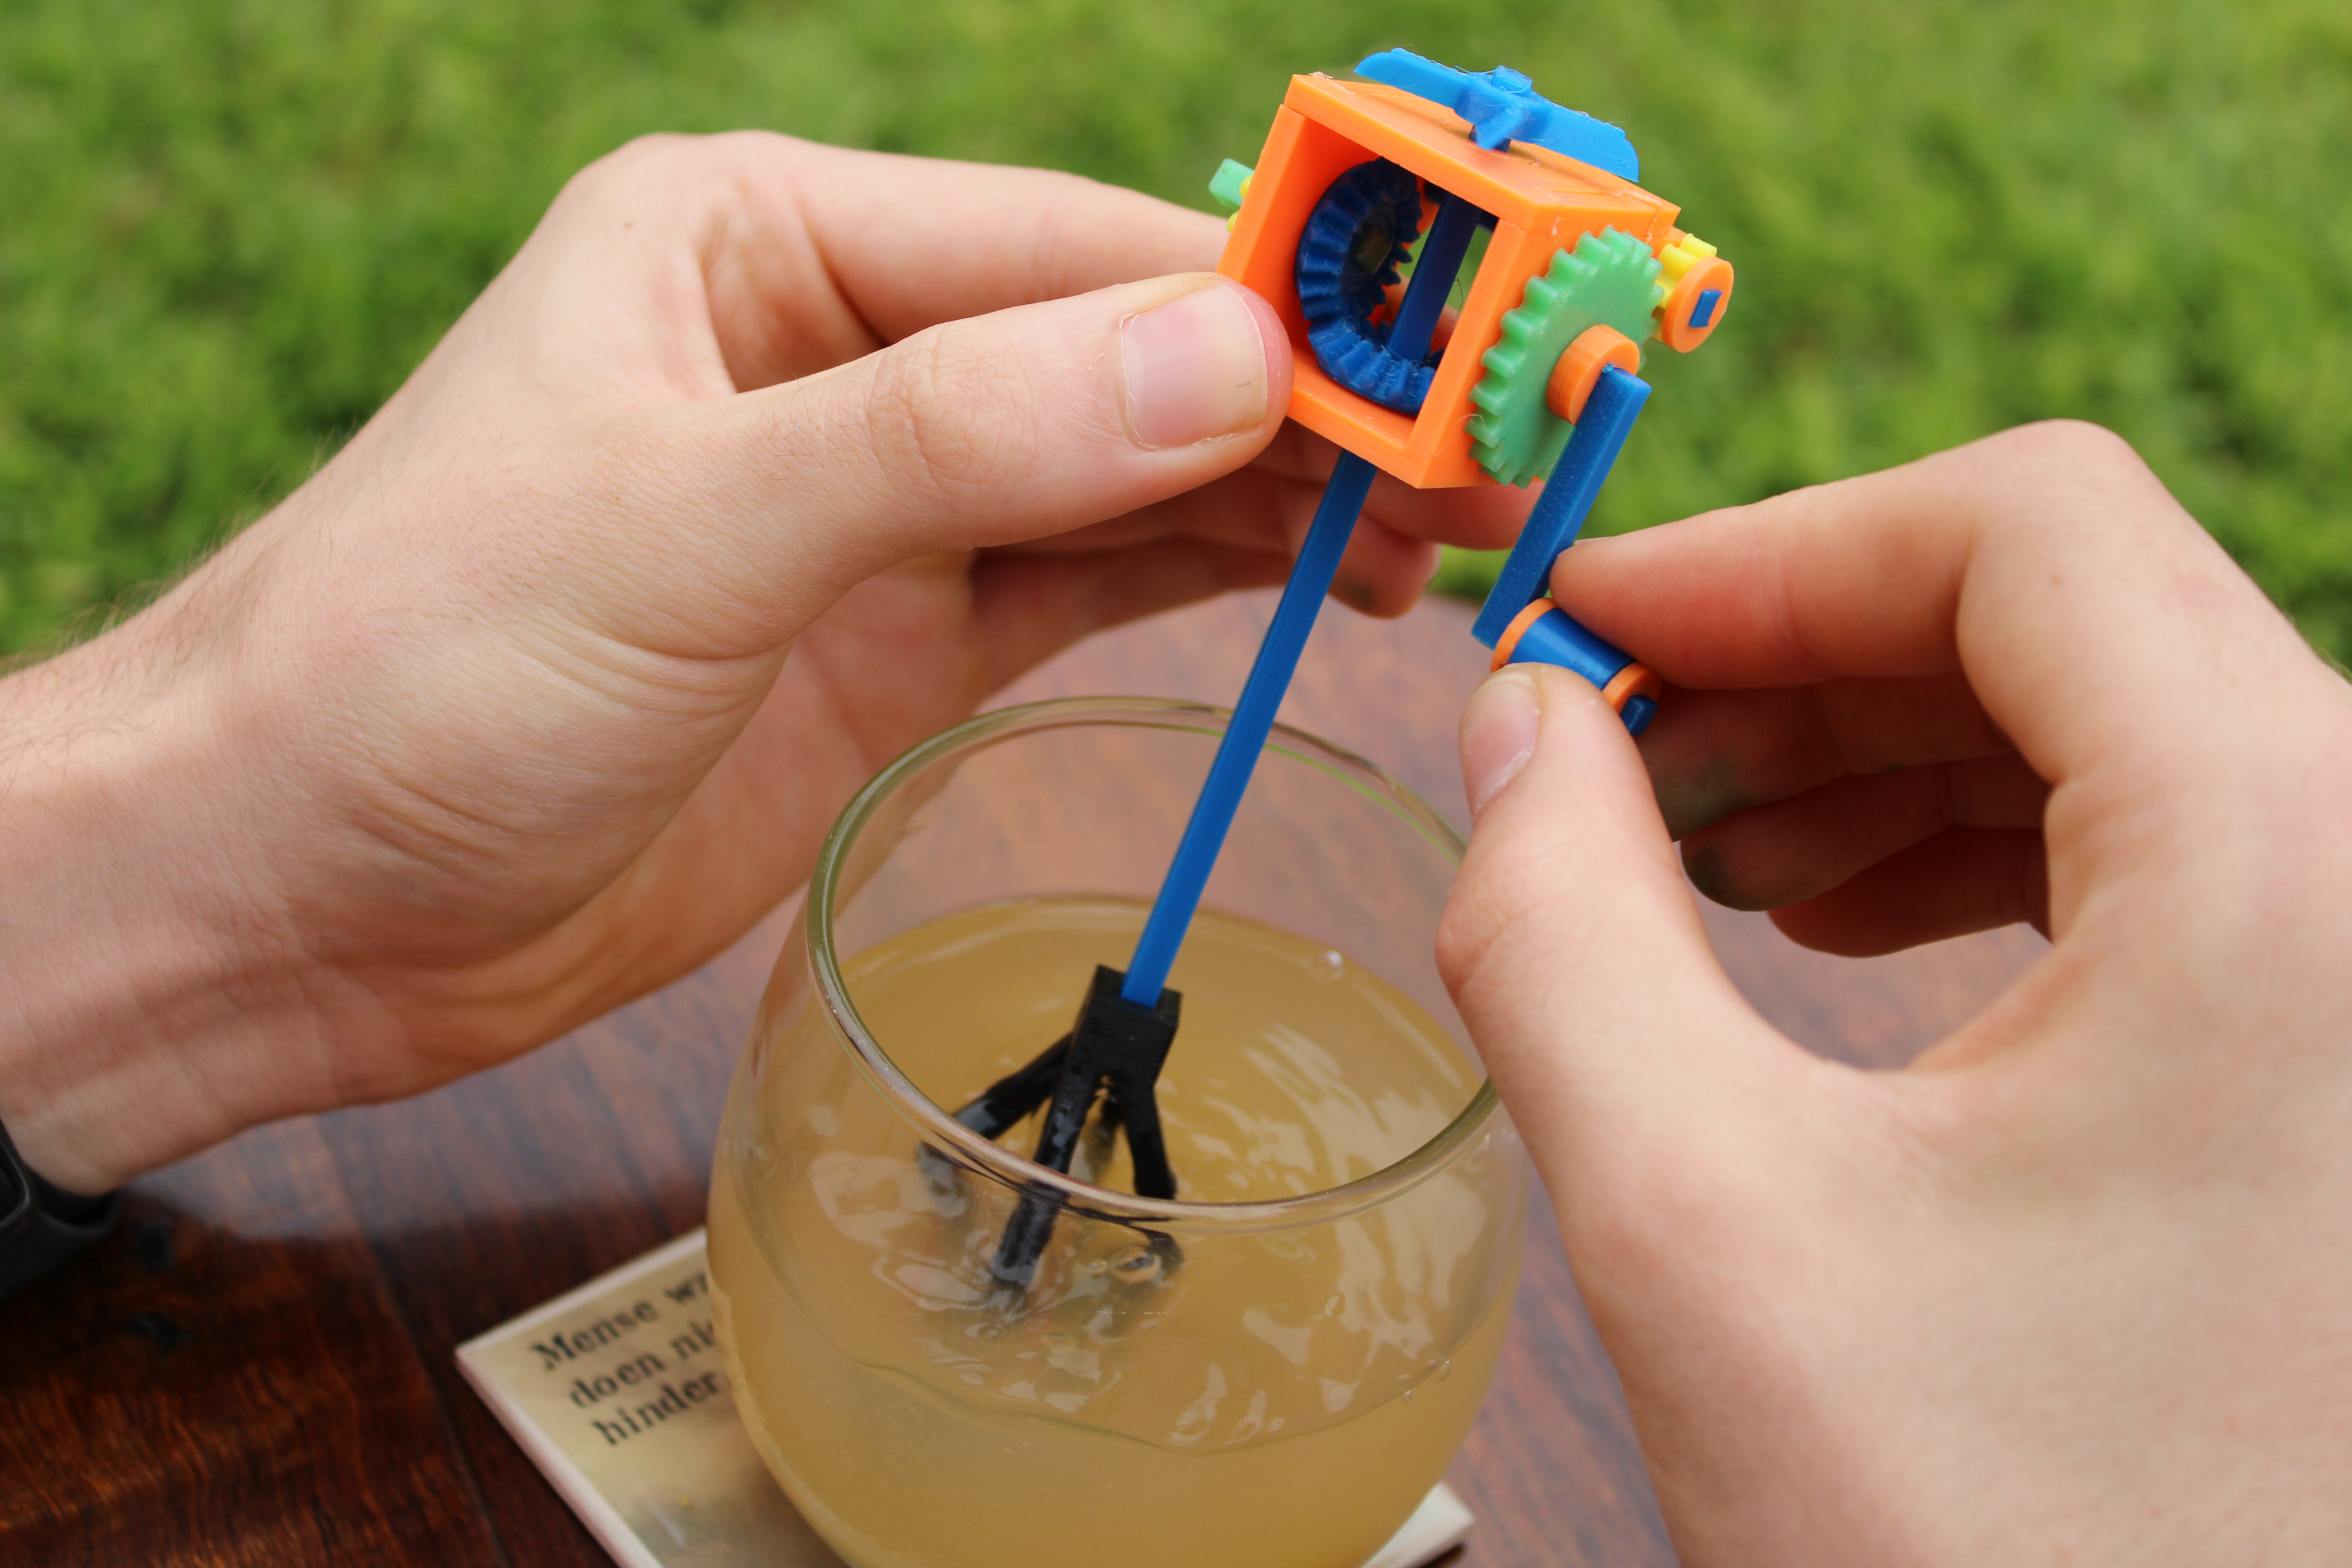
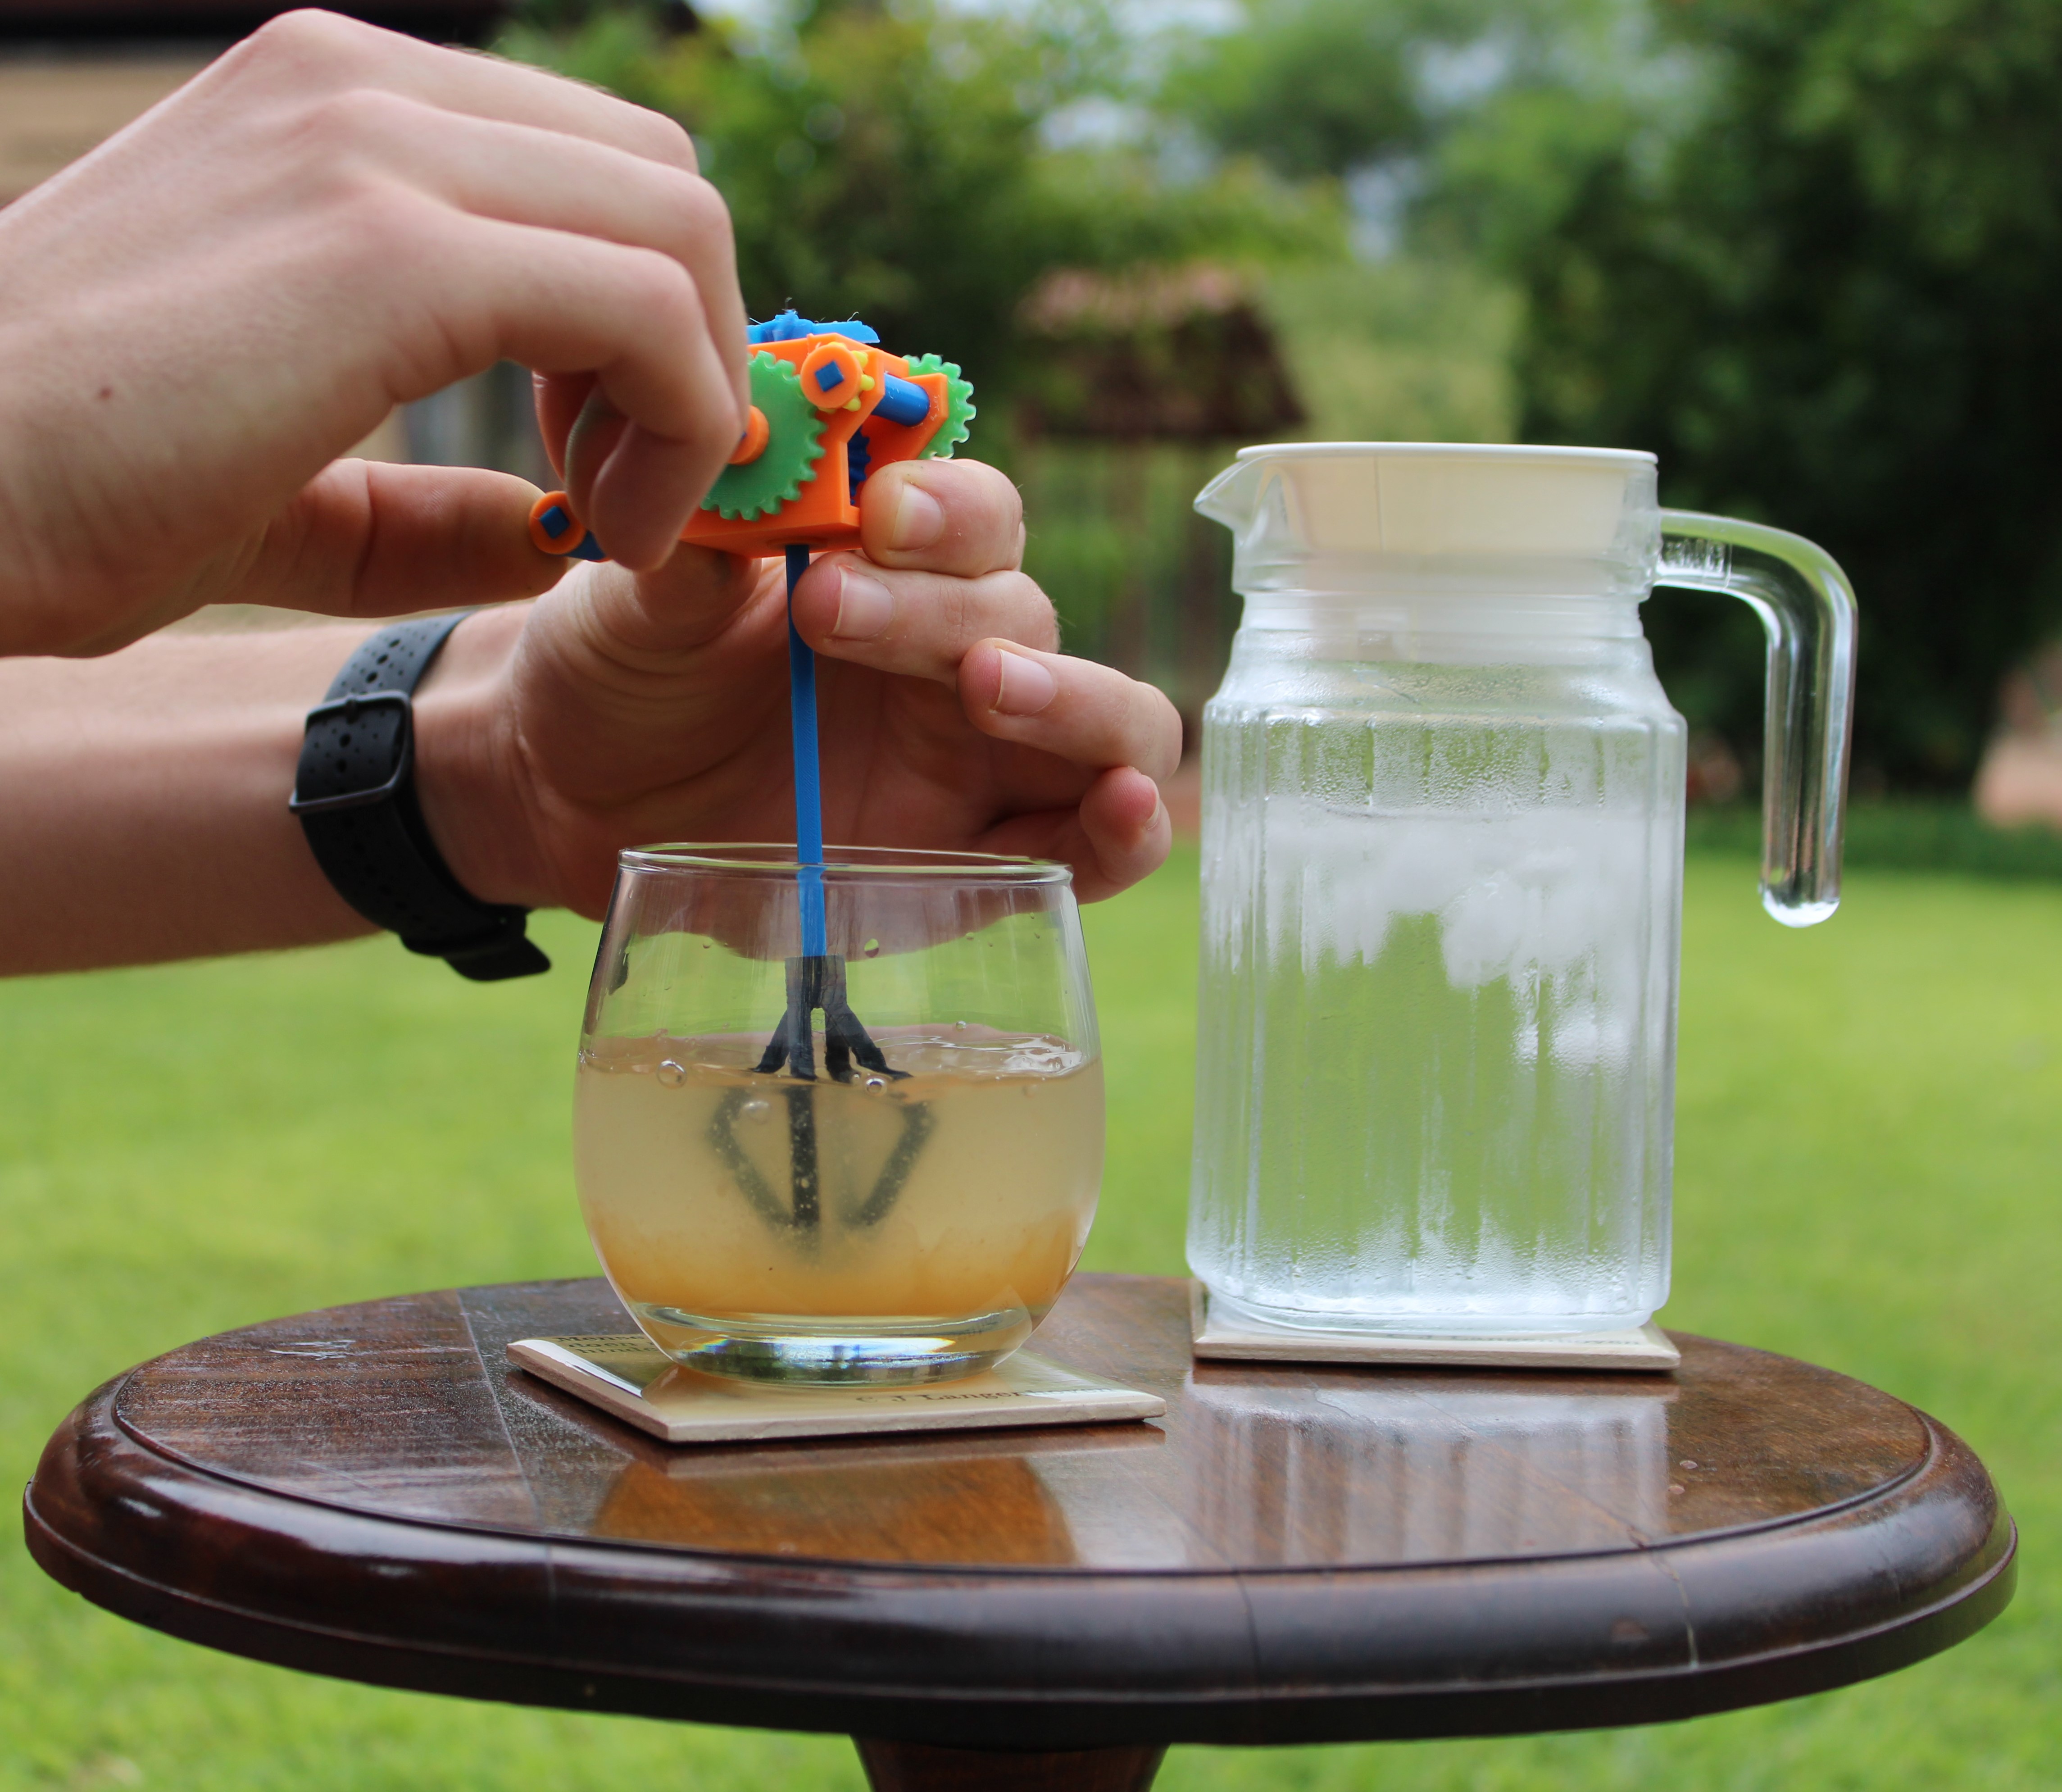
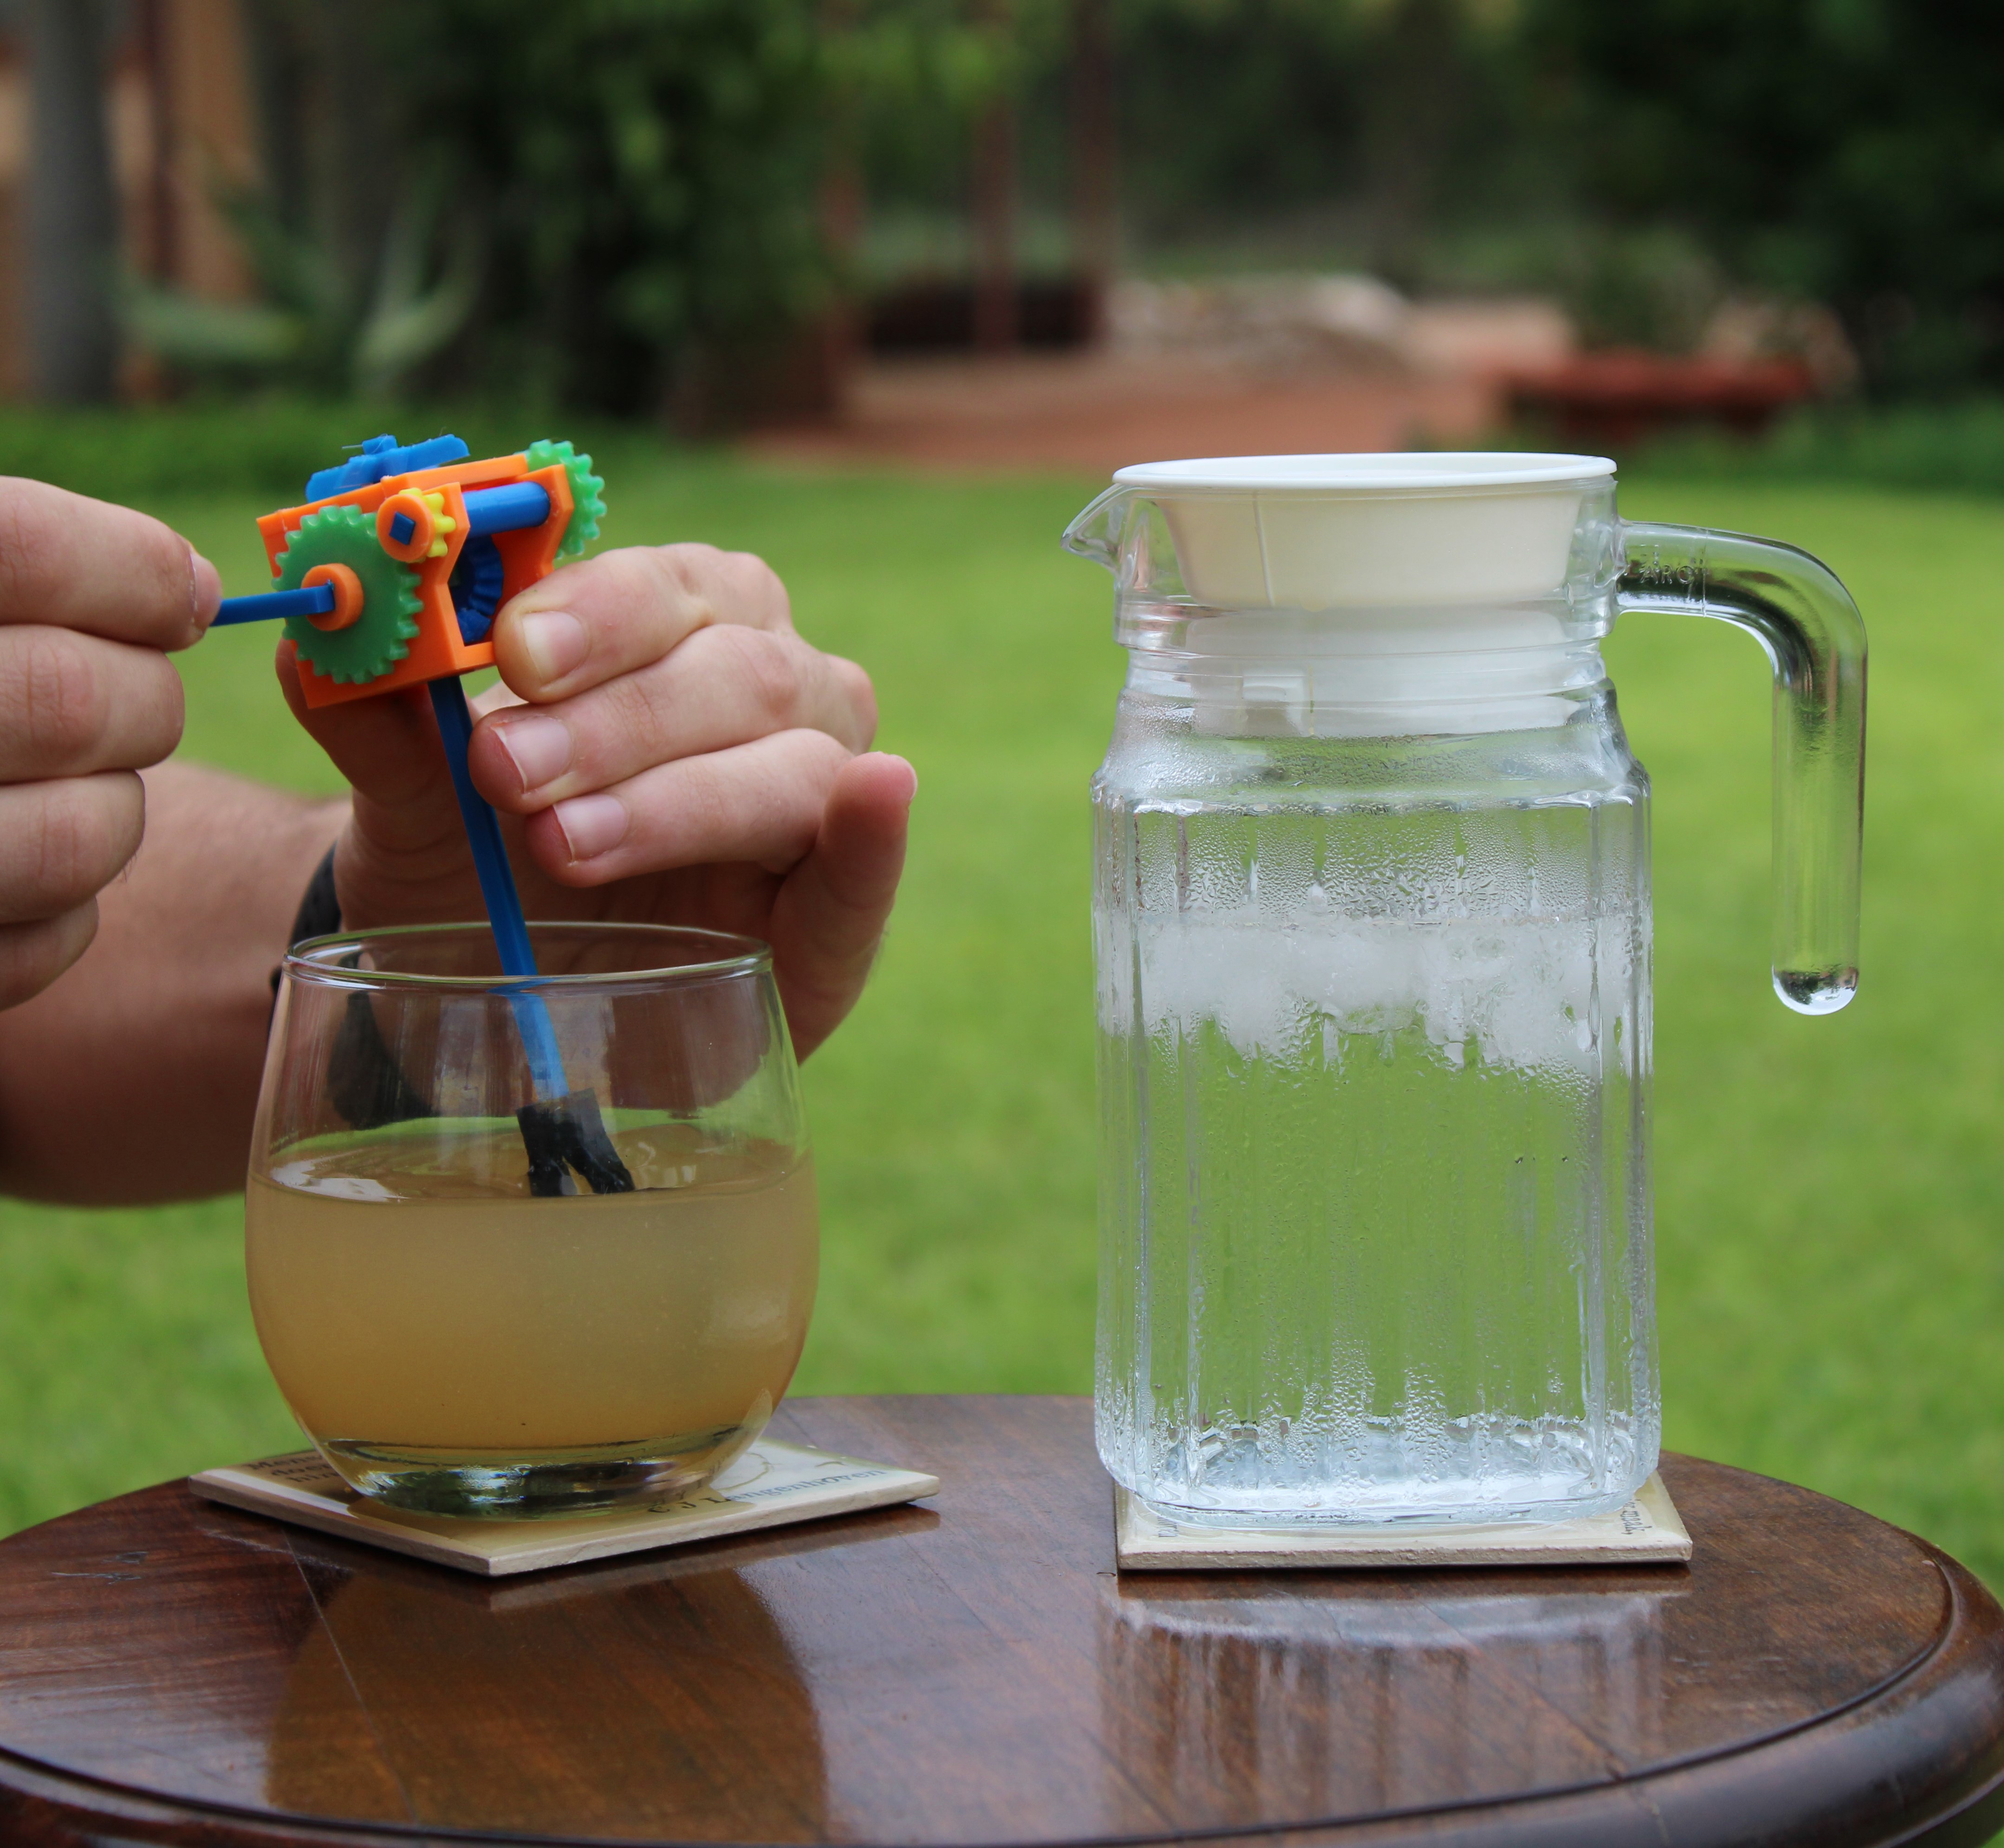
This is a mixer that I made for #TinkerMechanical. It is a mini mixer that can be used to mix cooldrink or any other fluids and is a fun little project to do. It can even strr your coffee or tea when the shaft and mixer head is printed with nylon 680. This is a easy to print project and can be printed totally without supports. Make use of the photos and tinkercad link too see where all the parts need to go when building the mixer. All the parts pressure fit into each other and no glue is required. Depending on your printer and how "tuned in" it is you may have to sand some parts a little bit to make them fit perfectly. A good tool to use to make all the parts fit perfectly is a file. You can also use the file to make the holes bigger if needed.
All my friends so far were amazed by what a 3D printer can do and the possibilities that it can have after seeing this design. We need to spread the idea of 3D printing and 3D designing to many more people. I really hope this design will create a nice oppertunity to show off and talk about 3D printing.


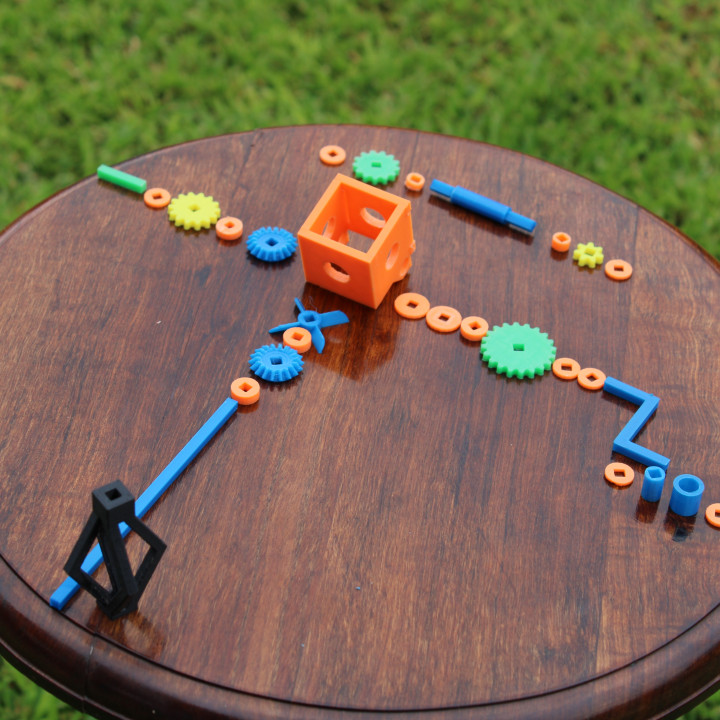
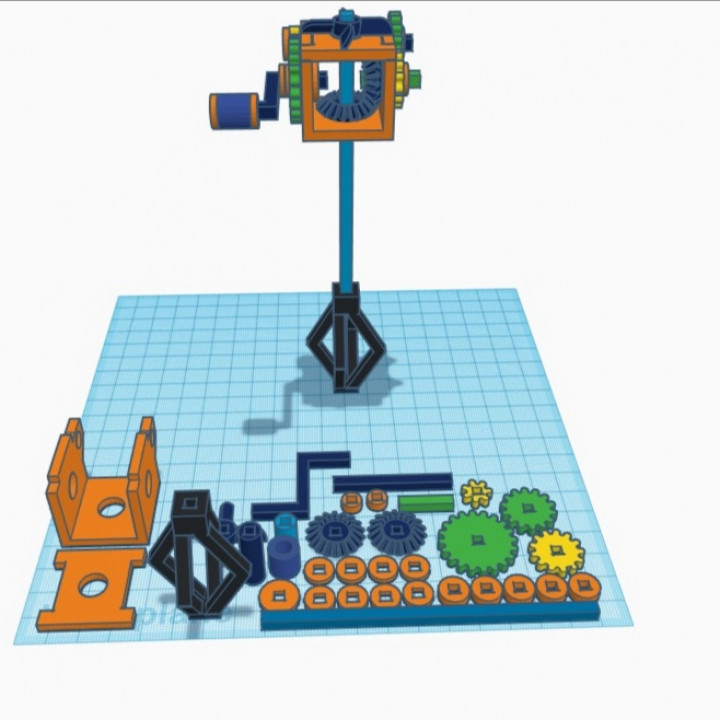
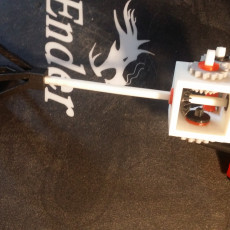
I printed this design on my Prusa i3 mk3s and did not have to sand any part of it. Since I was not able to upload single files you could just use the tinkercad link to go and export the parts there. In the tinkercad model you will find all the needed parts layed out and then the built model to show you what to put where when you build the mixer. All of the parts fit perfectly, but I can't say the same when I printed it on my Creality. So here are some tips to make it easy to fit together this fun little project:
- Use a round file to easily make holes a bit bigger
- If the shaft can't fit into the square holes, use a flat file or sand paper to make it a bit smaller and keep testing it to make sure that you don't make it too small
- When you want to put the shaft into a washer/gear and it is a very tight fit you can use a vise where you open the vise just enough for the shaft to fit though and when you then hit the shaft the vise will block the washer/gear and let only the shaft go though, thus allowing you to put the washer on the shaft.
- You can use the washers to secure the gears into place to make sure that they can't slide on the shaft.
This prints without supports and I printed in on 0.15mm, but it can also be printed on 0.2mm. For the infill I used 75% to make all the parts stronger, but still flexible.
The tinkercad link is also in the descriptoin where you can go and see where every part needs to go. There are also photos included to show where the parts need to go. I hope you enjoy this little project and post your makes. Also please let me know if some improvements can be made. Here is the link to the single files of this project: https://www.myminifactory.com/object/3d-print-the-mixer-single-files-106561
| Date published | 04/12/2019 |
| Benoetigte Zeit | 180 - Minuten |
| Menge an Filament | 30 gram |
| Support Free | YES |


Is a very fun little project to show off 3D printing