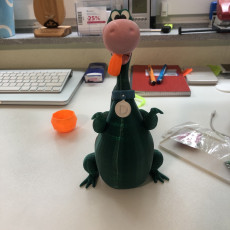
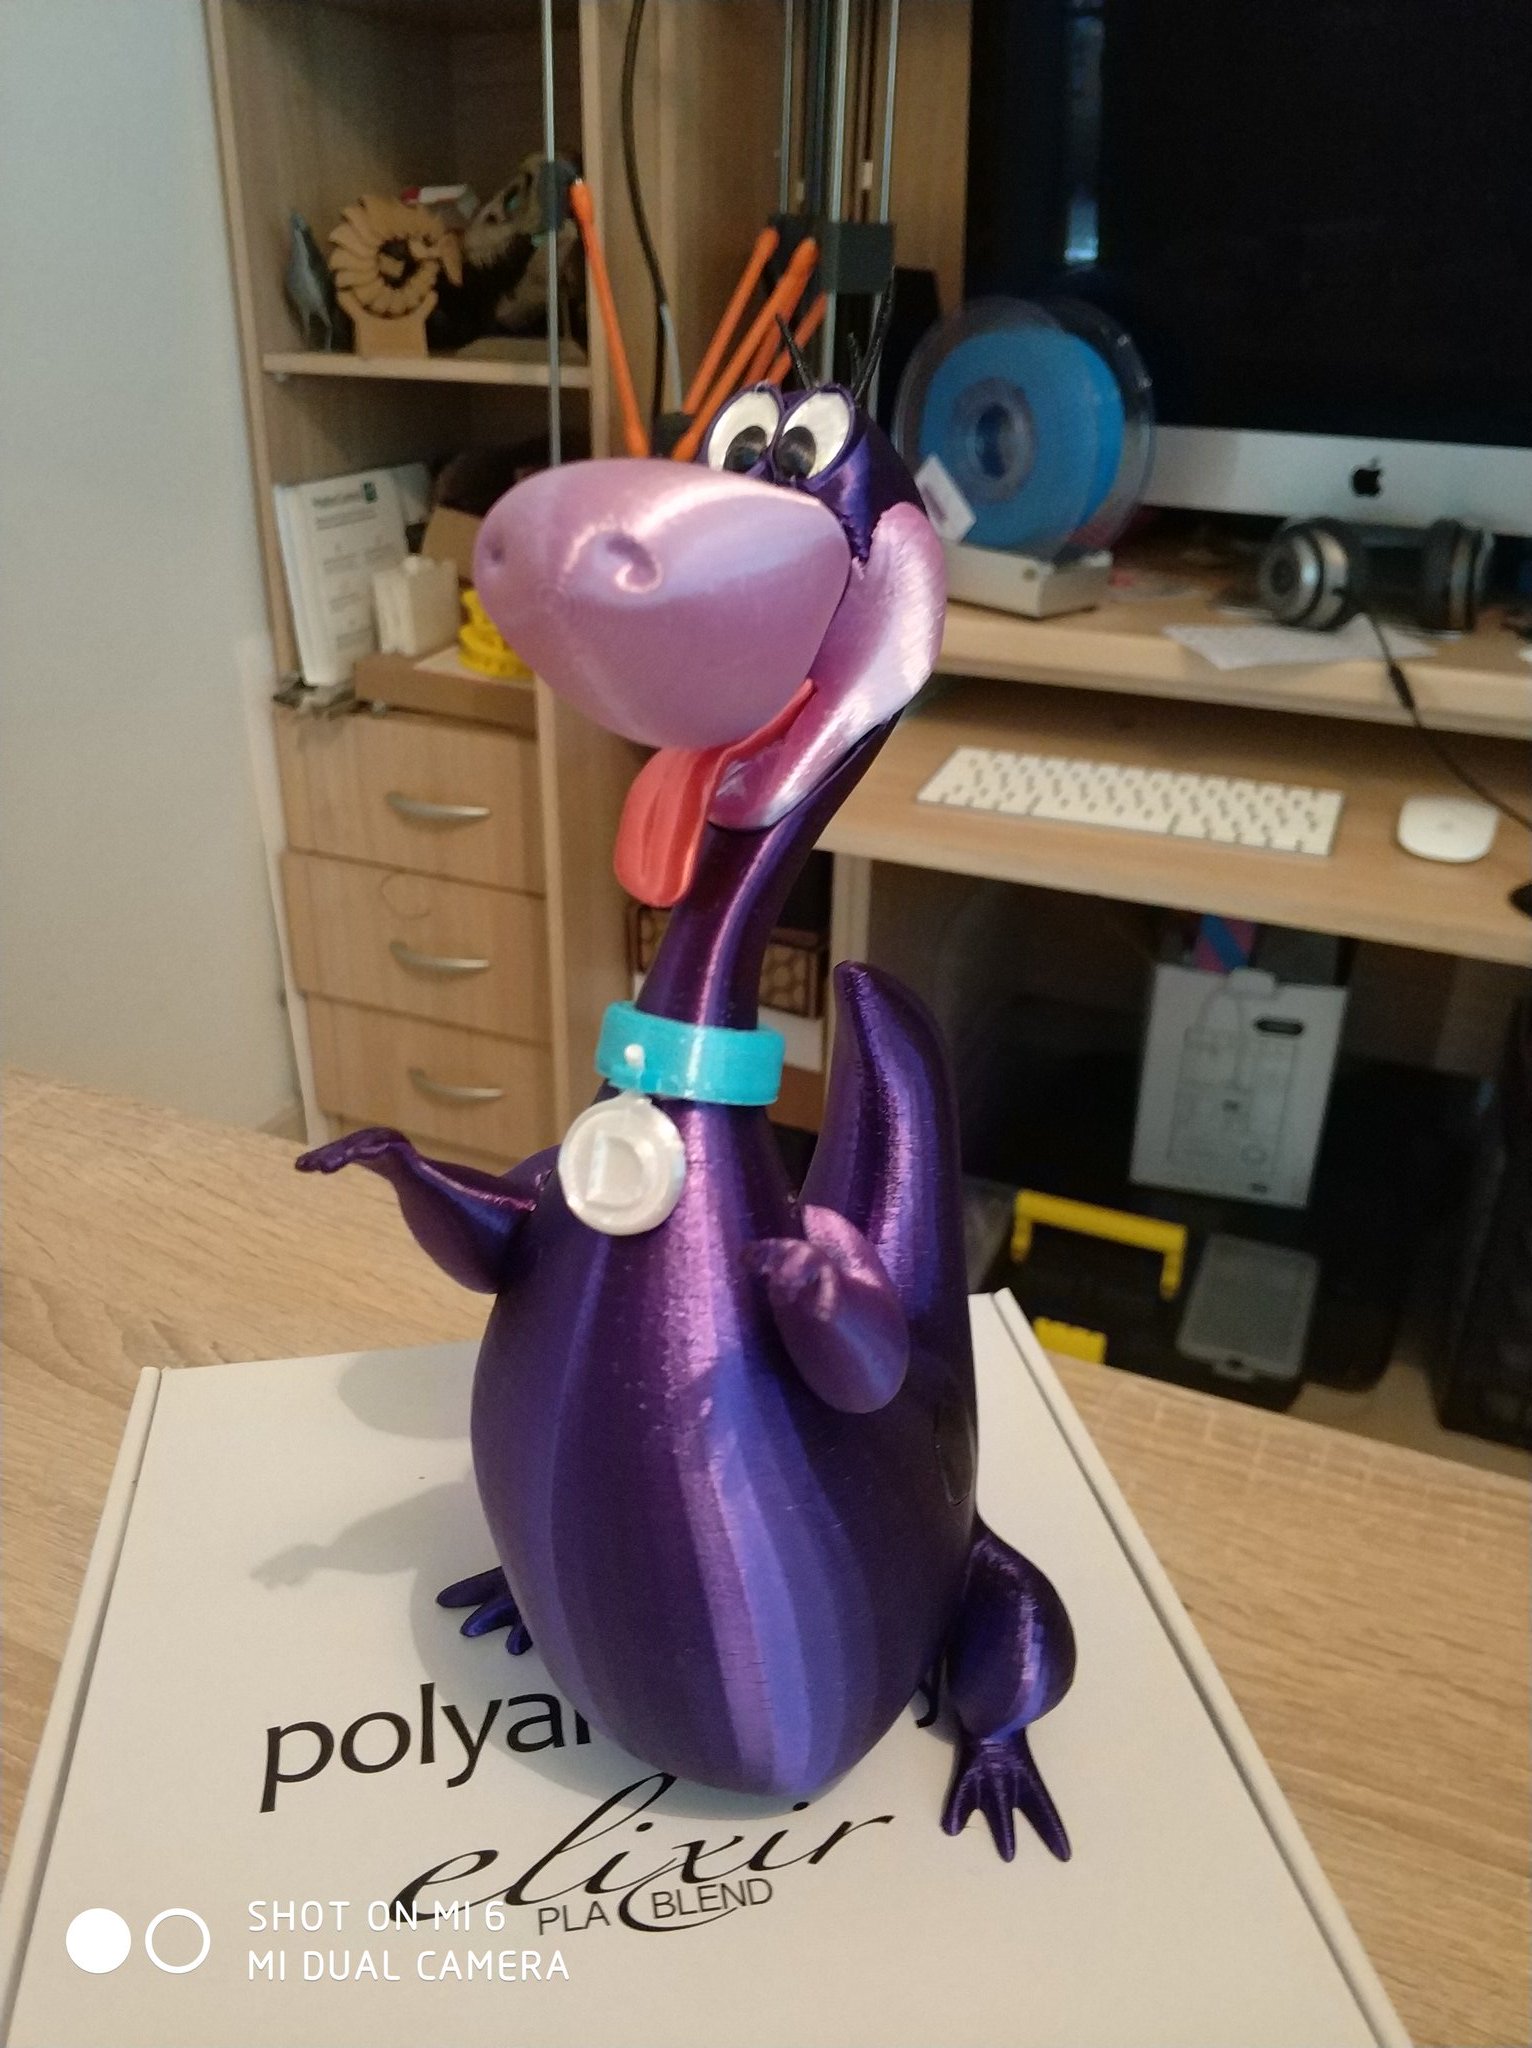
Dino Flintstone


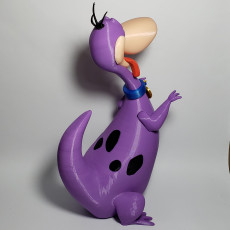


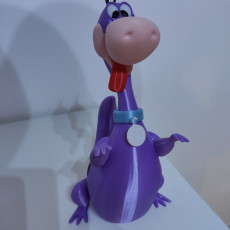


Dino Flintstone
Published 2016-07-14T08:59:53+00:00
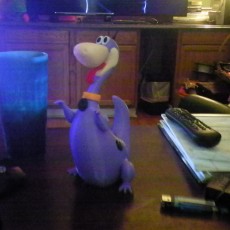
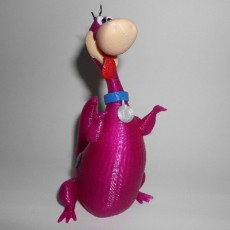
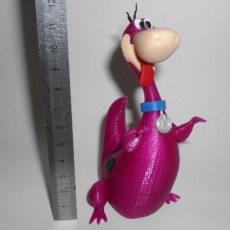
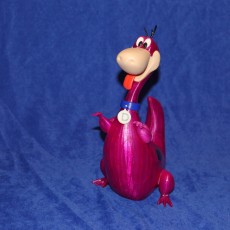
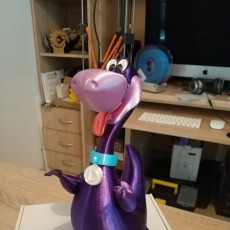
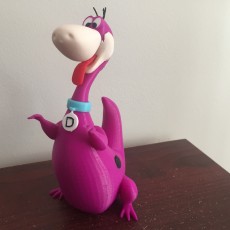
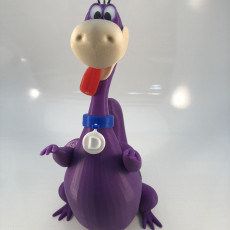
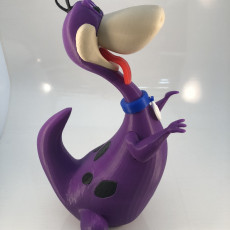
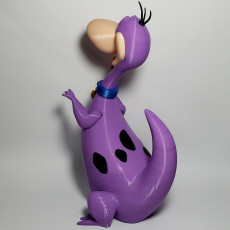
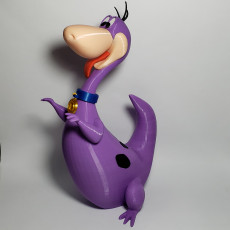
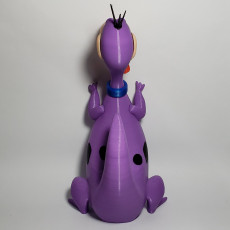
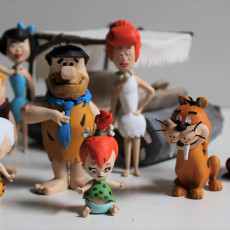
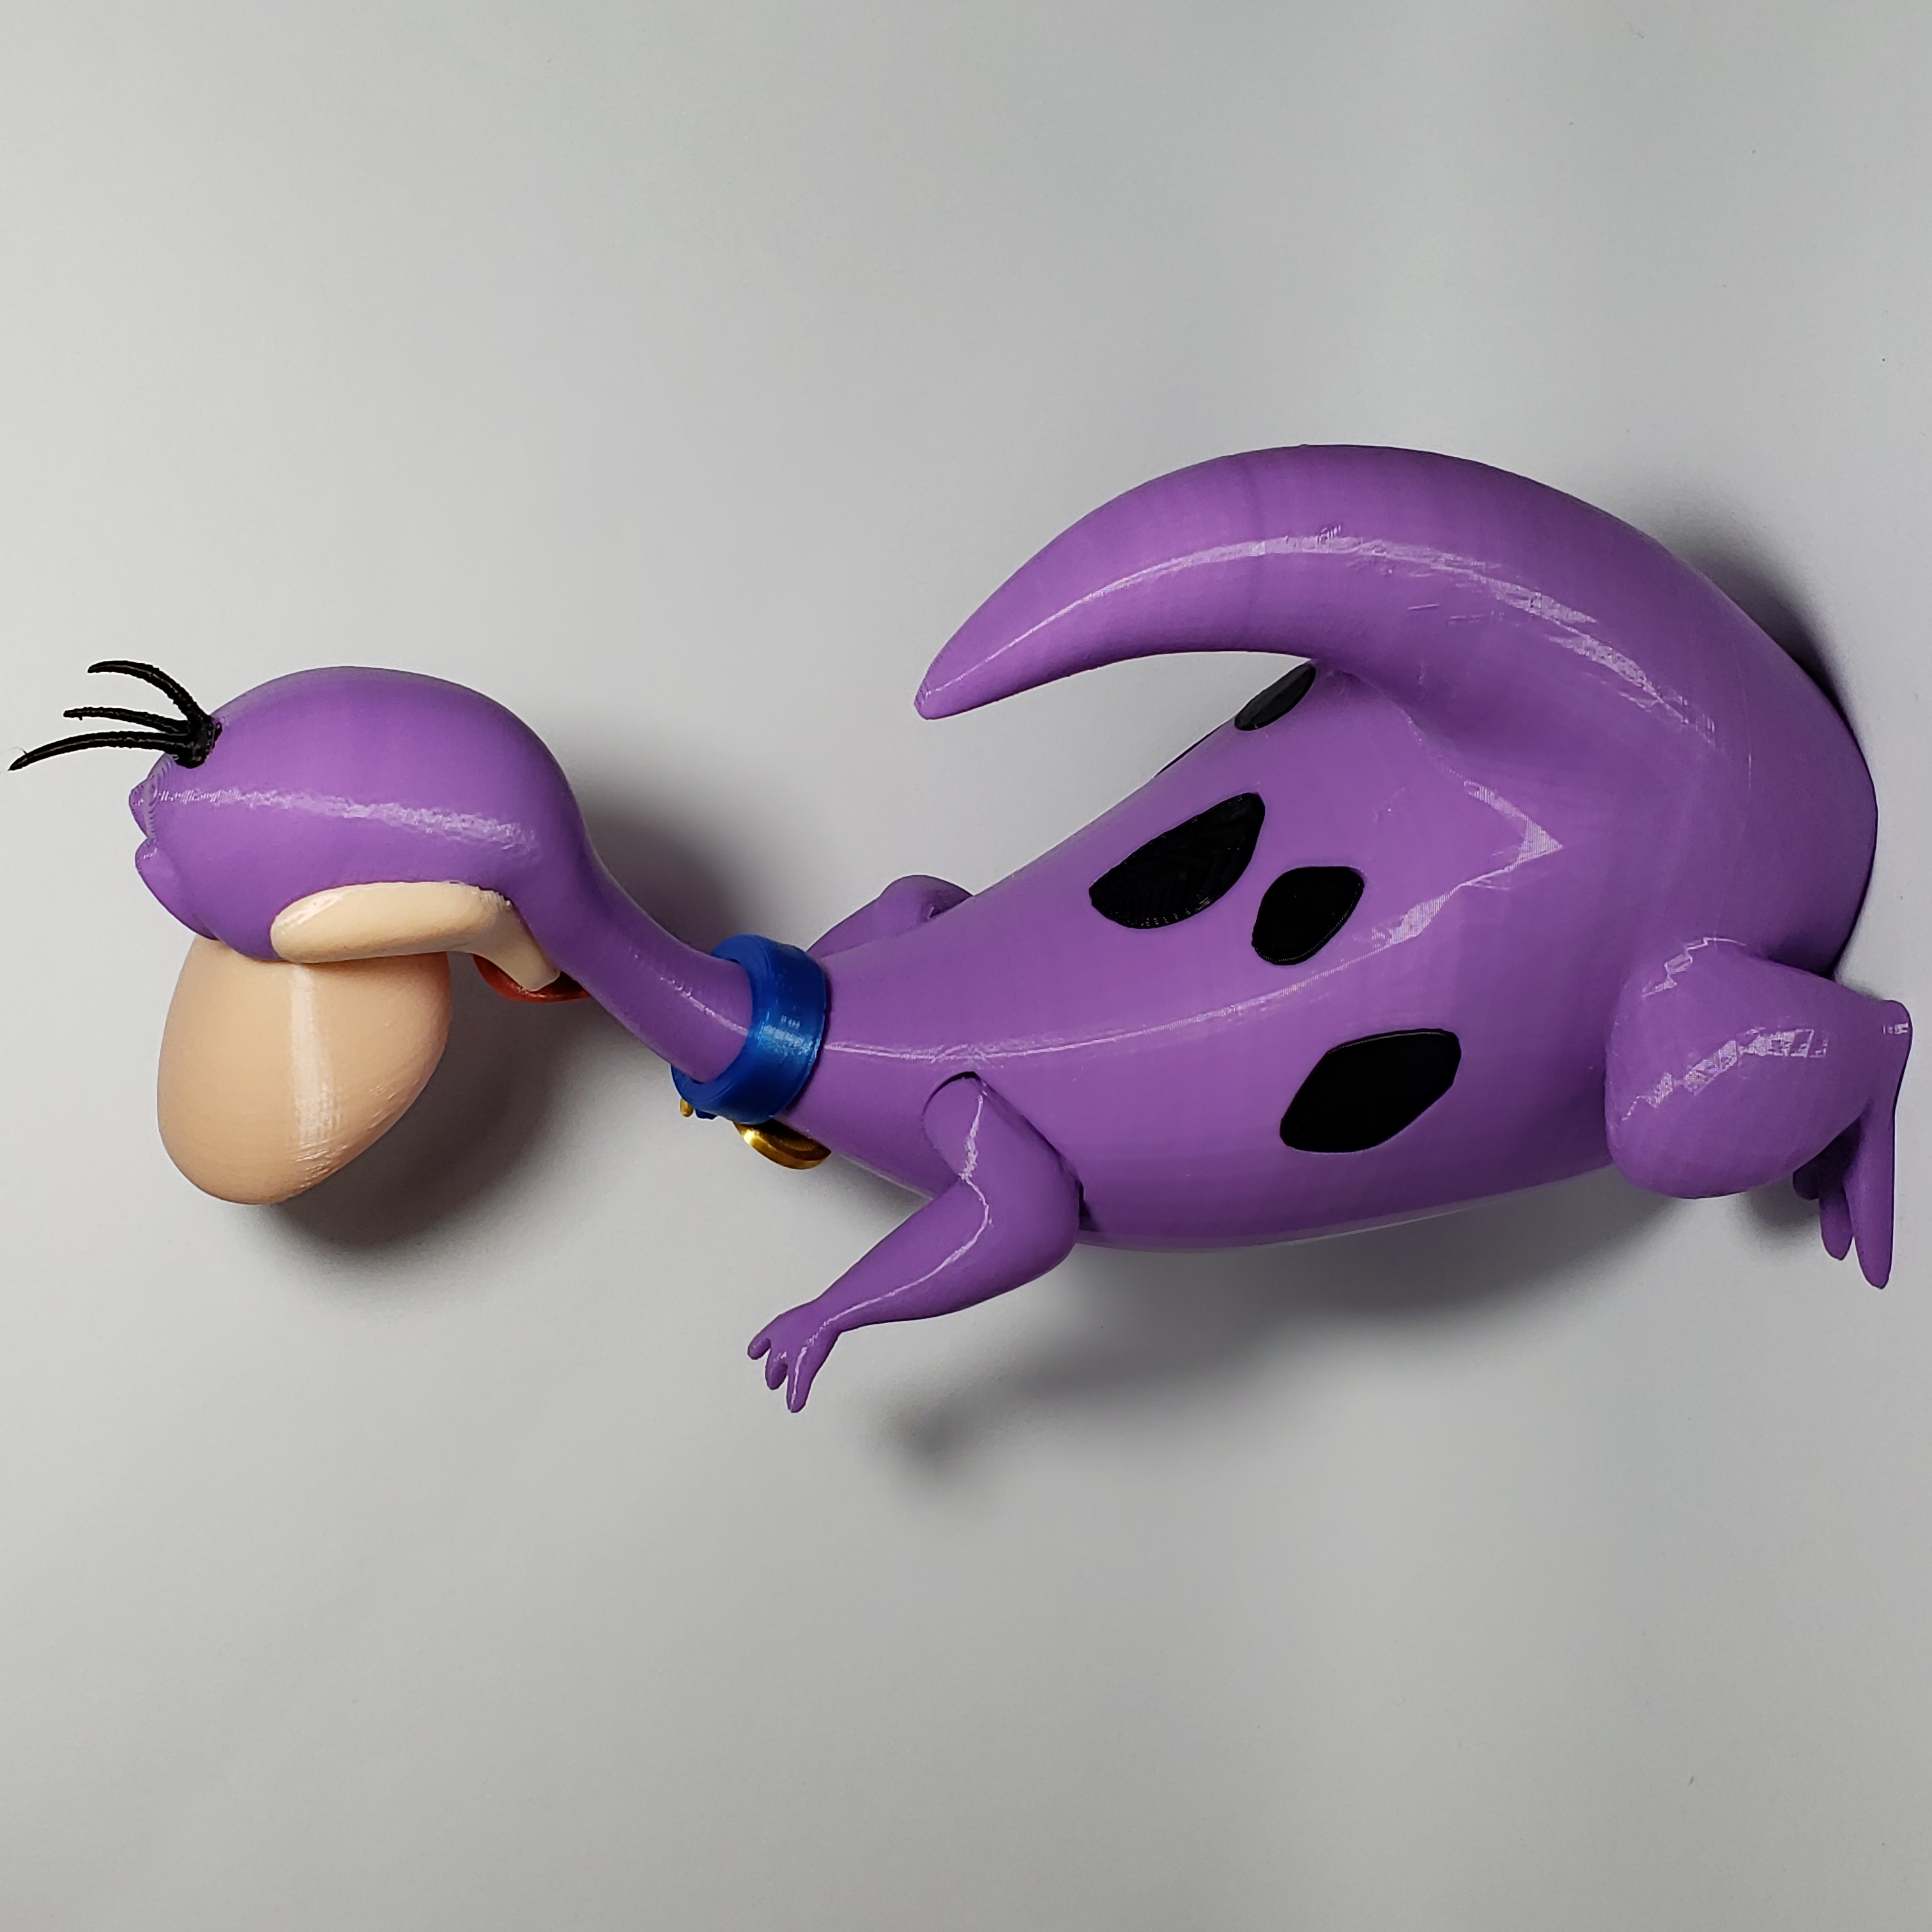
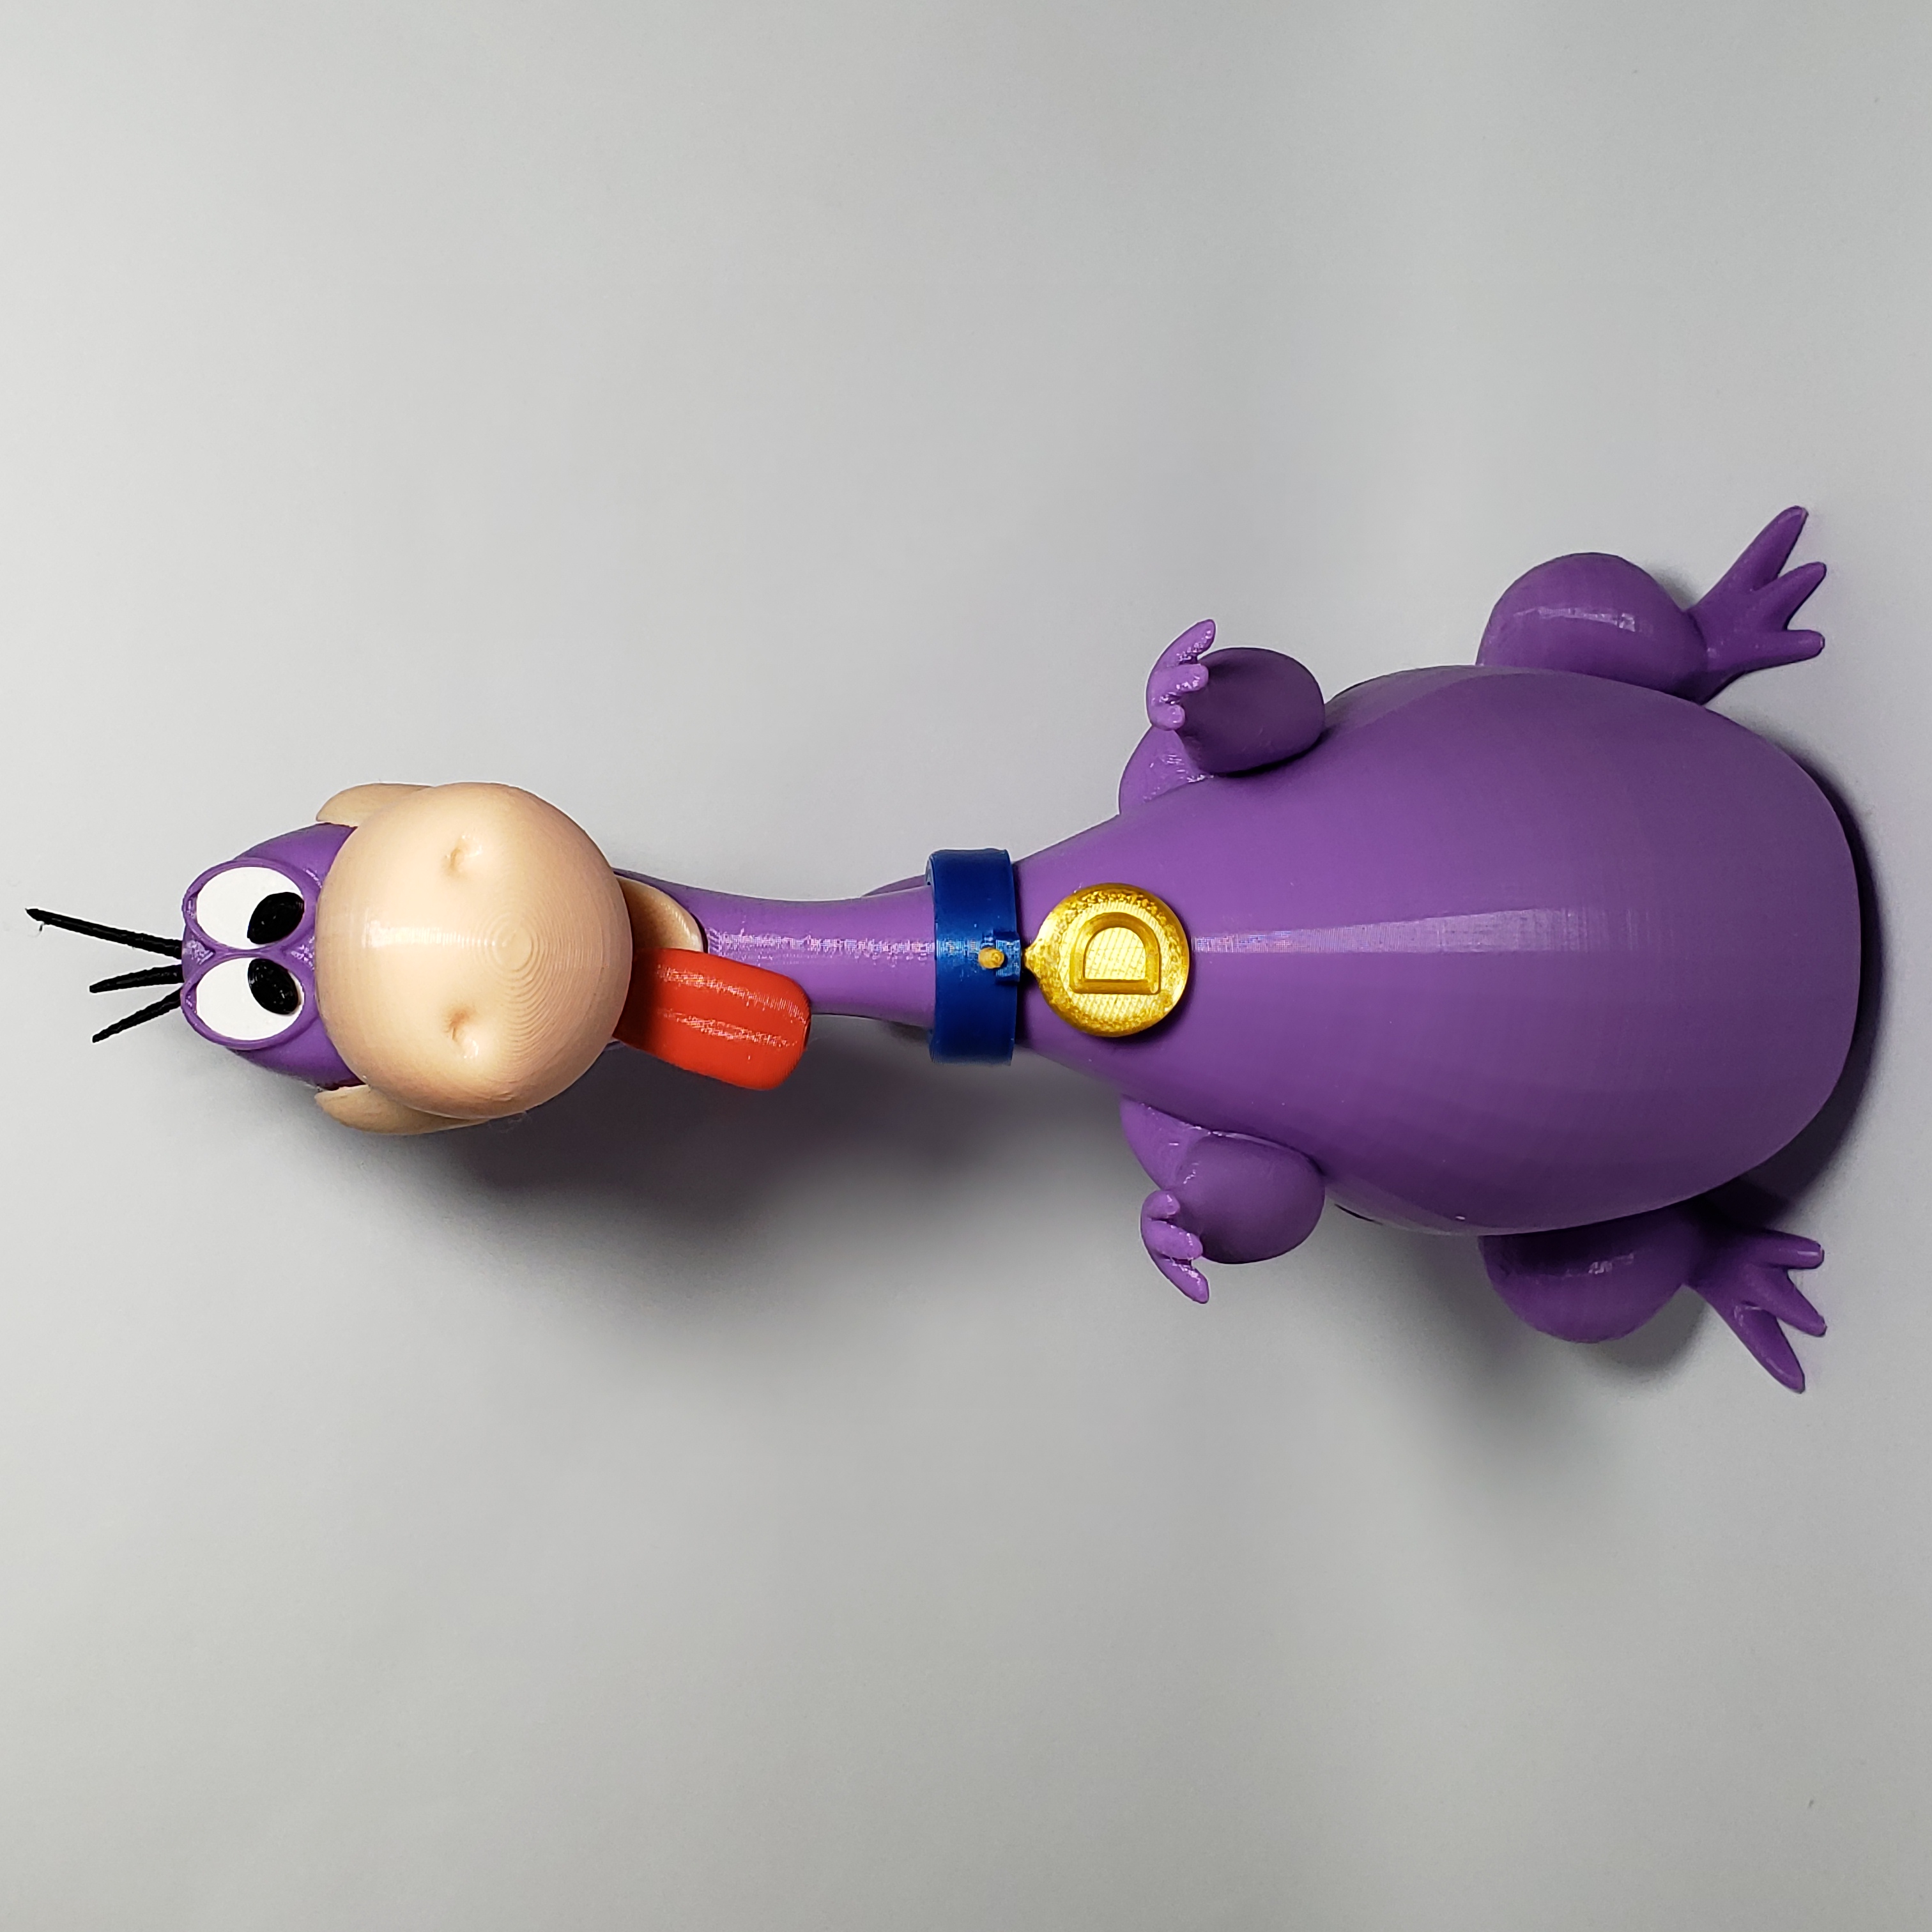
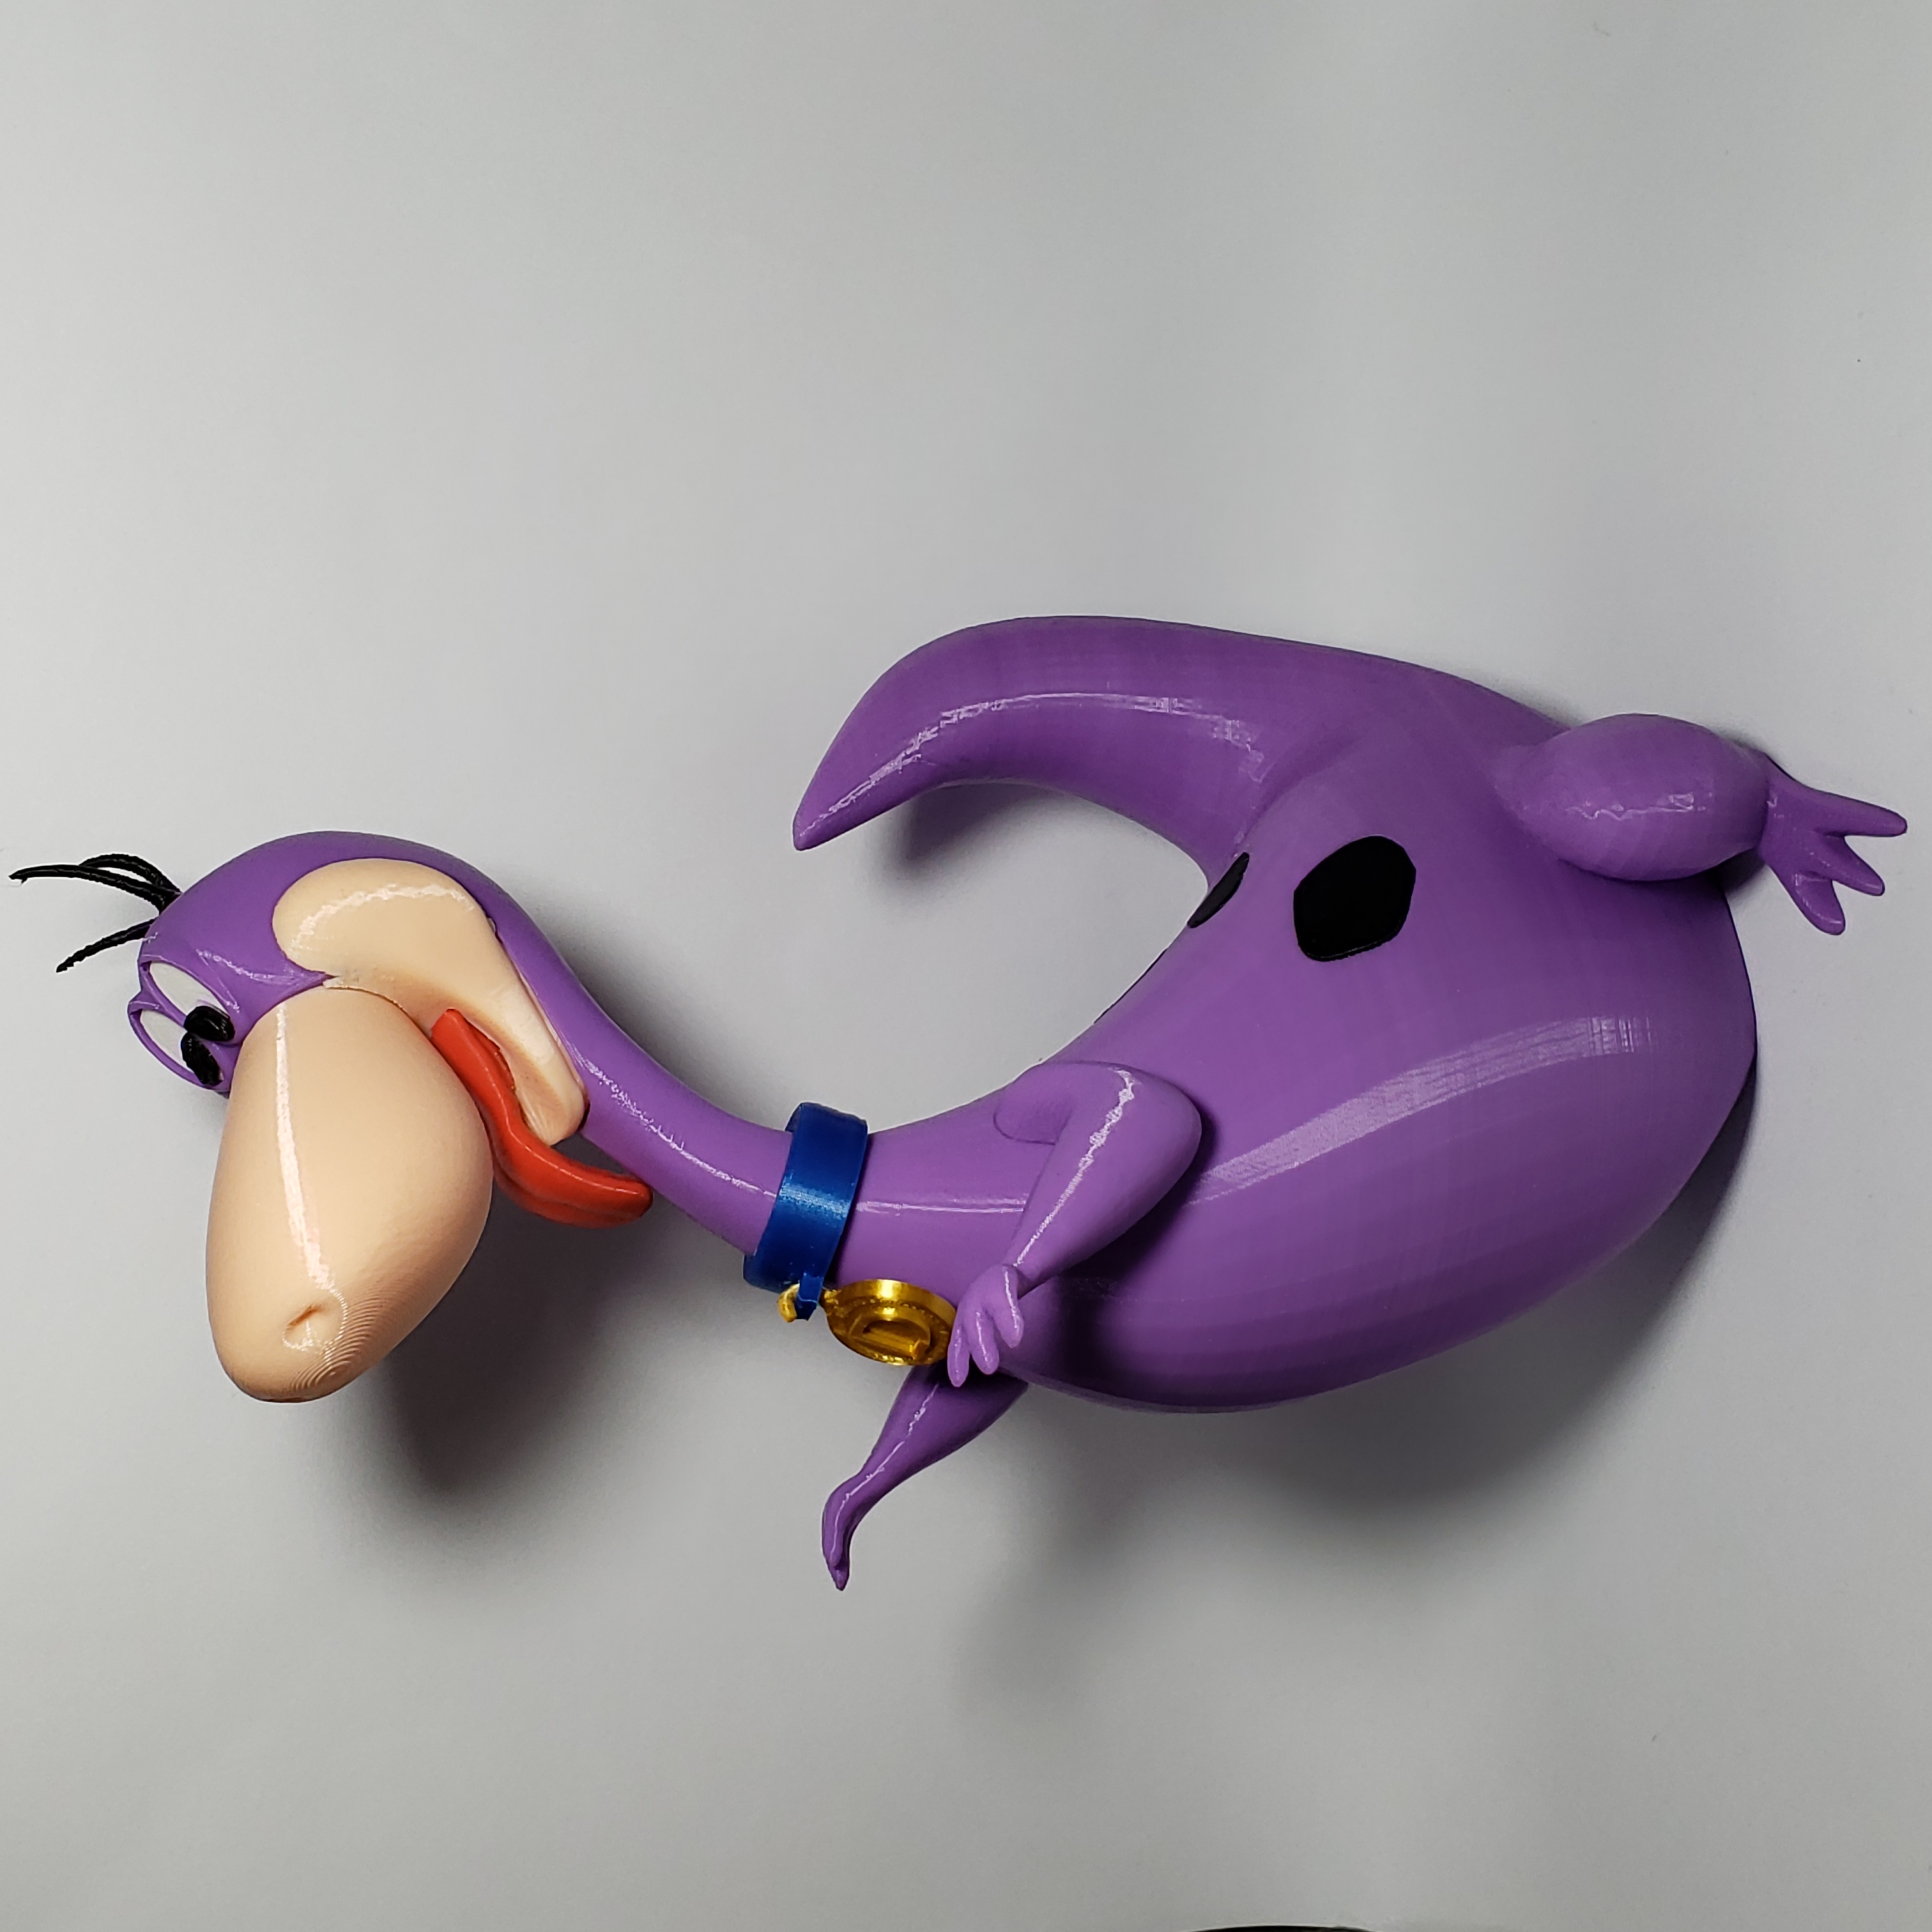
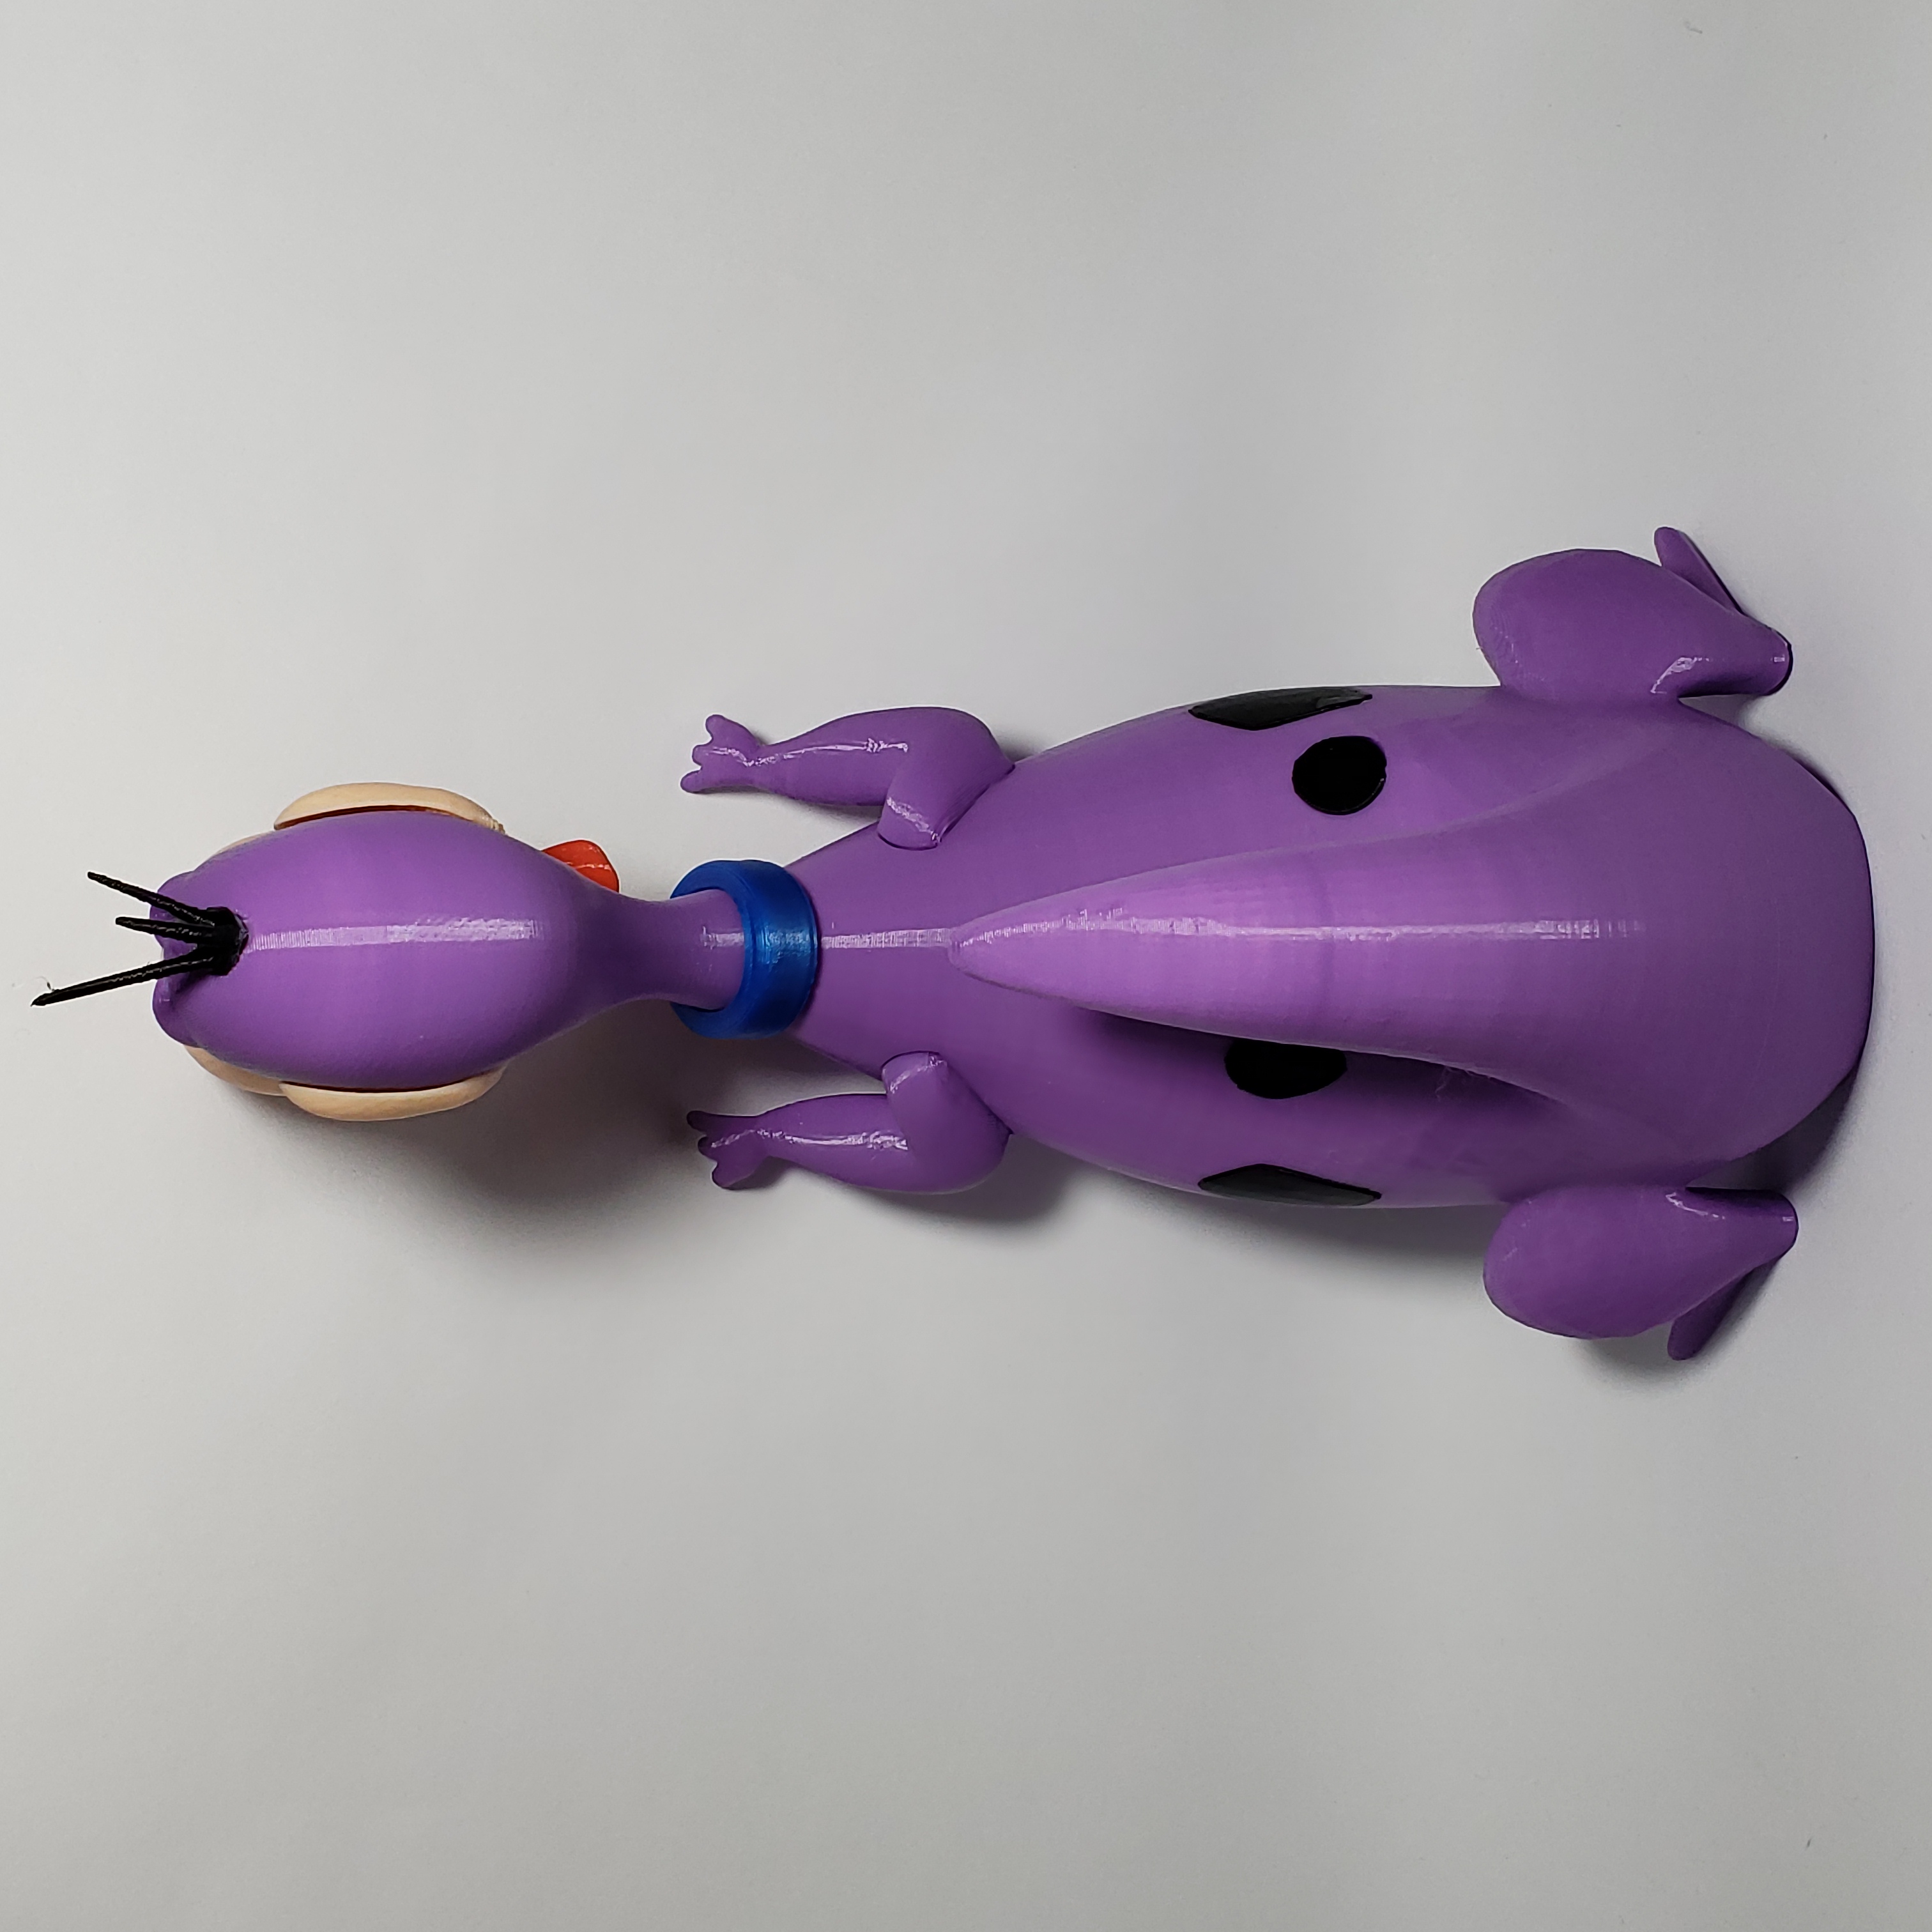
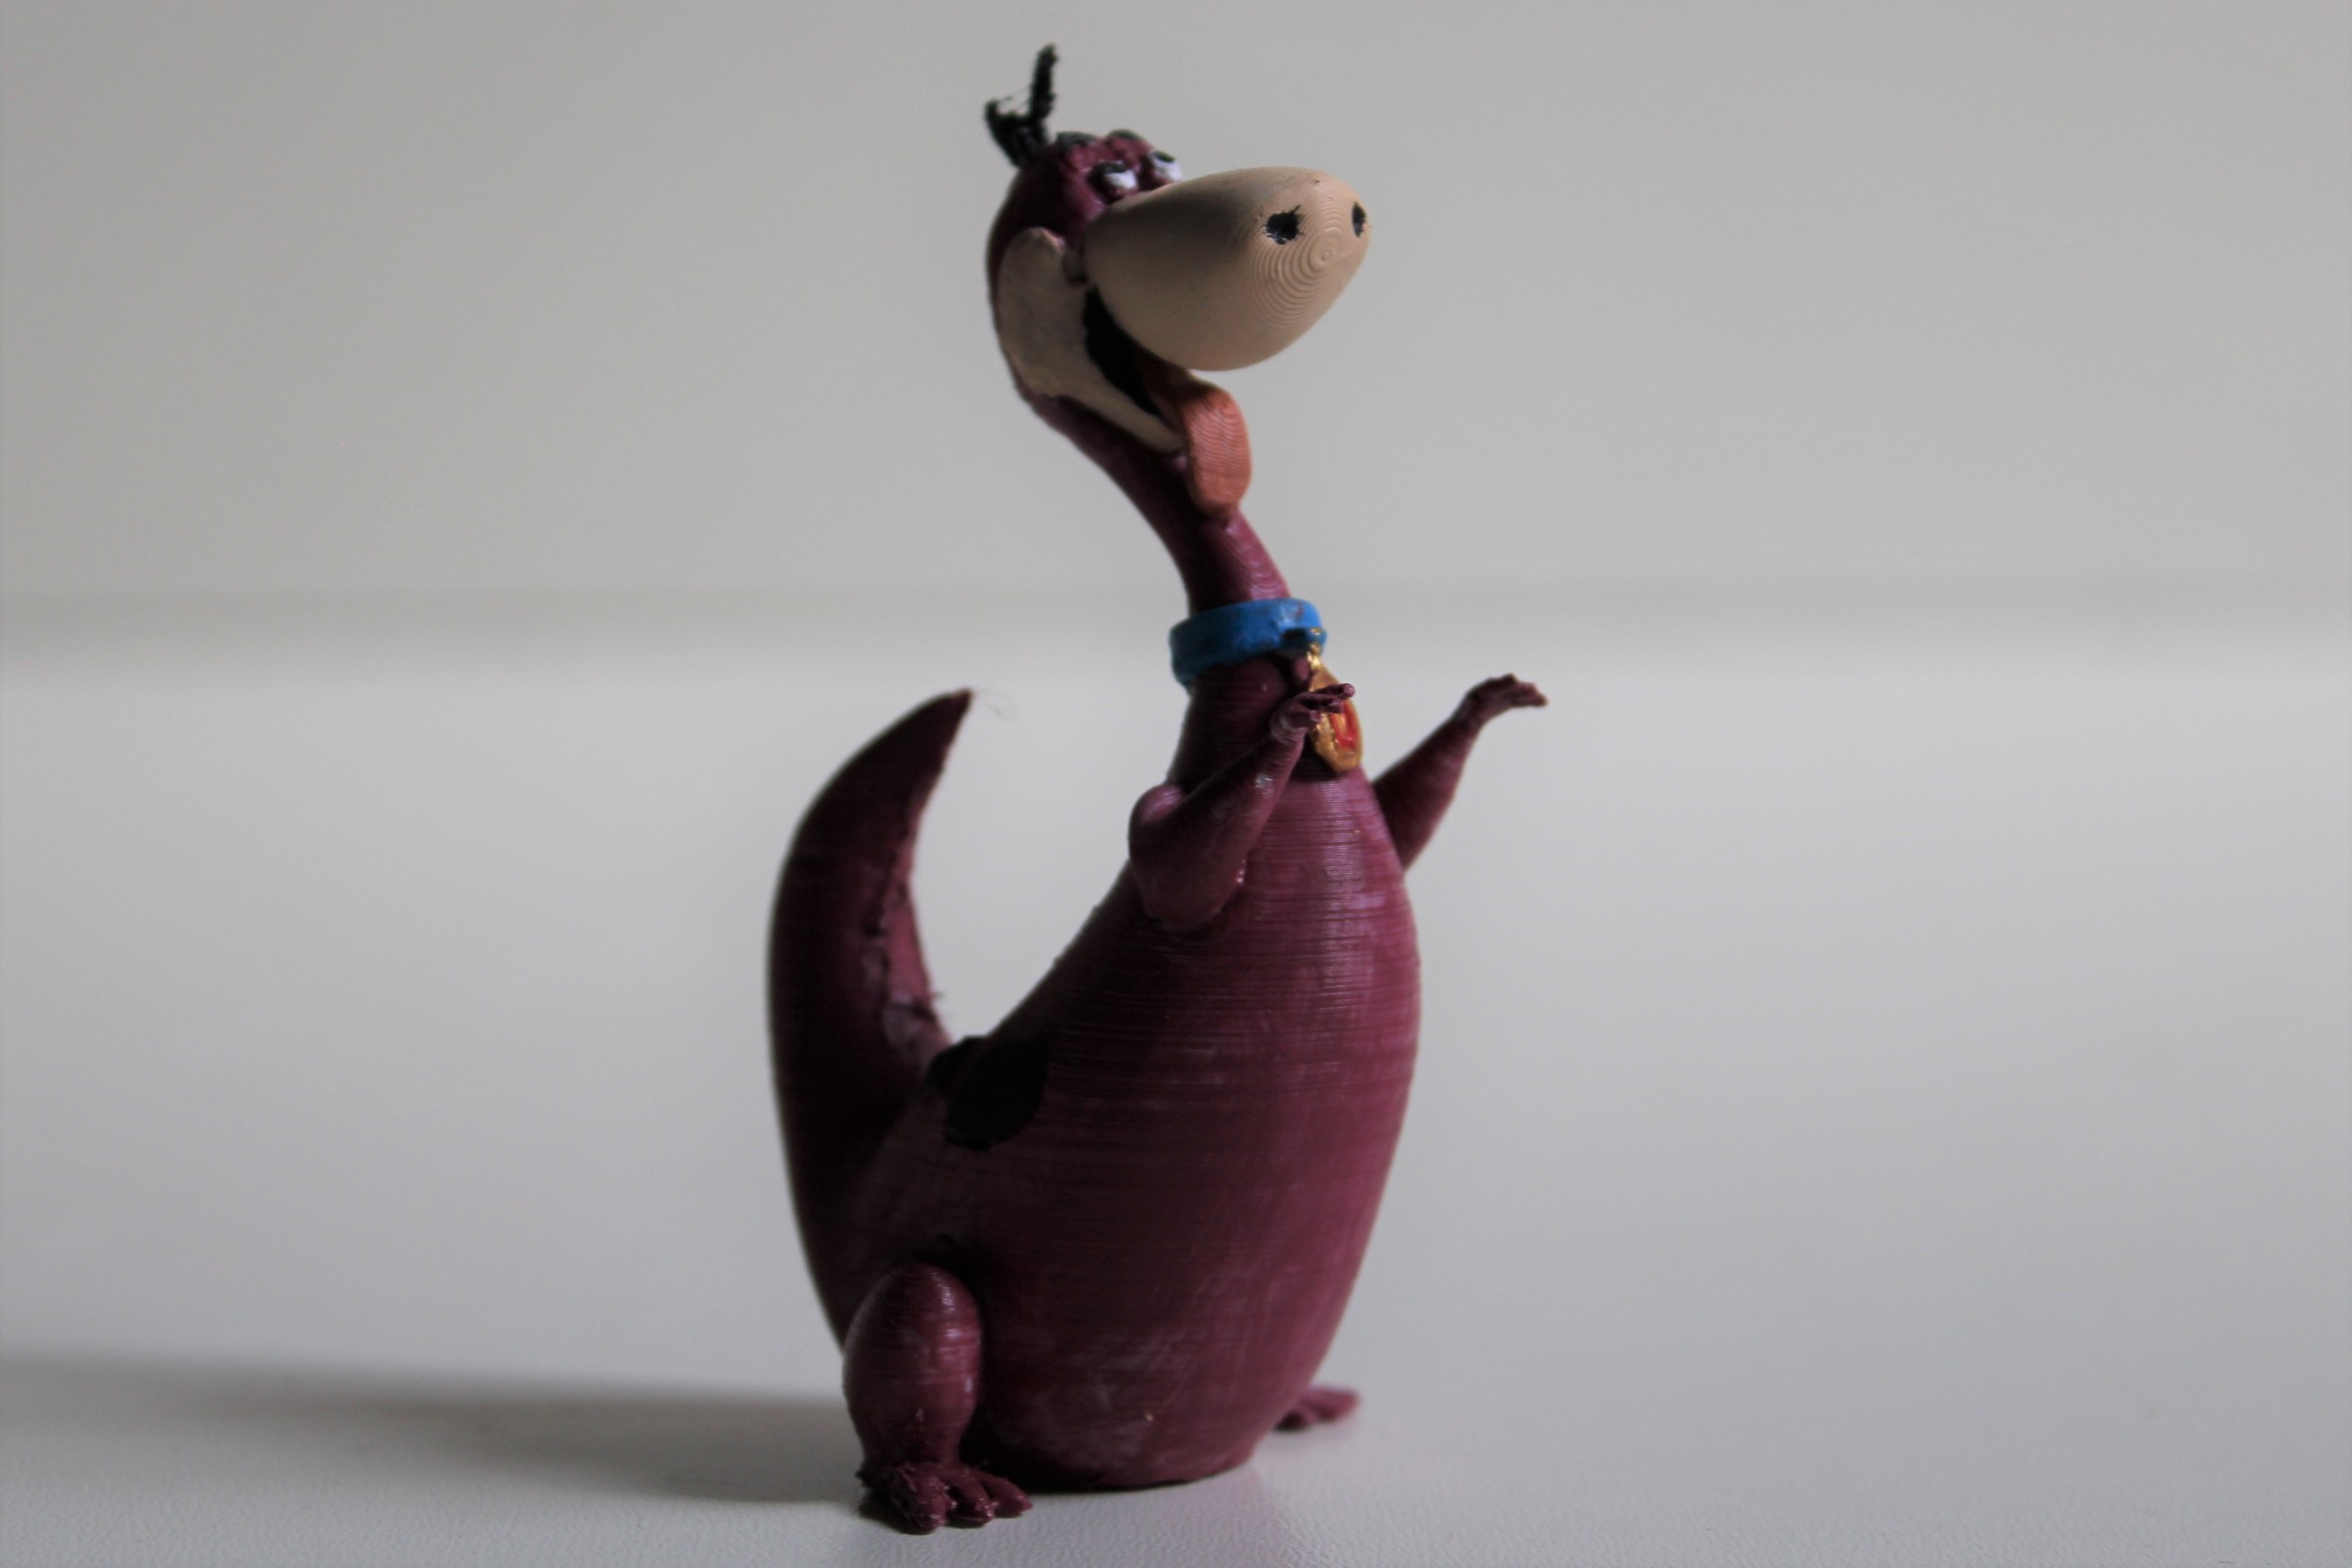
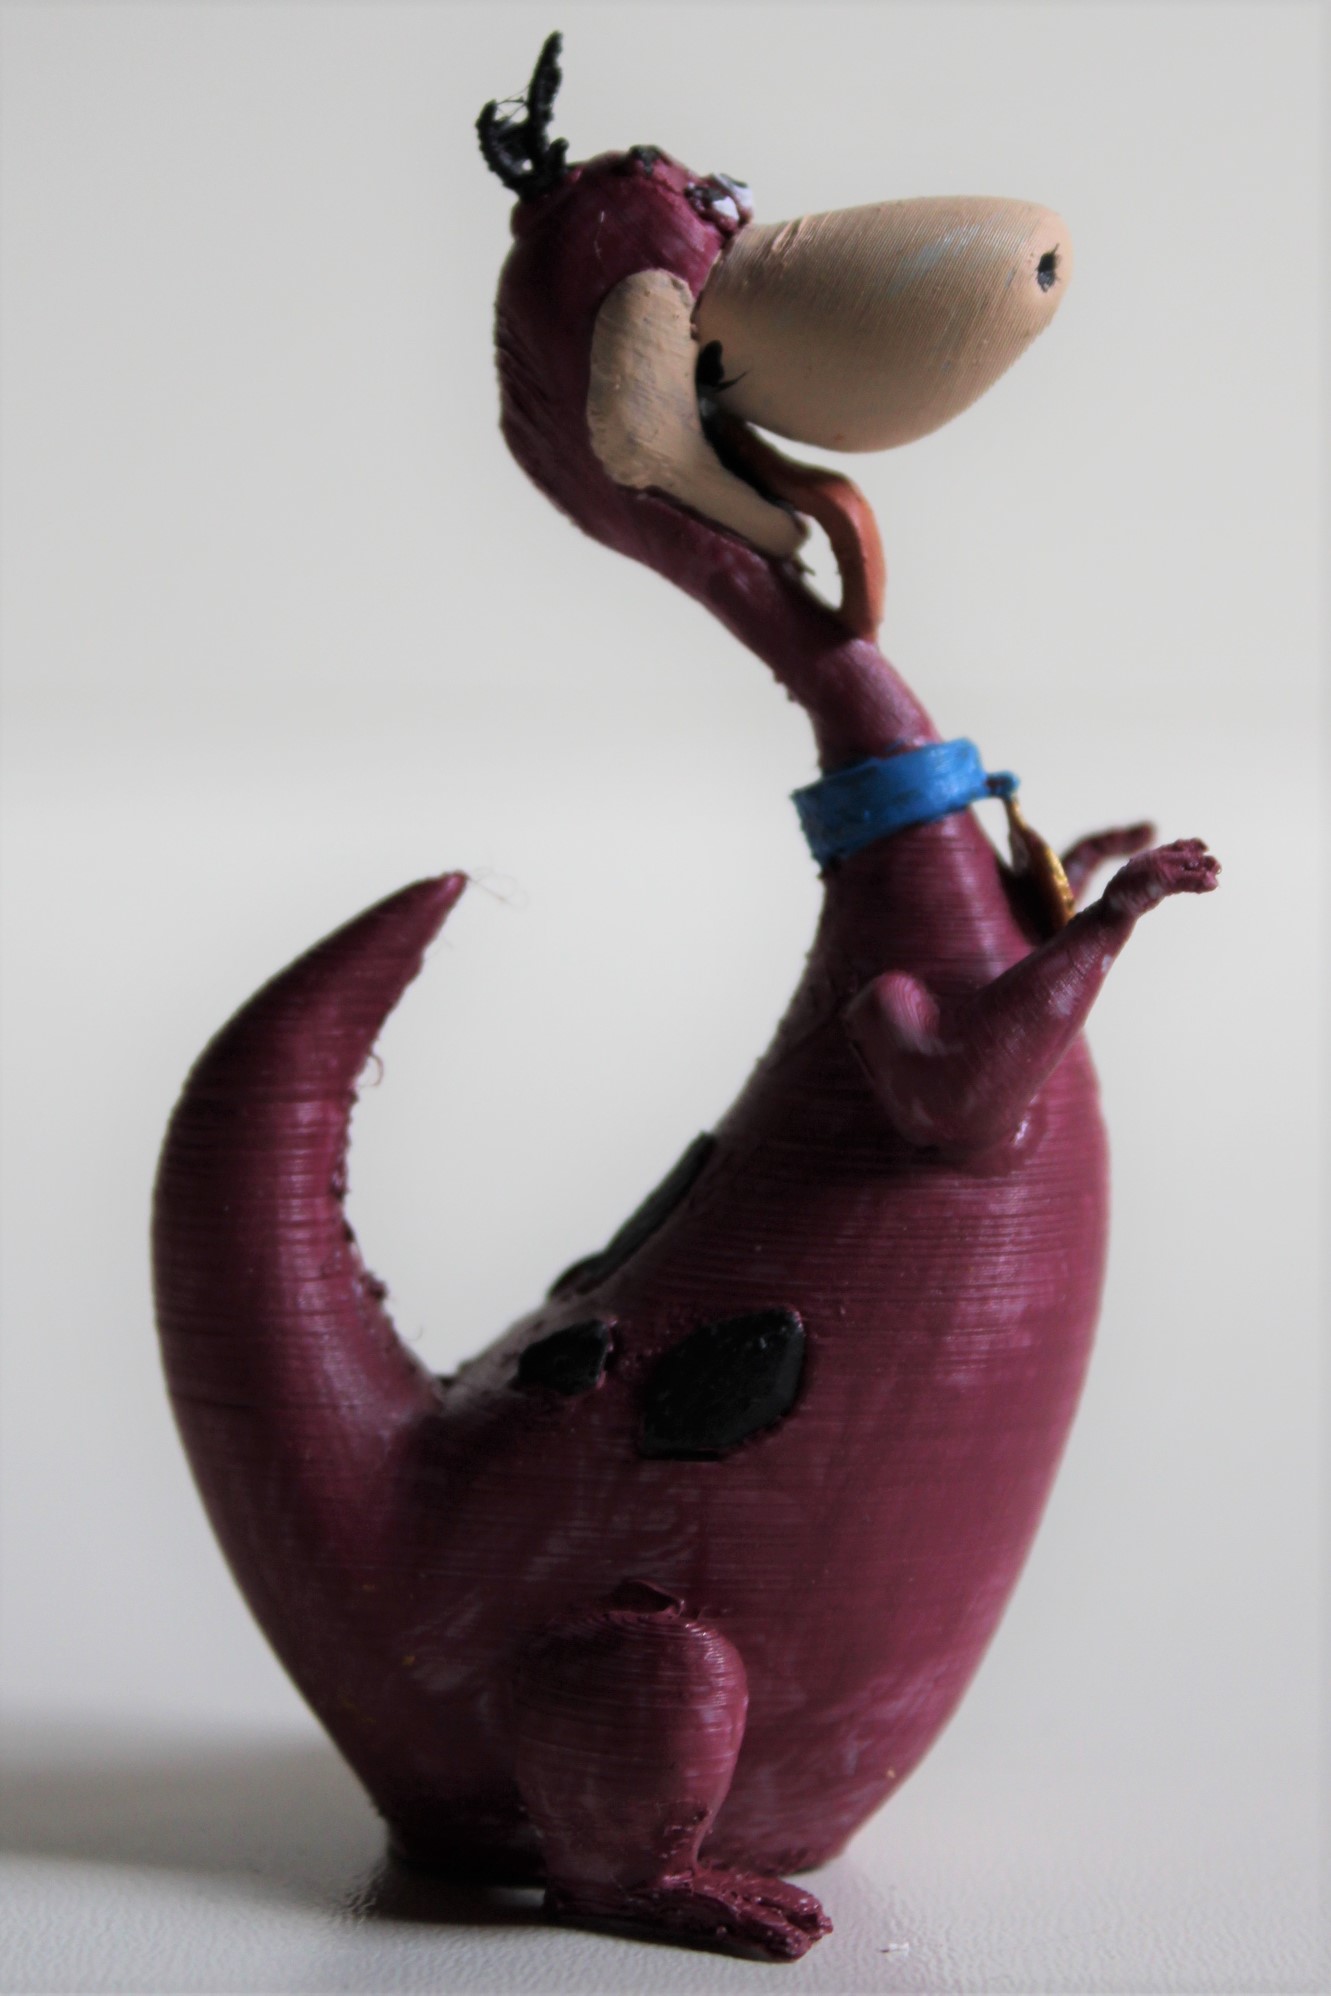
The Flintstones are one of my favorite childhood cartoons.
Dino was modeled in Blender, sliced using Simplify3D and printed in ABS on a FlashForge Creator X. I also used a GeckoTek plate to ensure perfect adhesion of the parts to the bed.
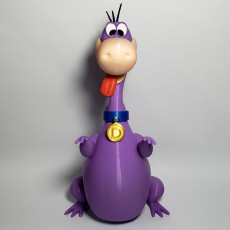
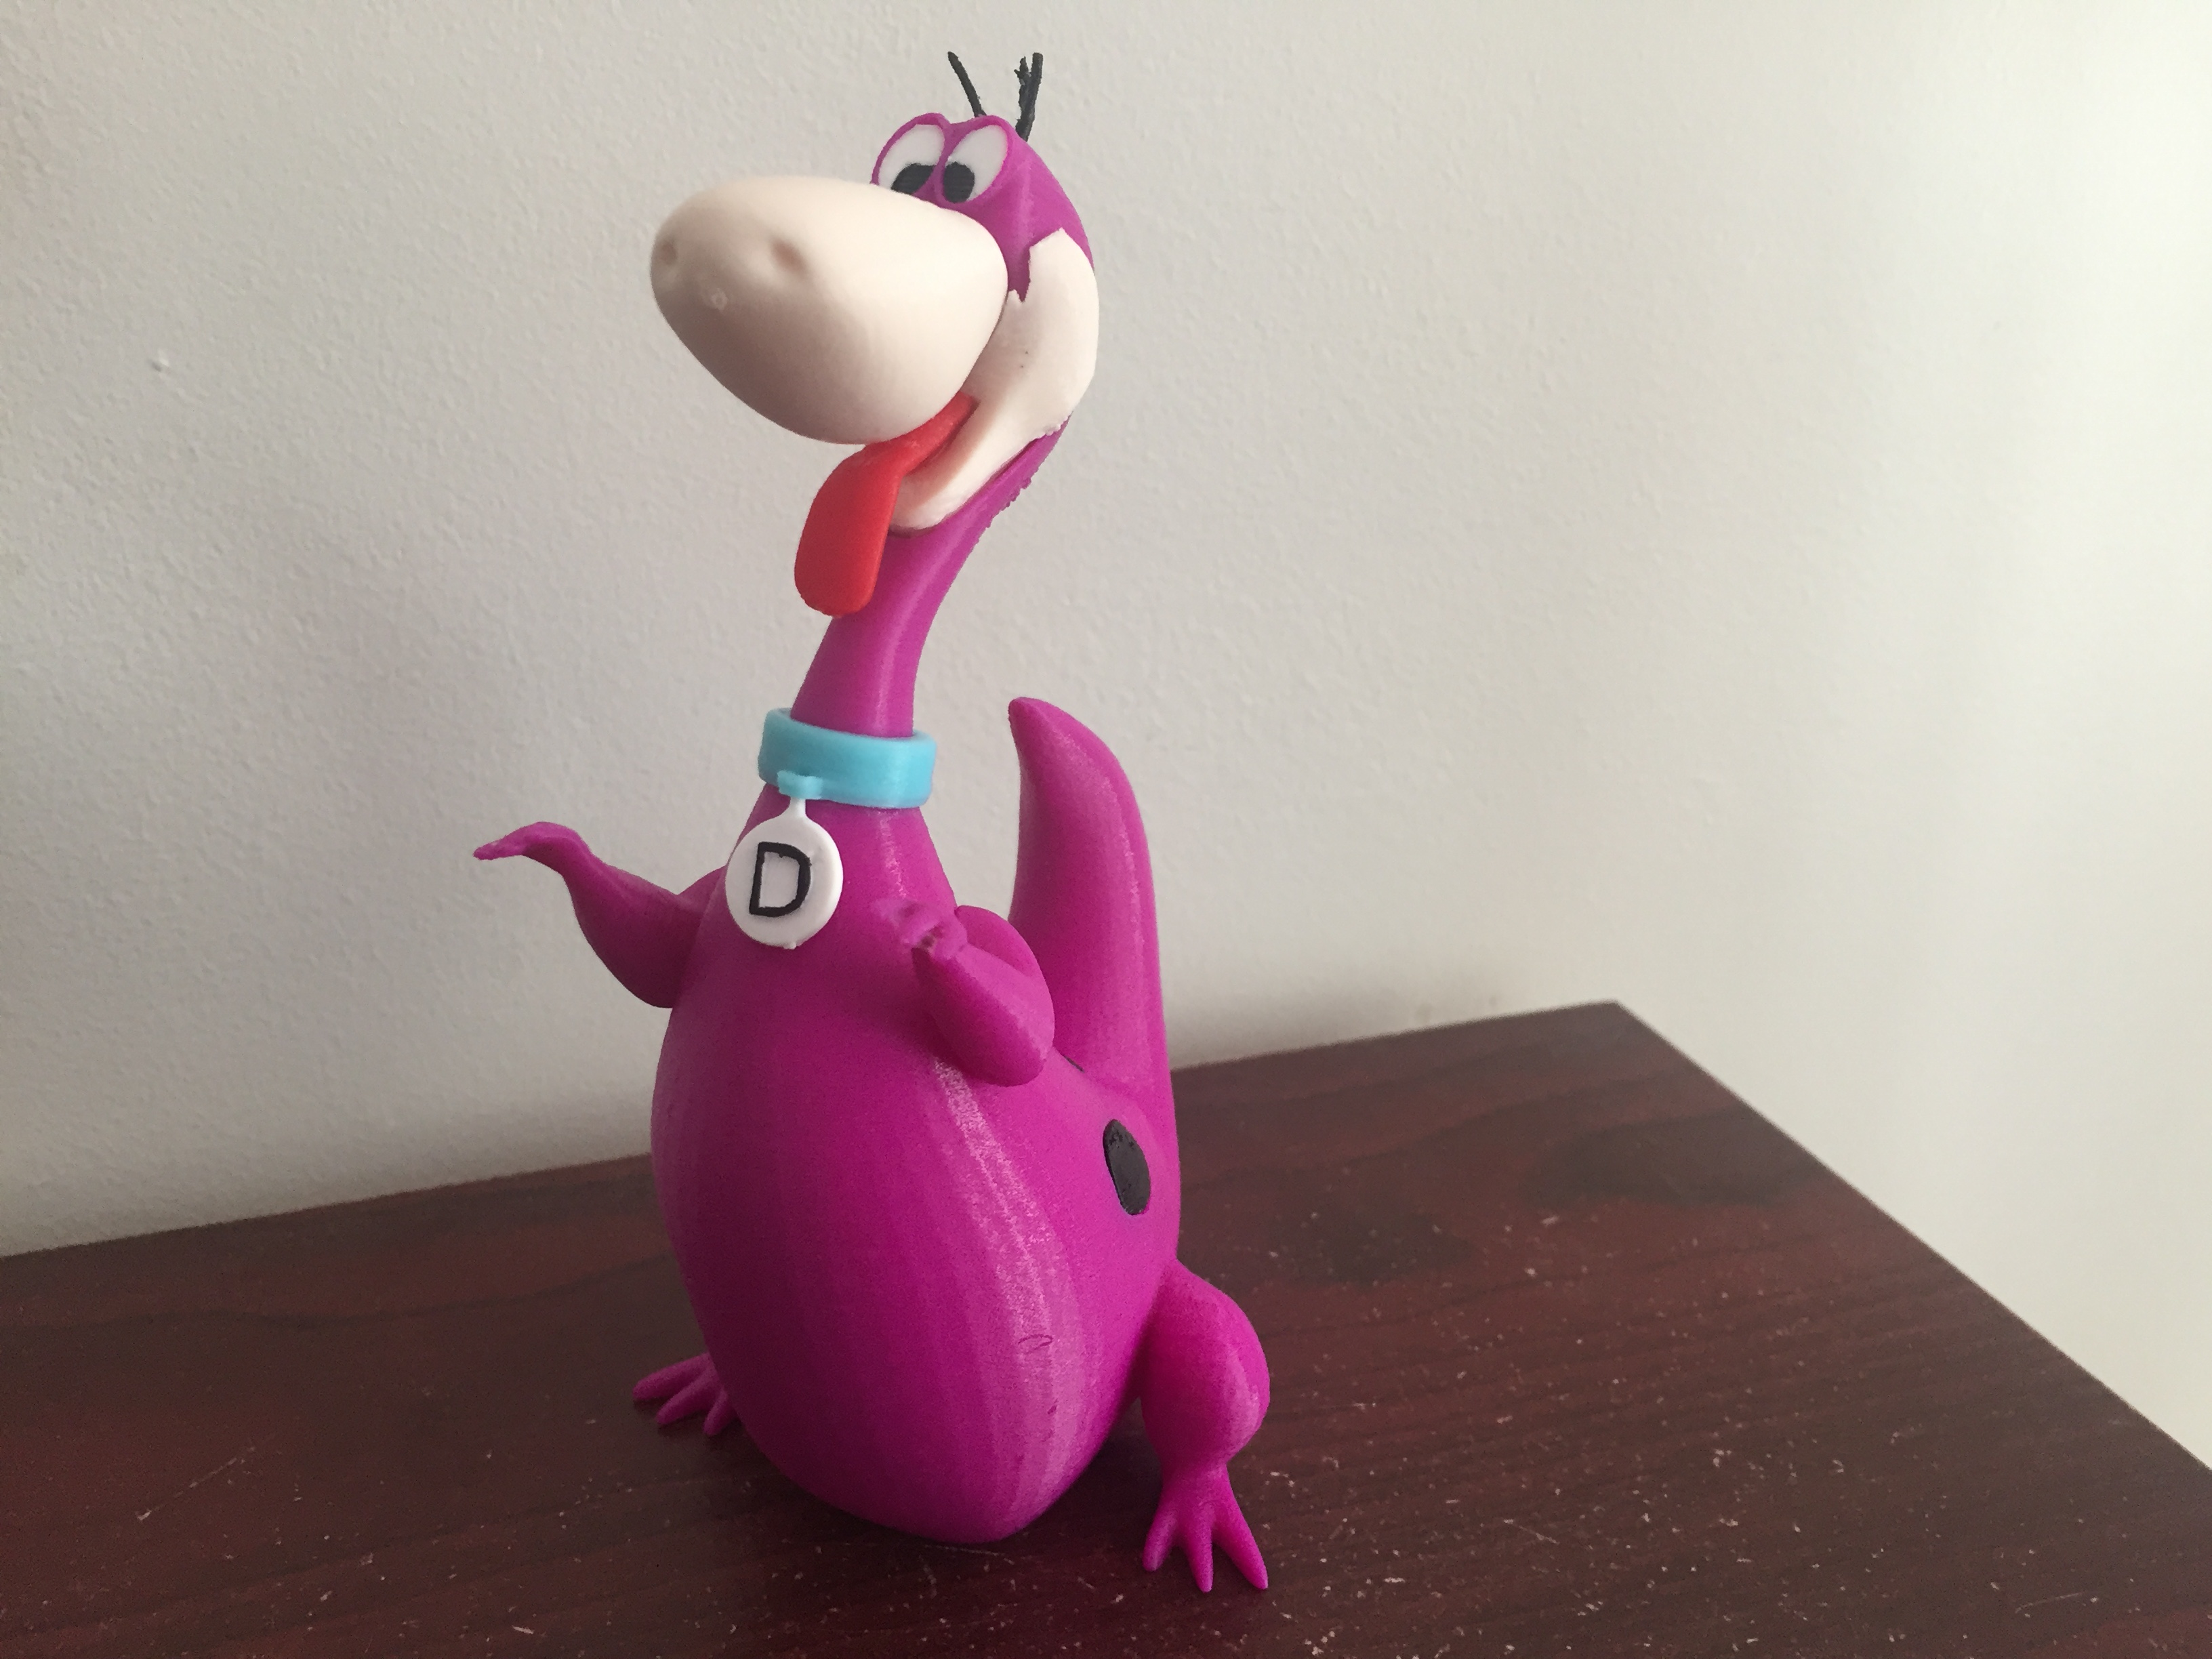
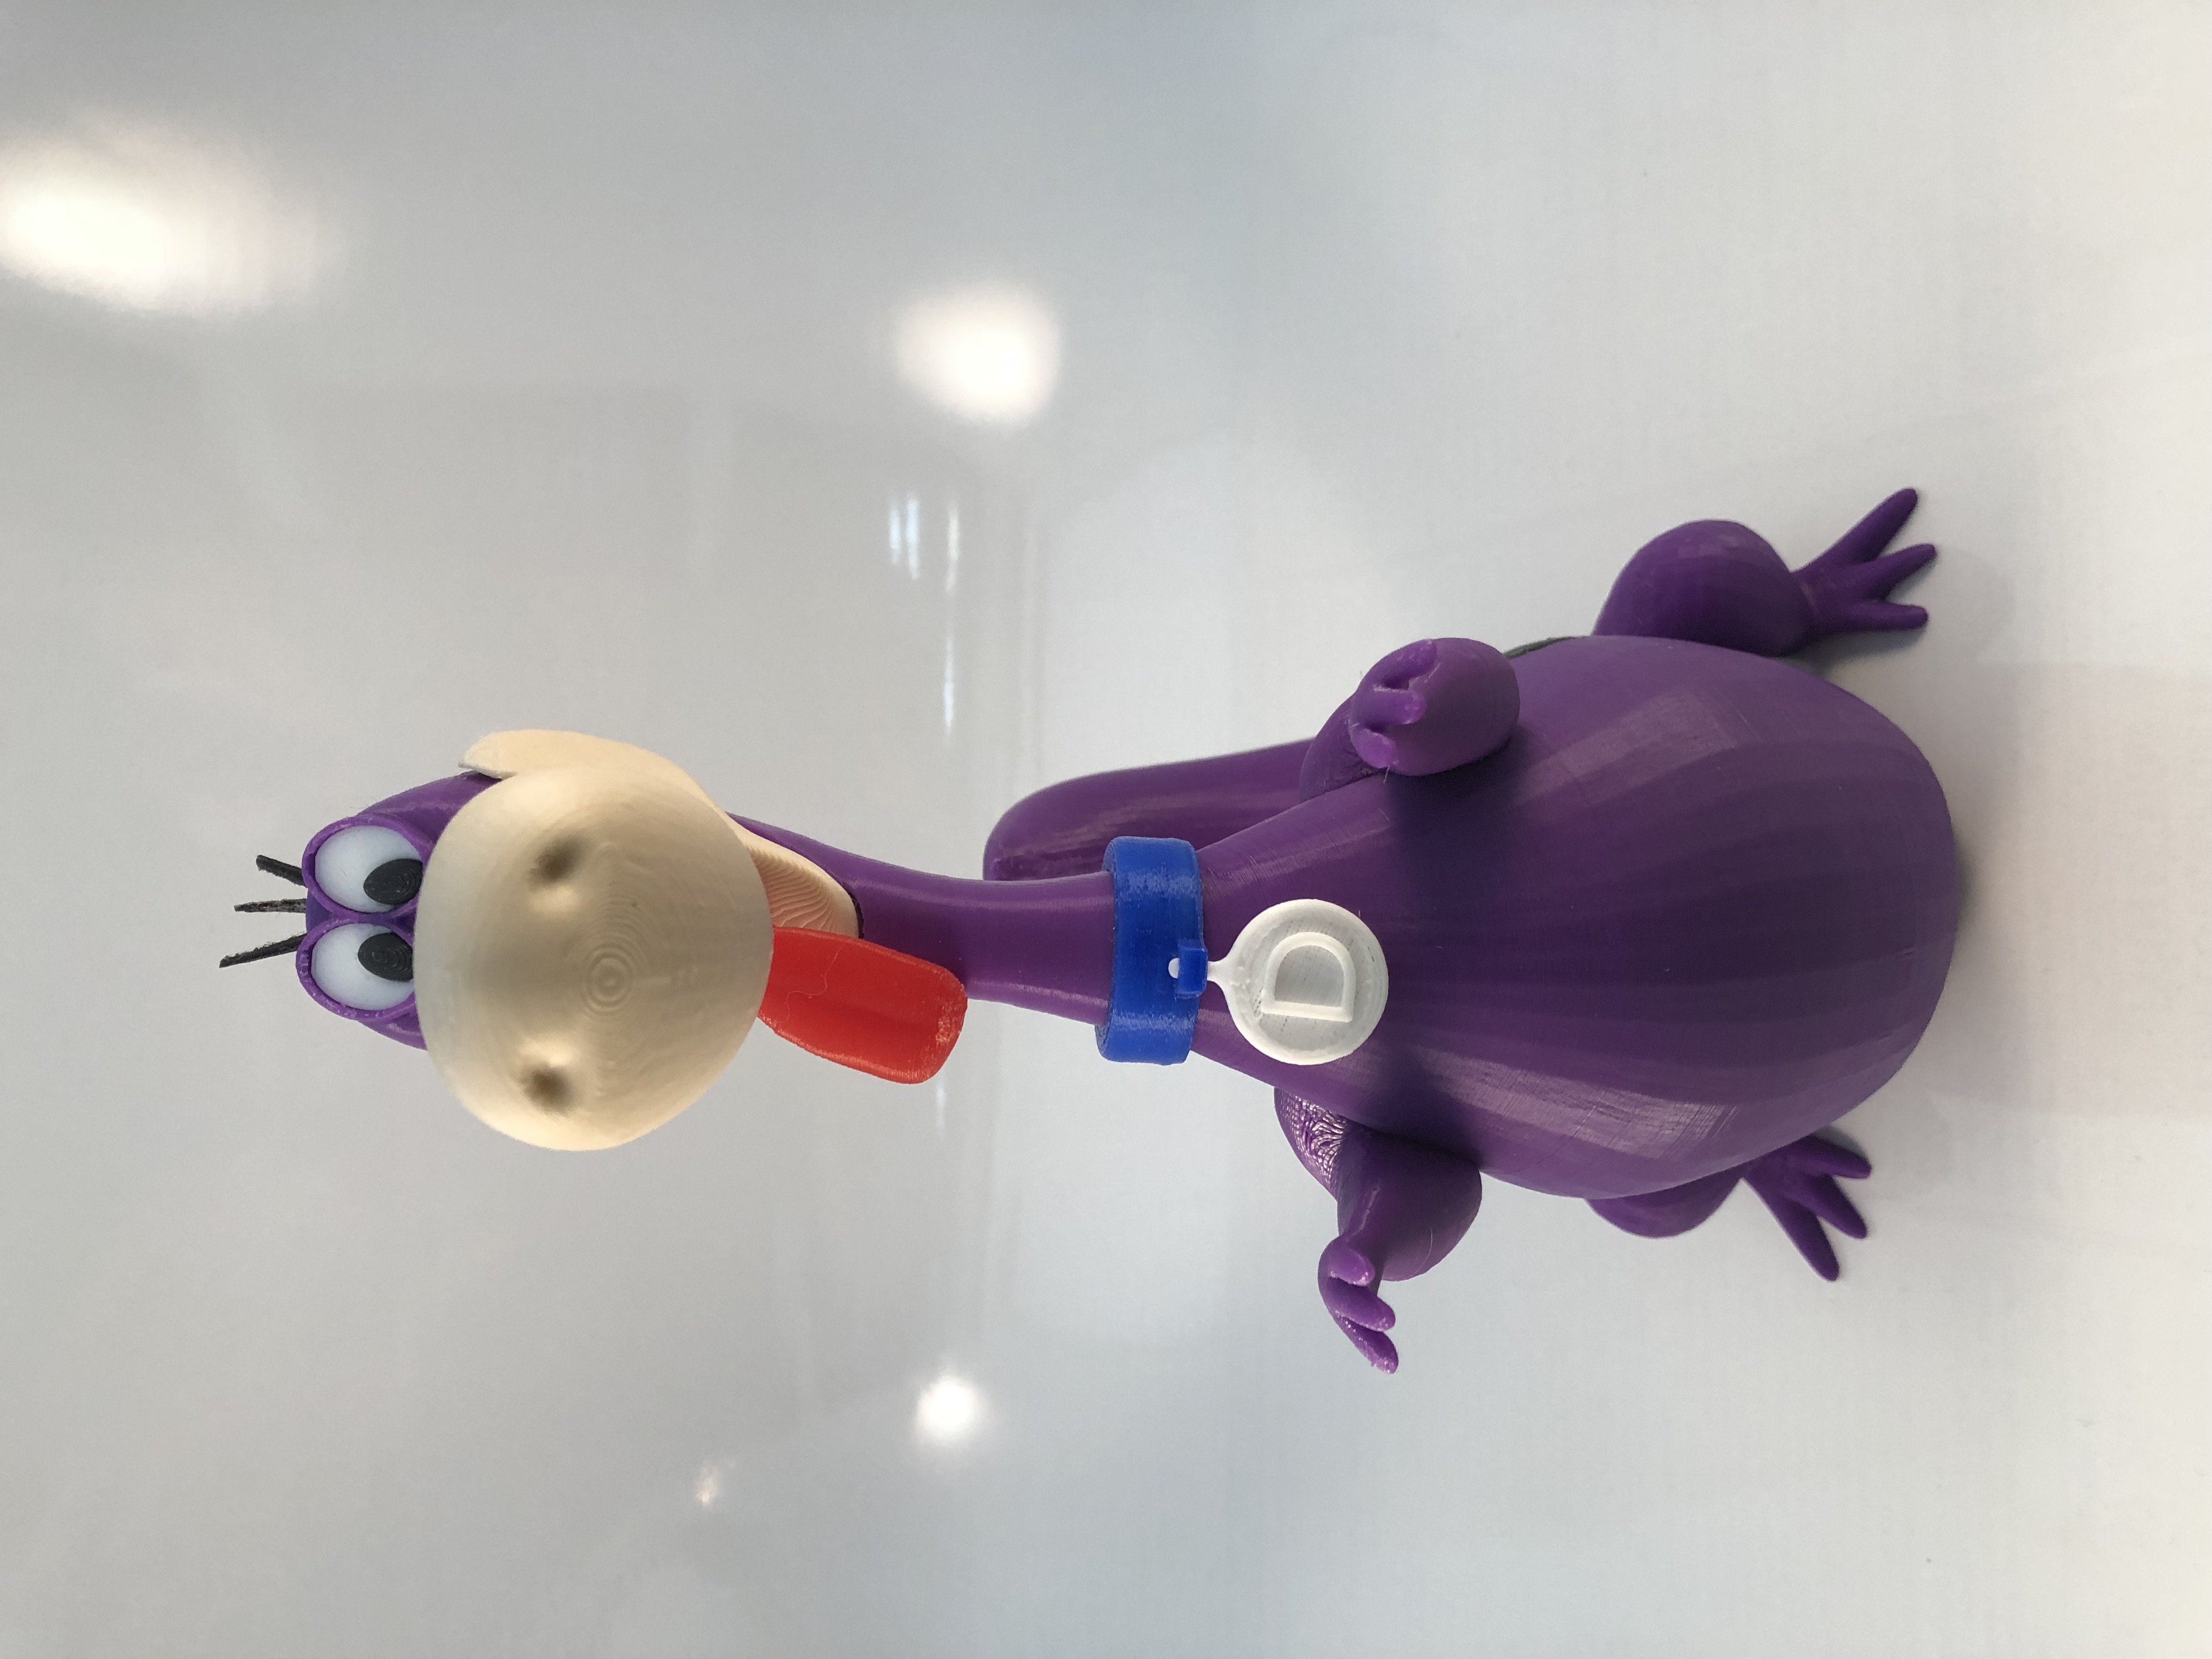
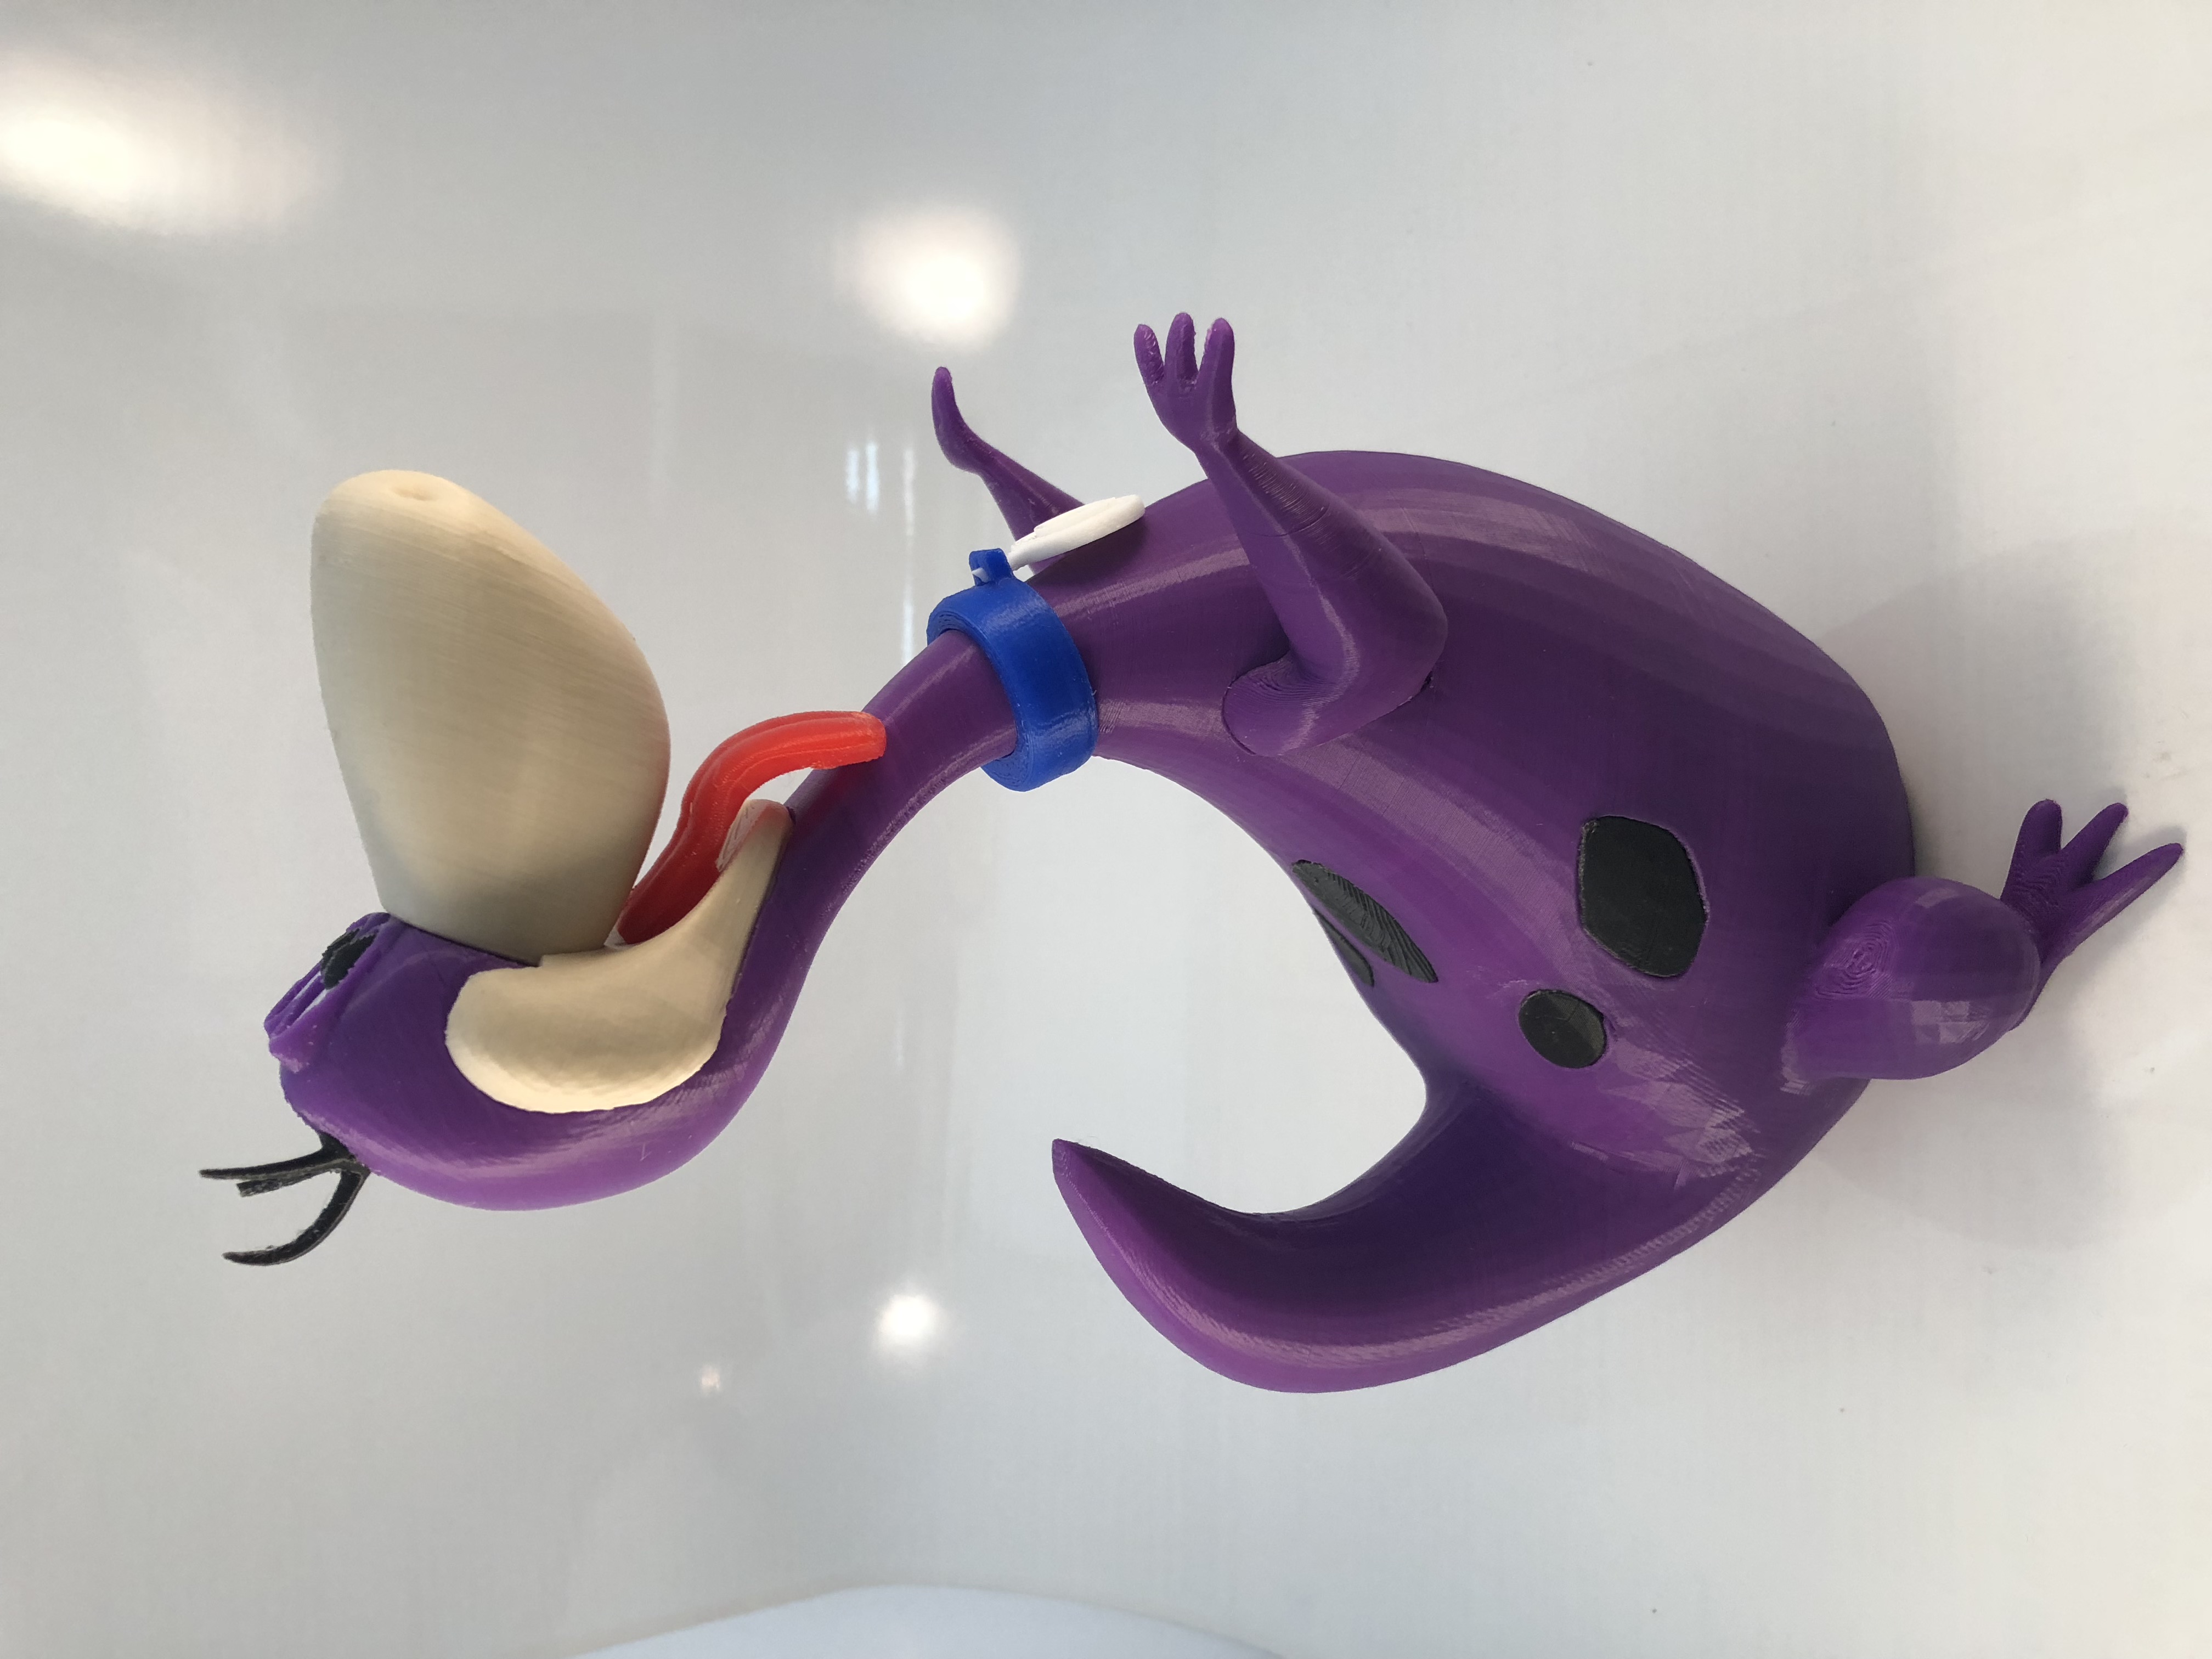
If you have the proper filament colors, no painting is required.
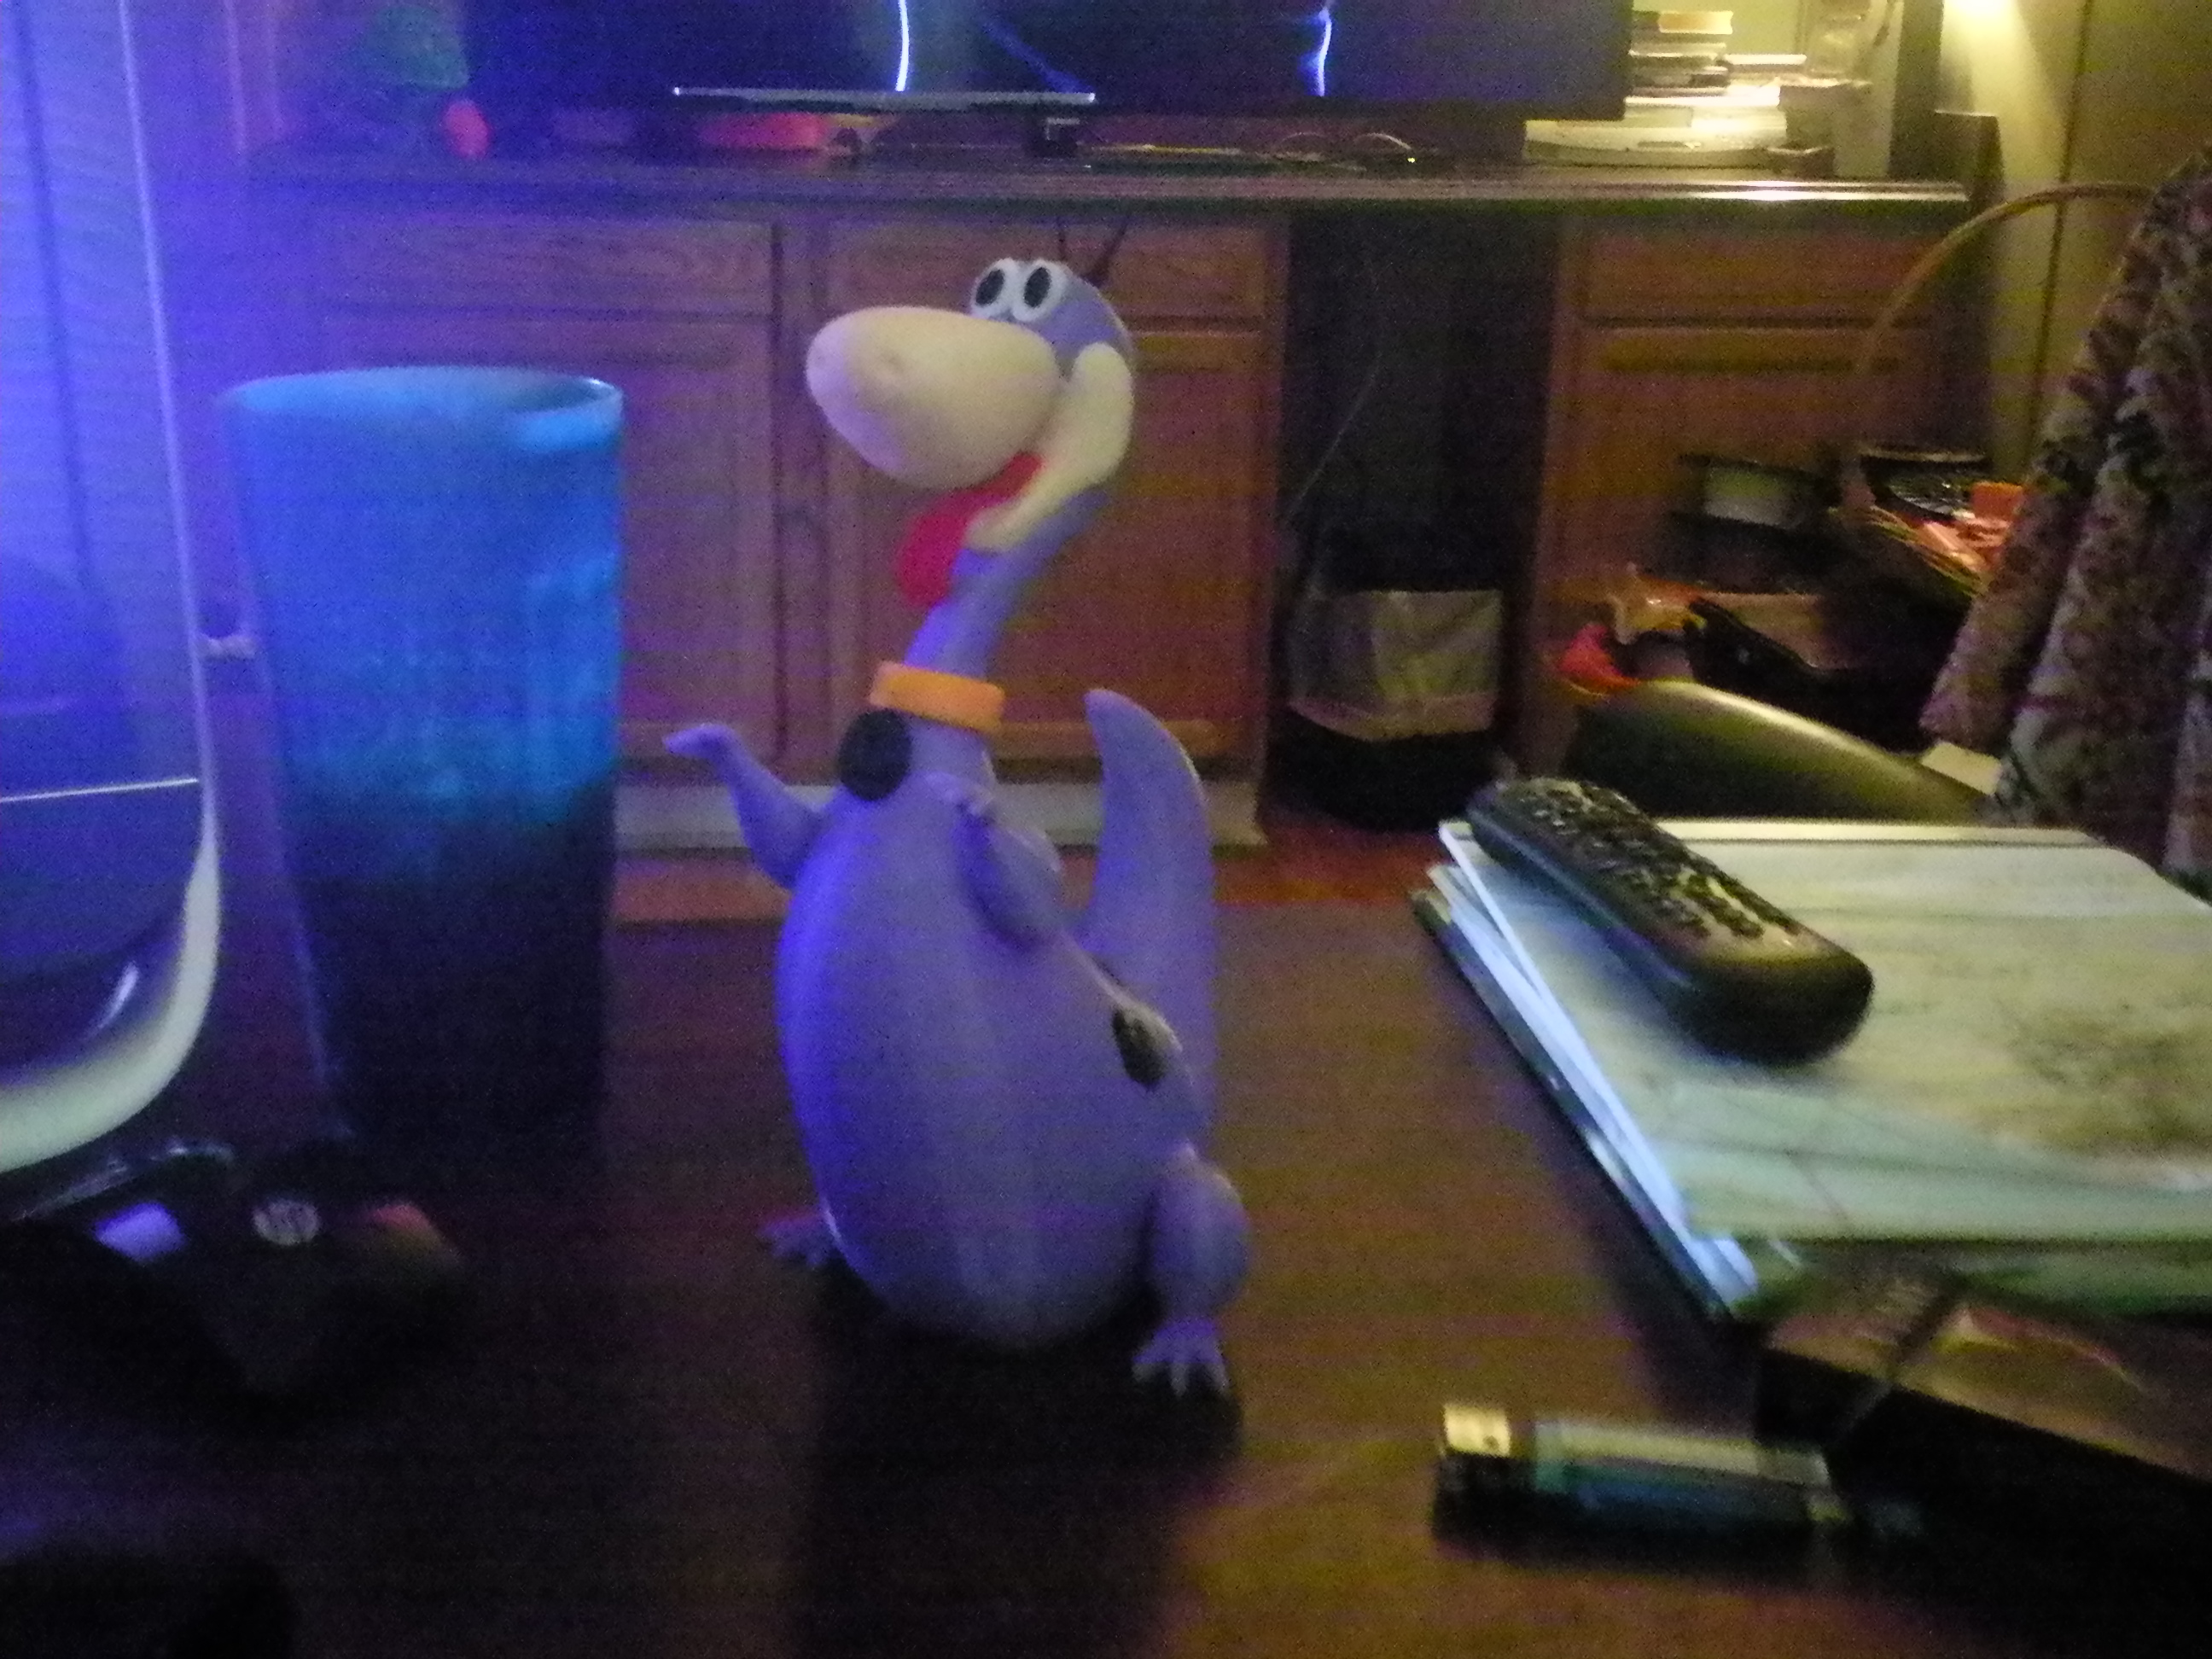
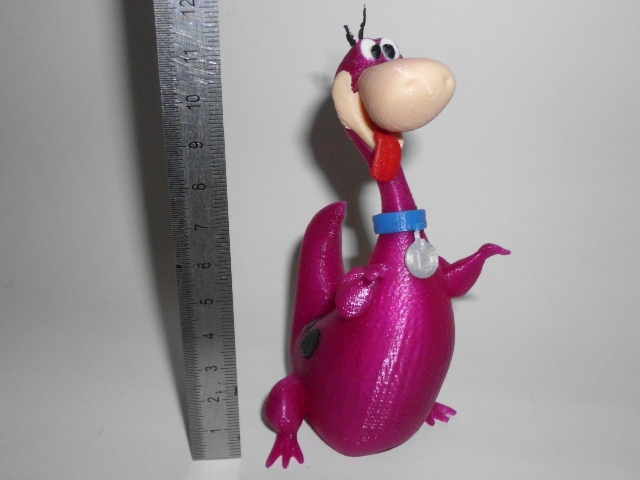
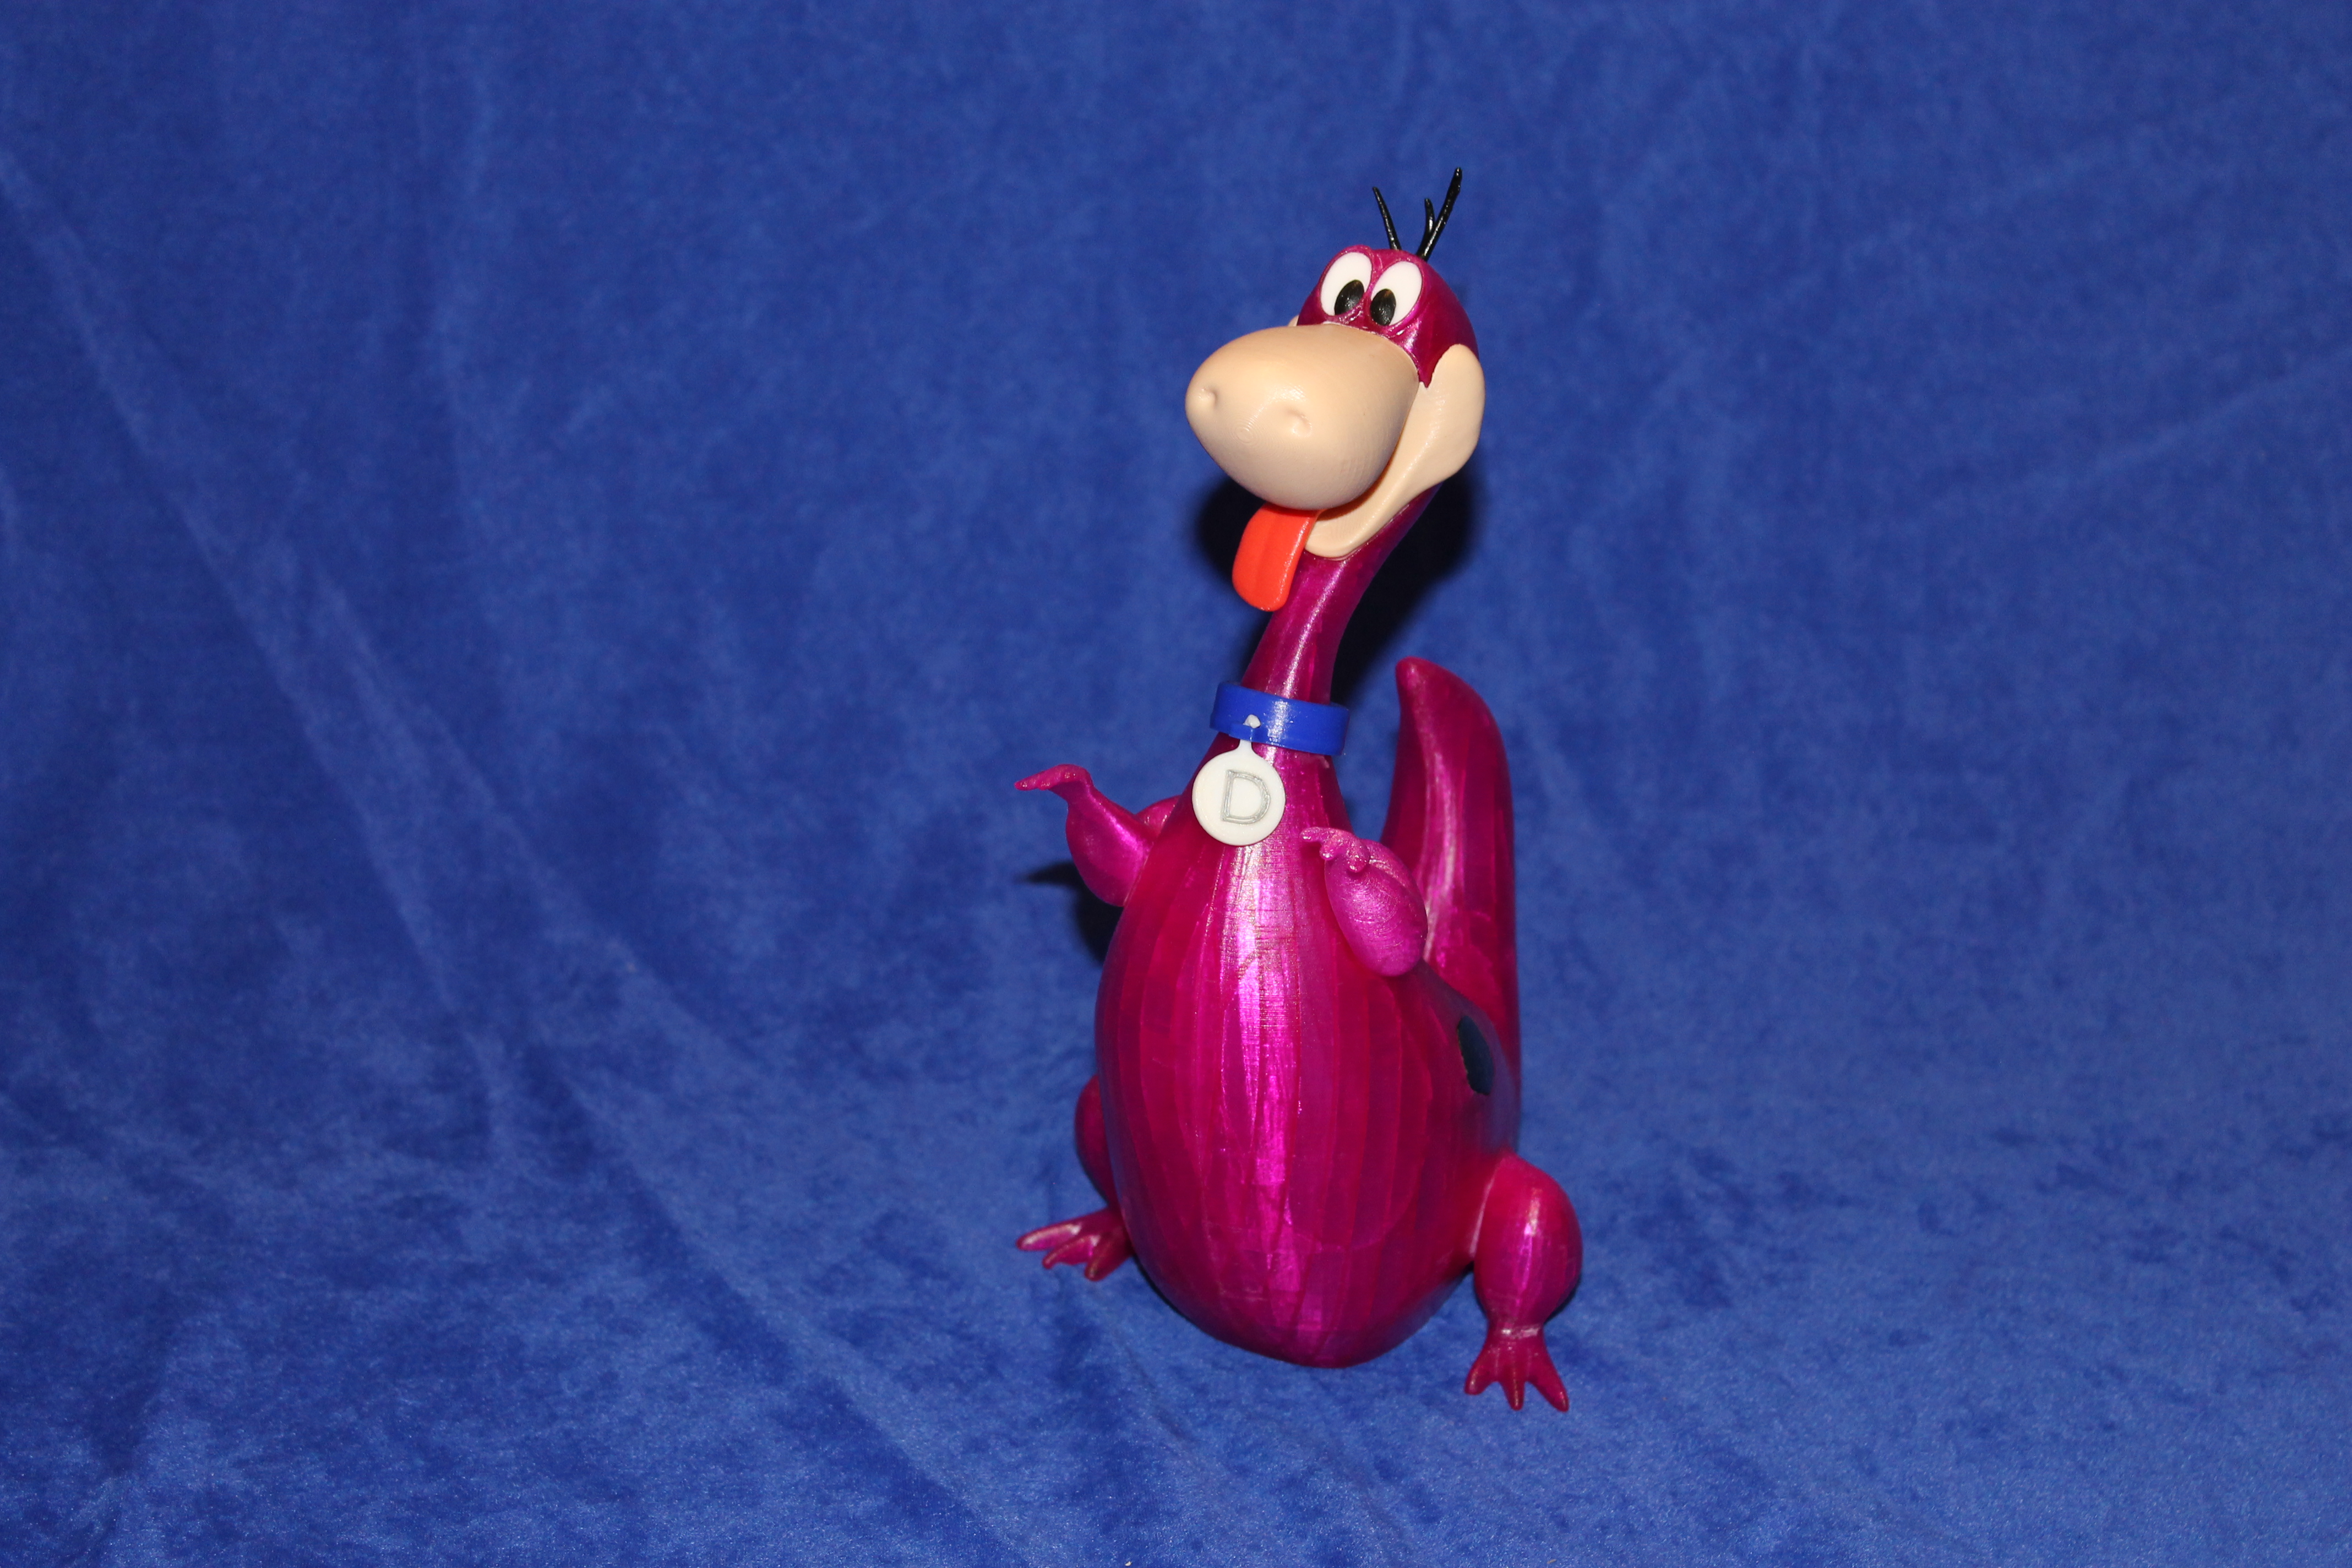
The model is 24cm tall.
Enjoy, and I hope you have a "Yaba Daba Do" time printing this!
---------------------------------------------------
3D PRINTING SETTINGS
Printer: FlashForge Creator X
Rafts: Yes
Supports: Yes
Resolution: .2mm
Infill: 10%
Notes:
Only a few pieces require some very minor supports and a raft. The majority of pieces do not require either. Refer to the notes below for details. I print all my models using 2 shells.
Colors
Black:
eyes
hair
spot1
spot2
spot3
spot4
spot5
Purple:
body
head
armr
arml
White:
eye_whites
tag
Beige/Pink/Skin (I used a light beige):
mouth
nose
Blue:
collar
Red:
tongue
Extra notes for printing
Pieces requiring minor supports around the low curves at the base:
armr, arml, mouth.
Pieces that may require a raft or brim (I use a brim):
tongue, head. I did not use a brim on the nose, but you may needed one.
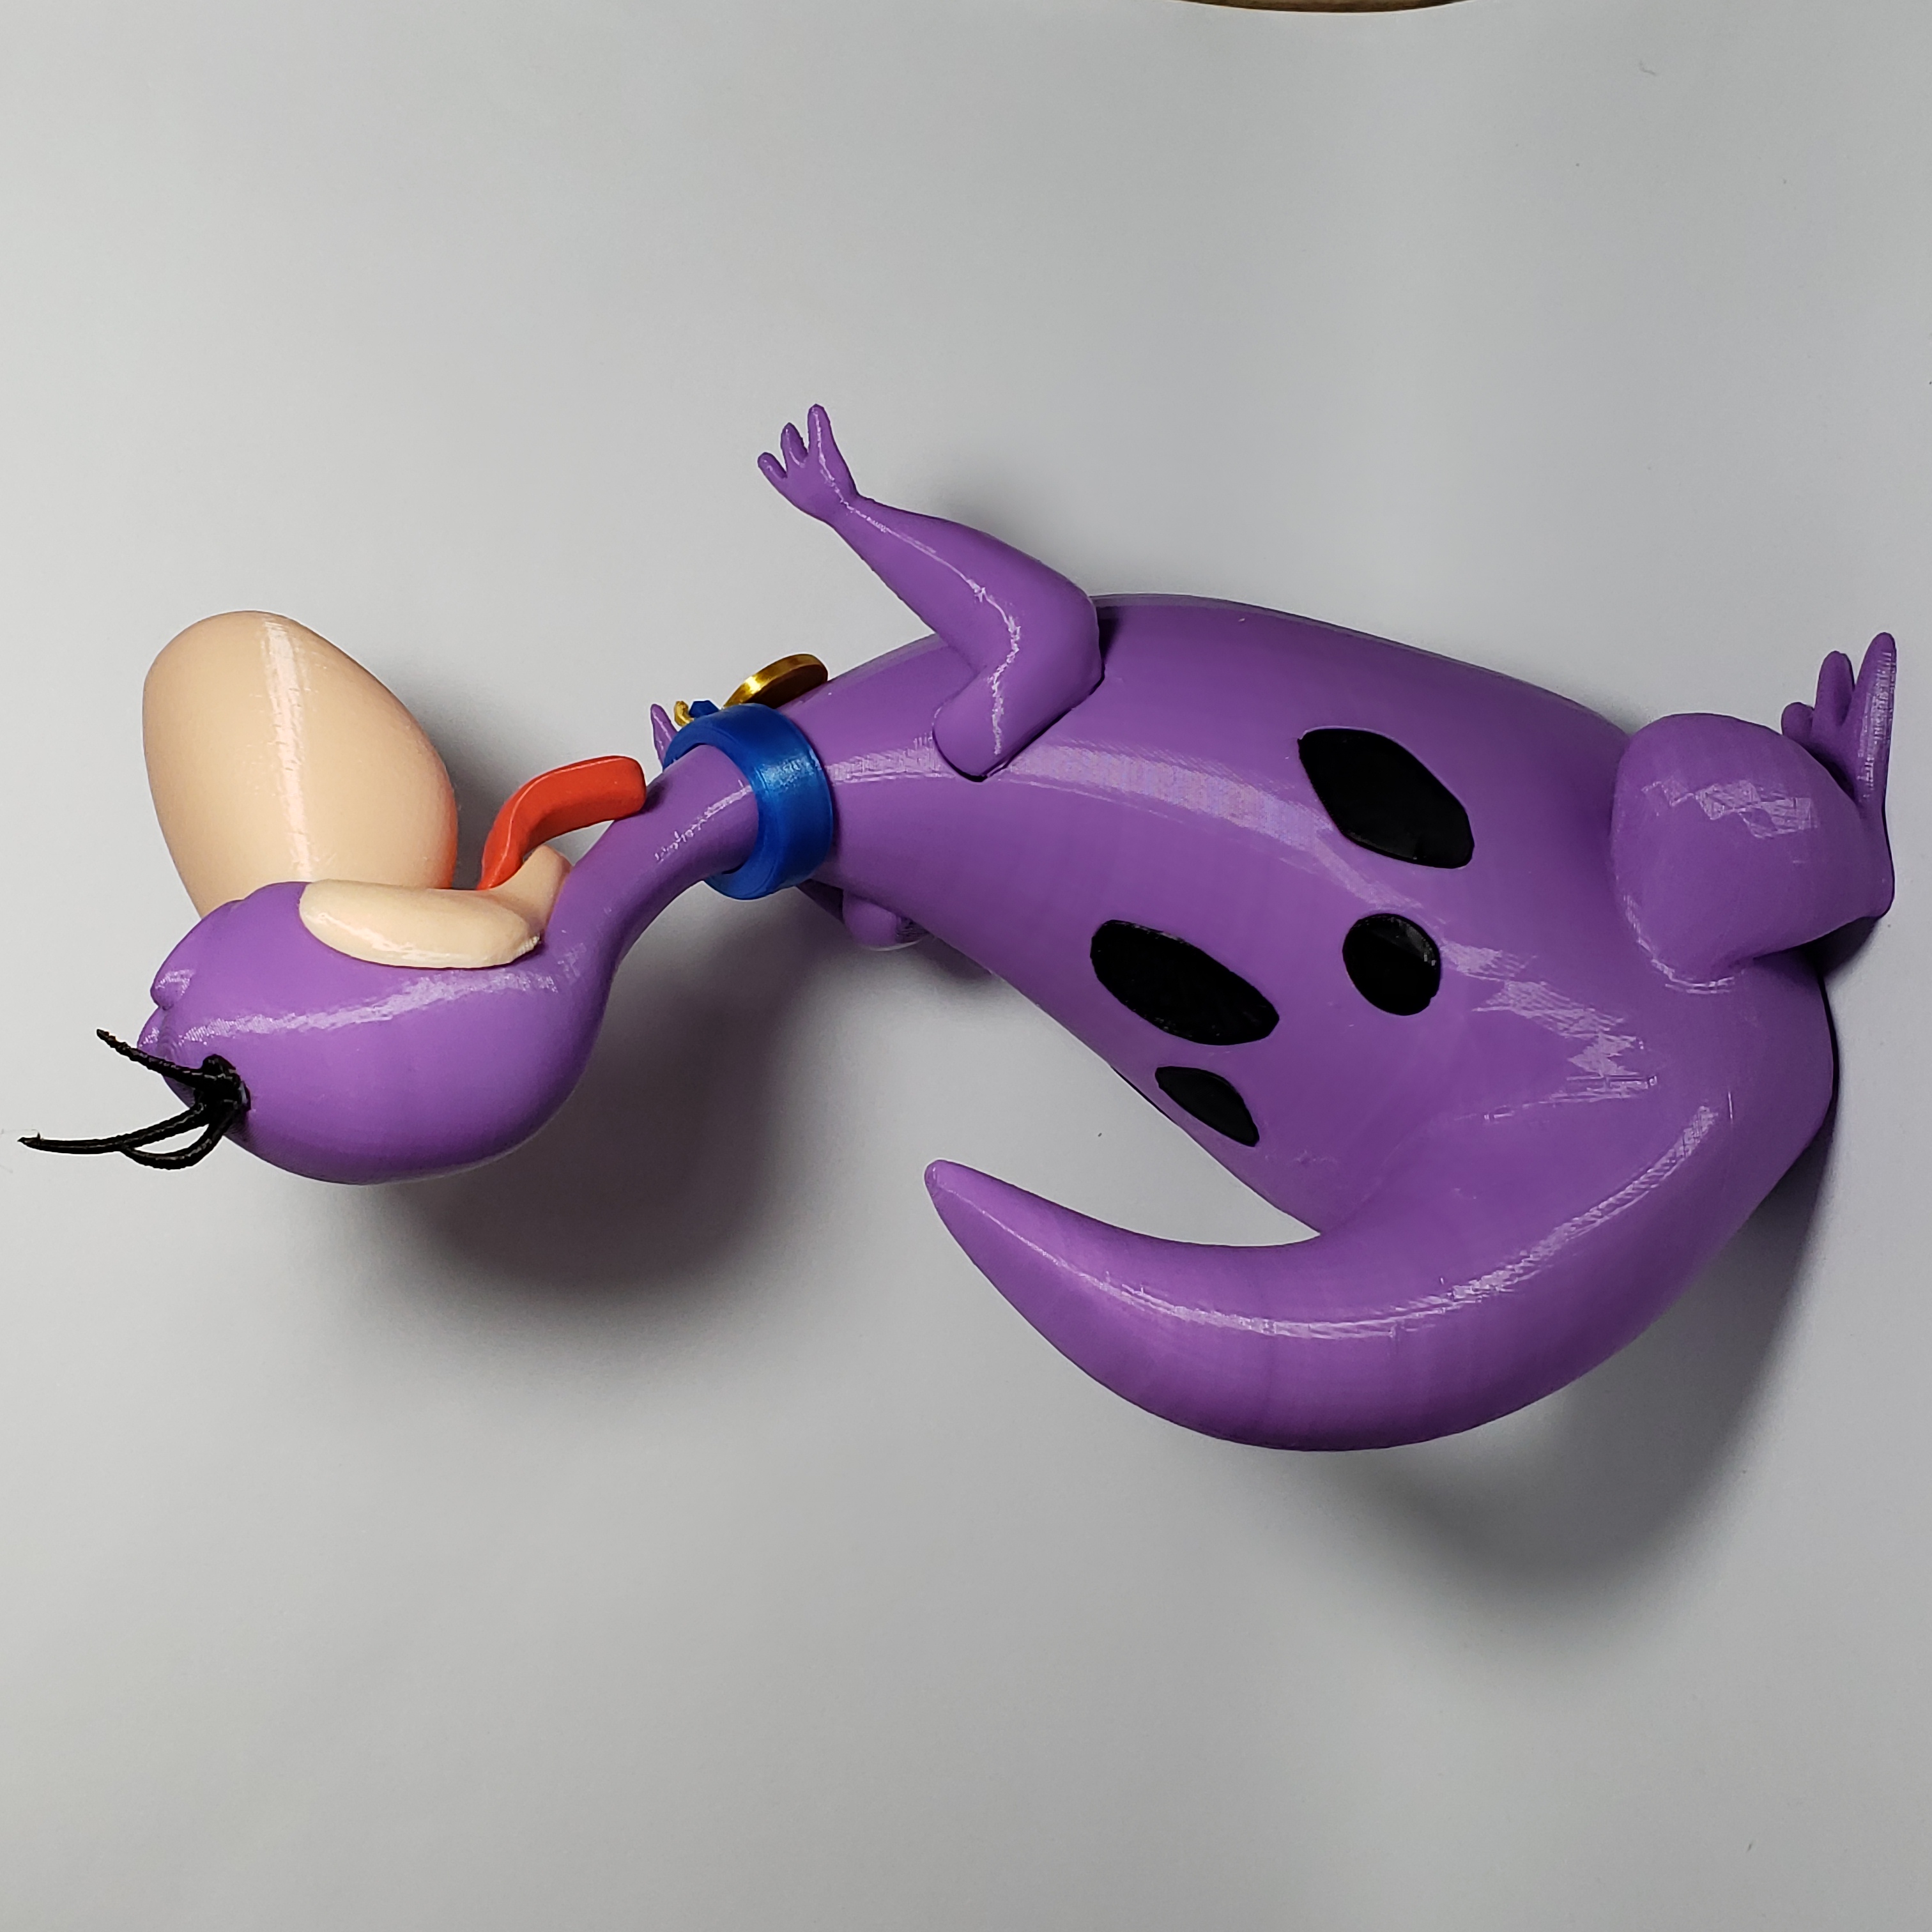
Assembly
Assembly is fairly straight forward, refer to the assembly diagram in the pictures section. I've listed a detailed step by step process below if guidance is needed.
*be sure to clean off any excess brim from the first layer if you use a "squish factor" for adhesion to the bed.
-Glue armr and arml to the body
-Insert and glue the spots as per the diagarm
-Hook the tag through the collar
-Insert and glue the collar to the body
-Glue the mouth to the head
-Glue the tongue to the mouth
-Glue the nose to the head, resting on the bridge of the mouth
-Insert the eye_whites, making a note of left and right (depressions for the eyes face toward the middle)
-Glue the eyes to the eye_whites. making a note of left and right eyes (there is a slight angle on each eye that should face towards the middle so that the eyes rest closer to the middle)
-Insert and glue the head into the collar.
-Glue the hair to the head. After careful trimming of any first layer brim, the hair should fit into the head.


| Date published | 14/07/2016 |
| Dimensiones | 24cm tall assembled |


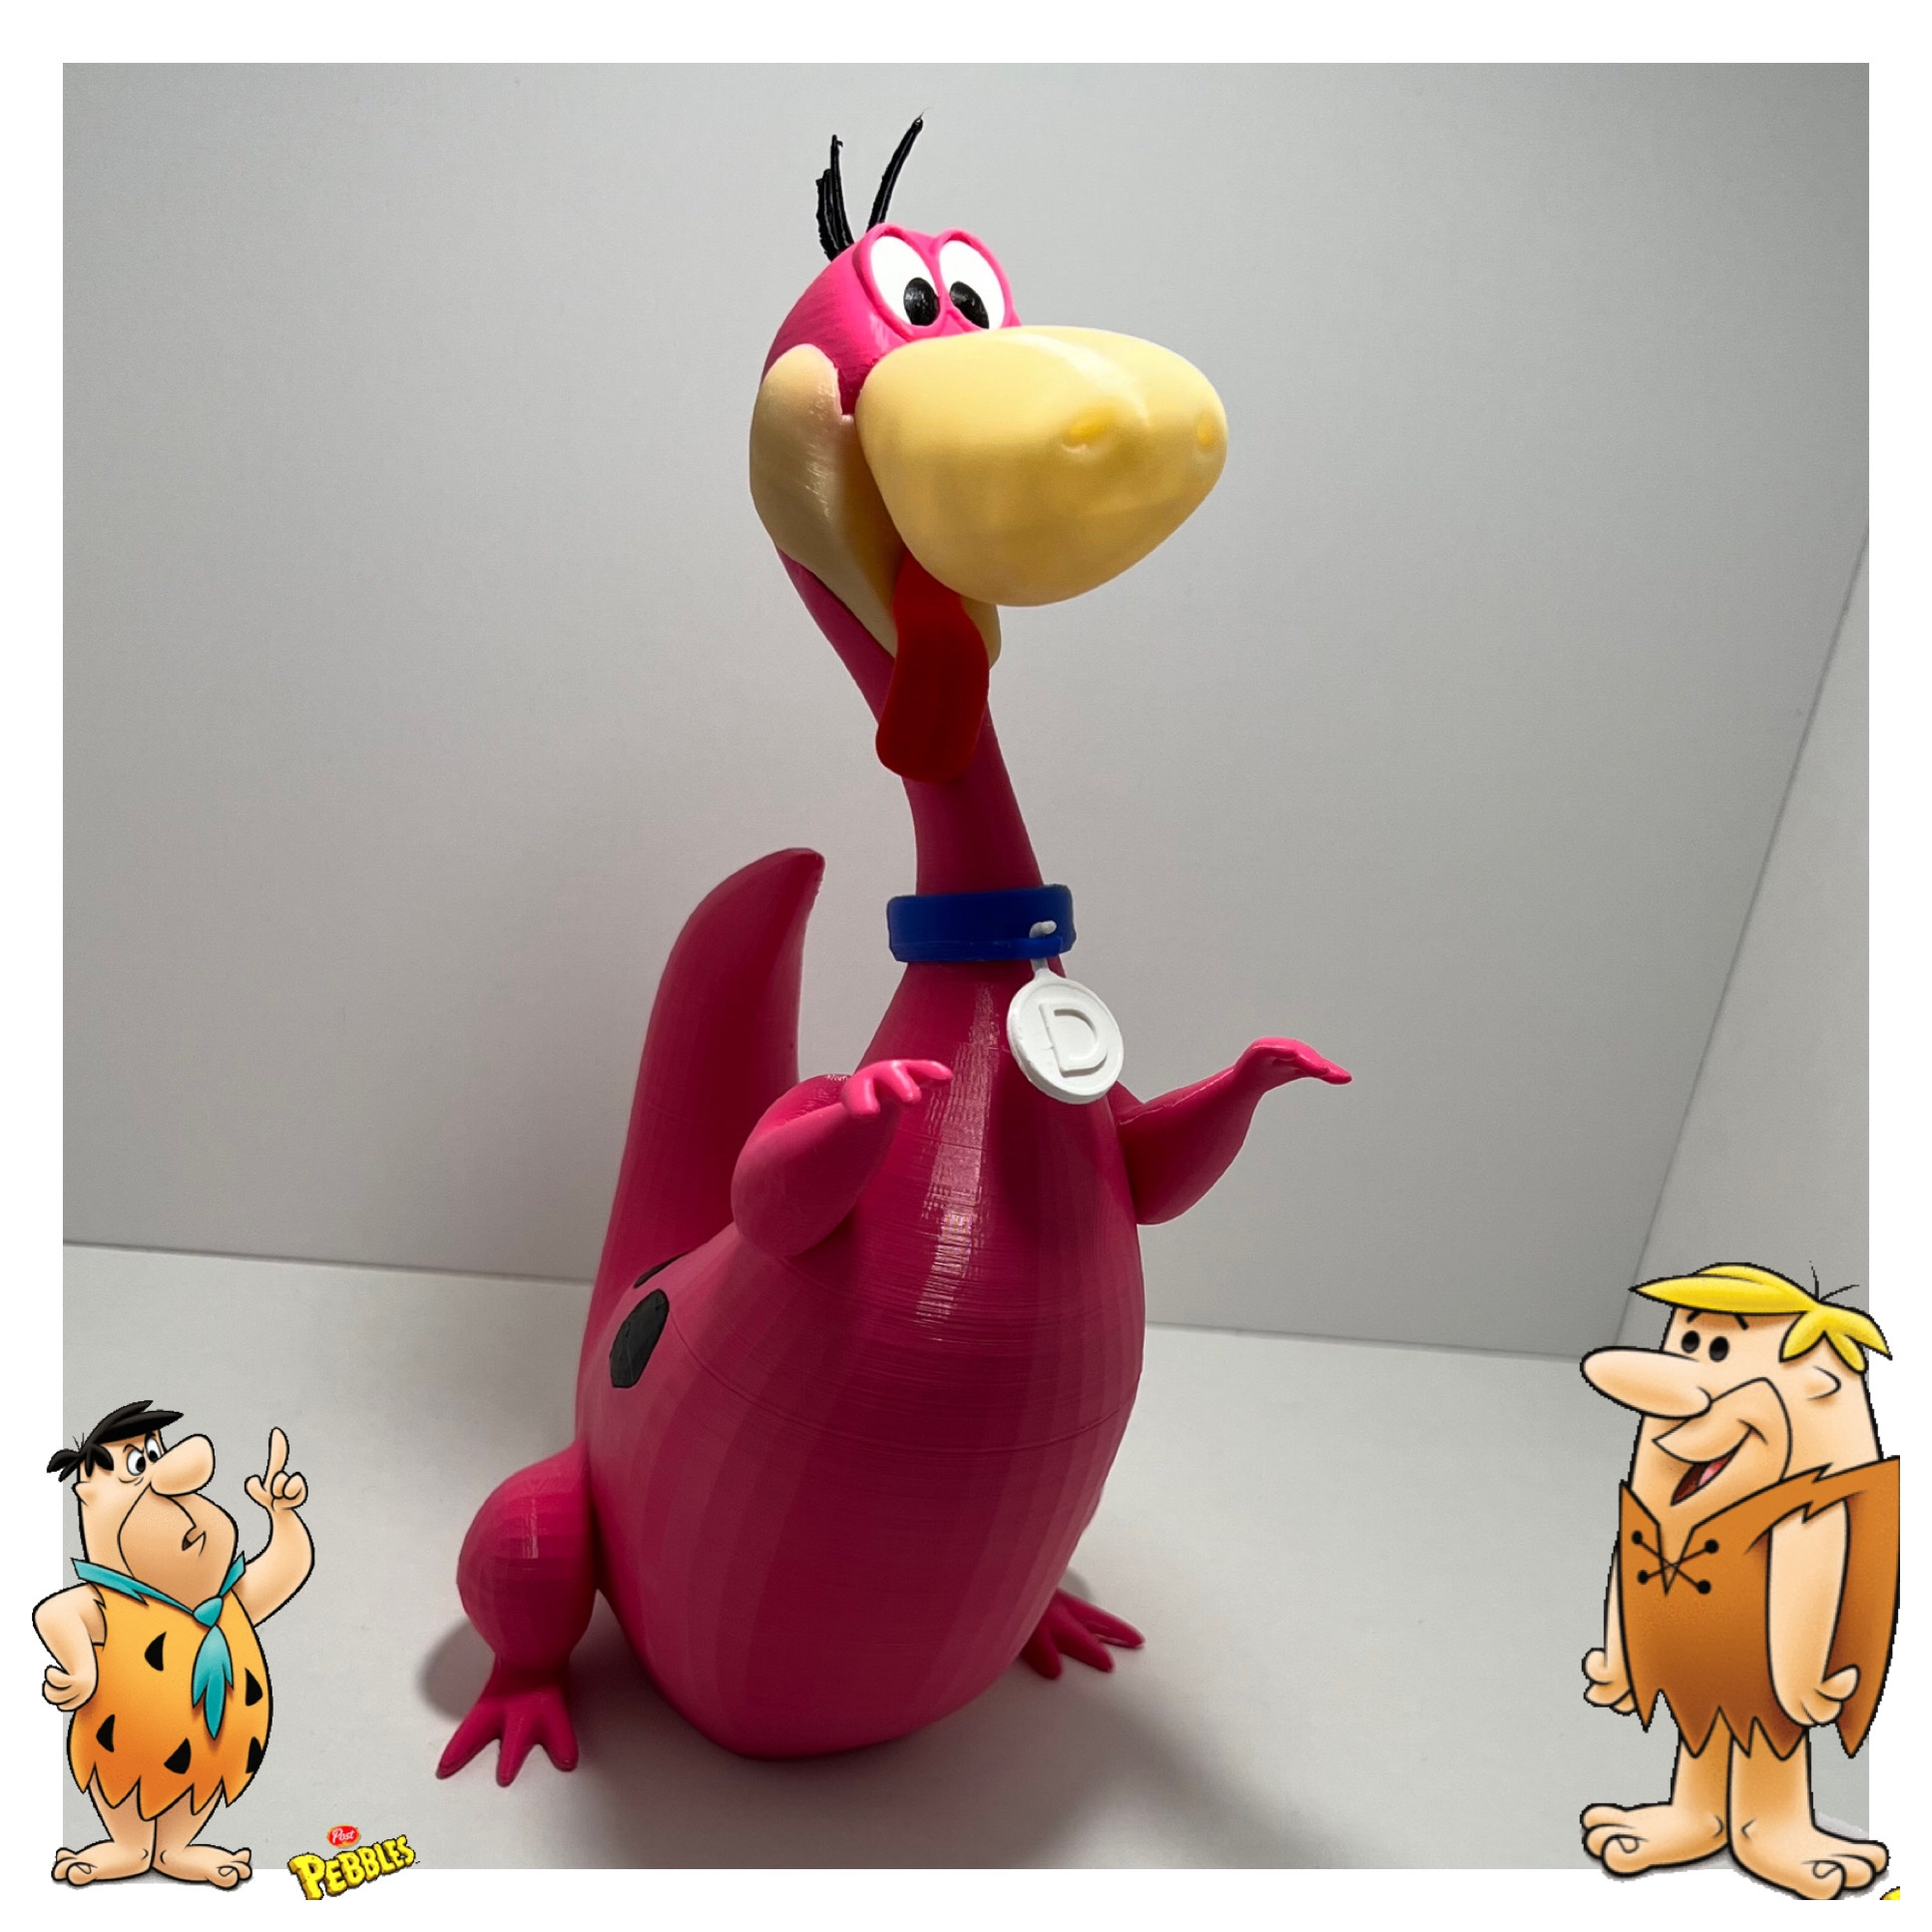
Also scaled to 50% - to fit the size of my version of Fred ;-)