Easter Egg Dispenser Bunny


Easter Egg Dispenser Bunny
Published 2017-04-10T15:17:10+00:00
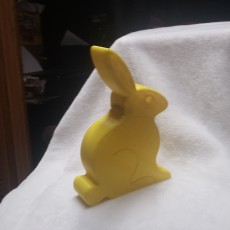
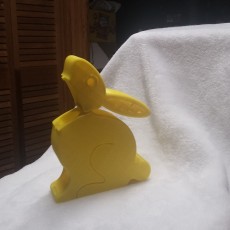
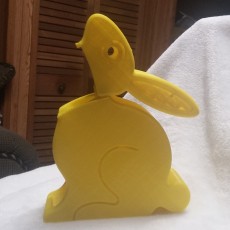
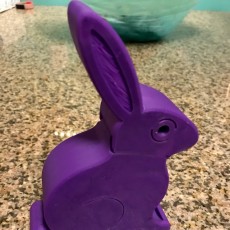
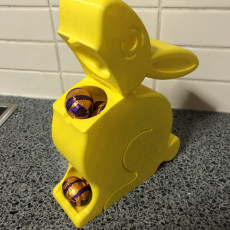
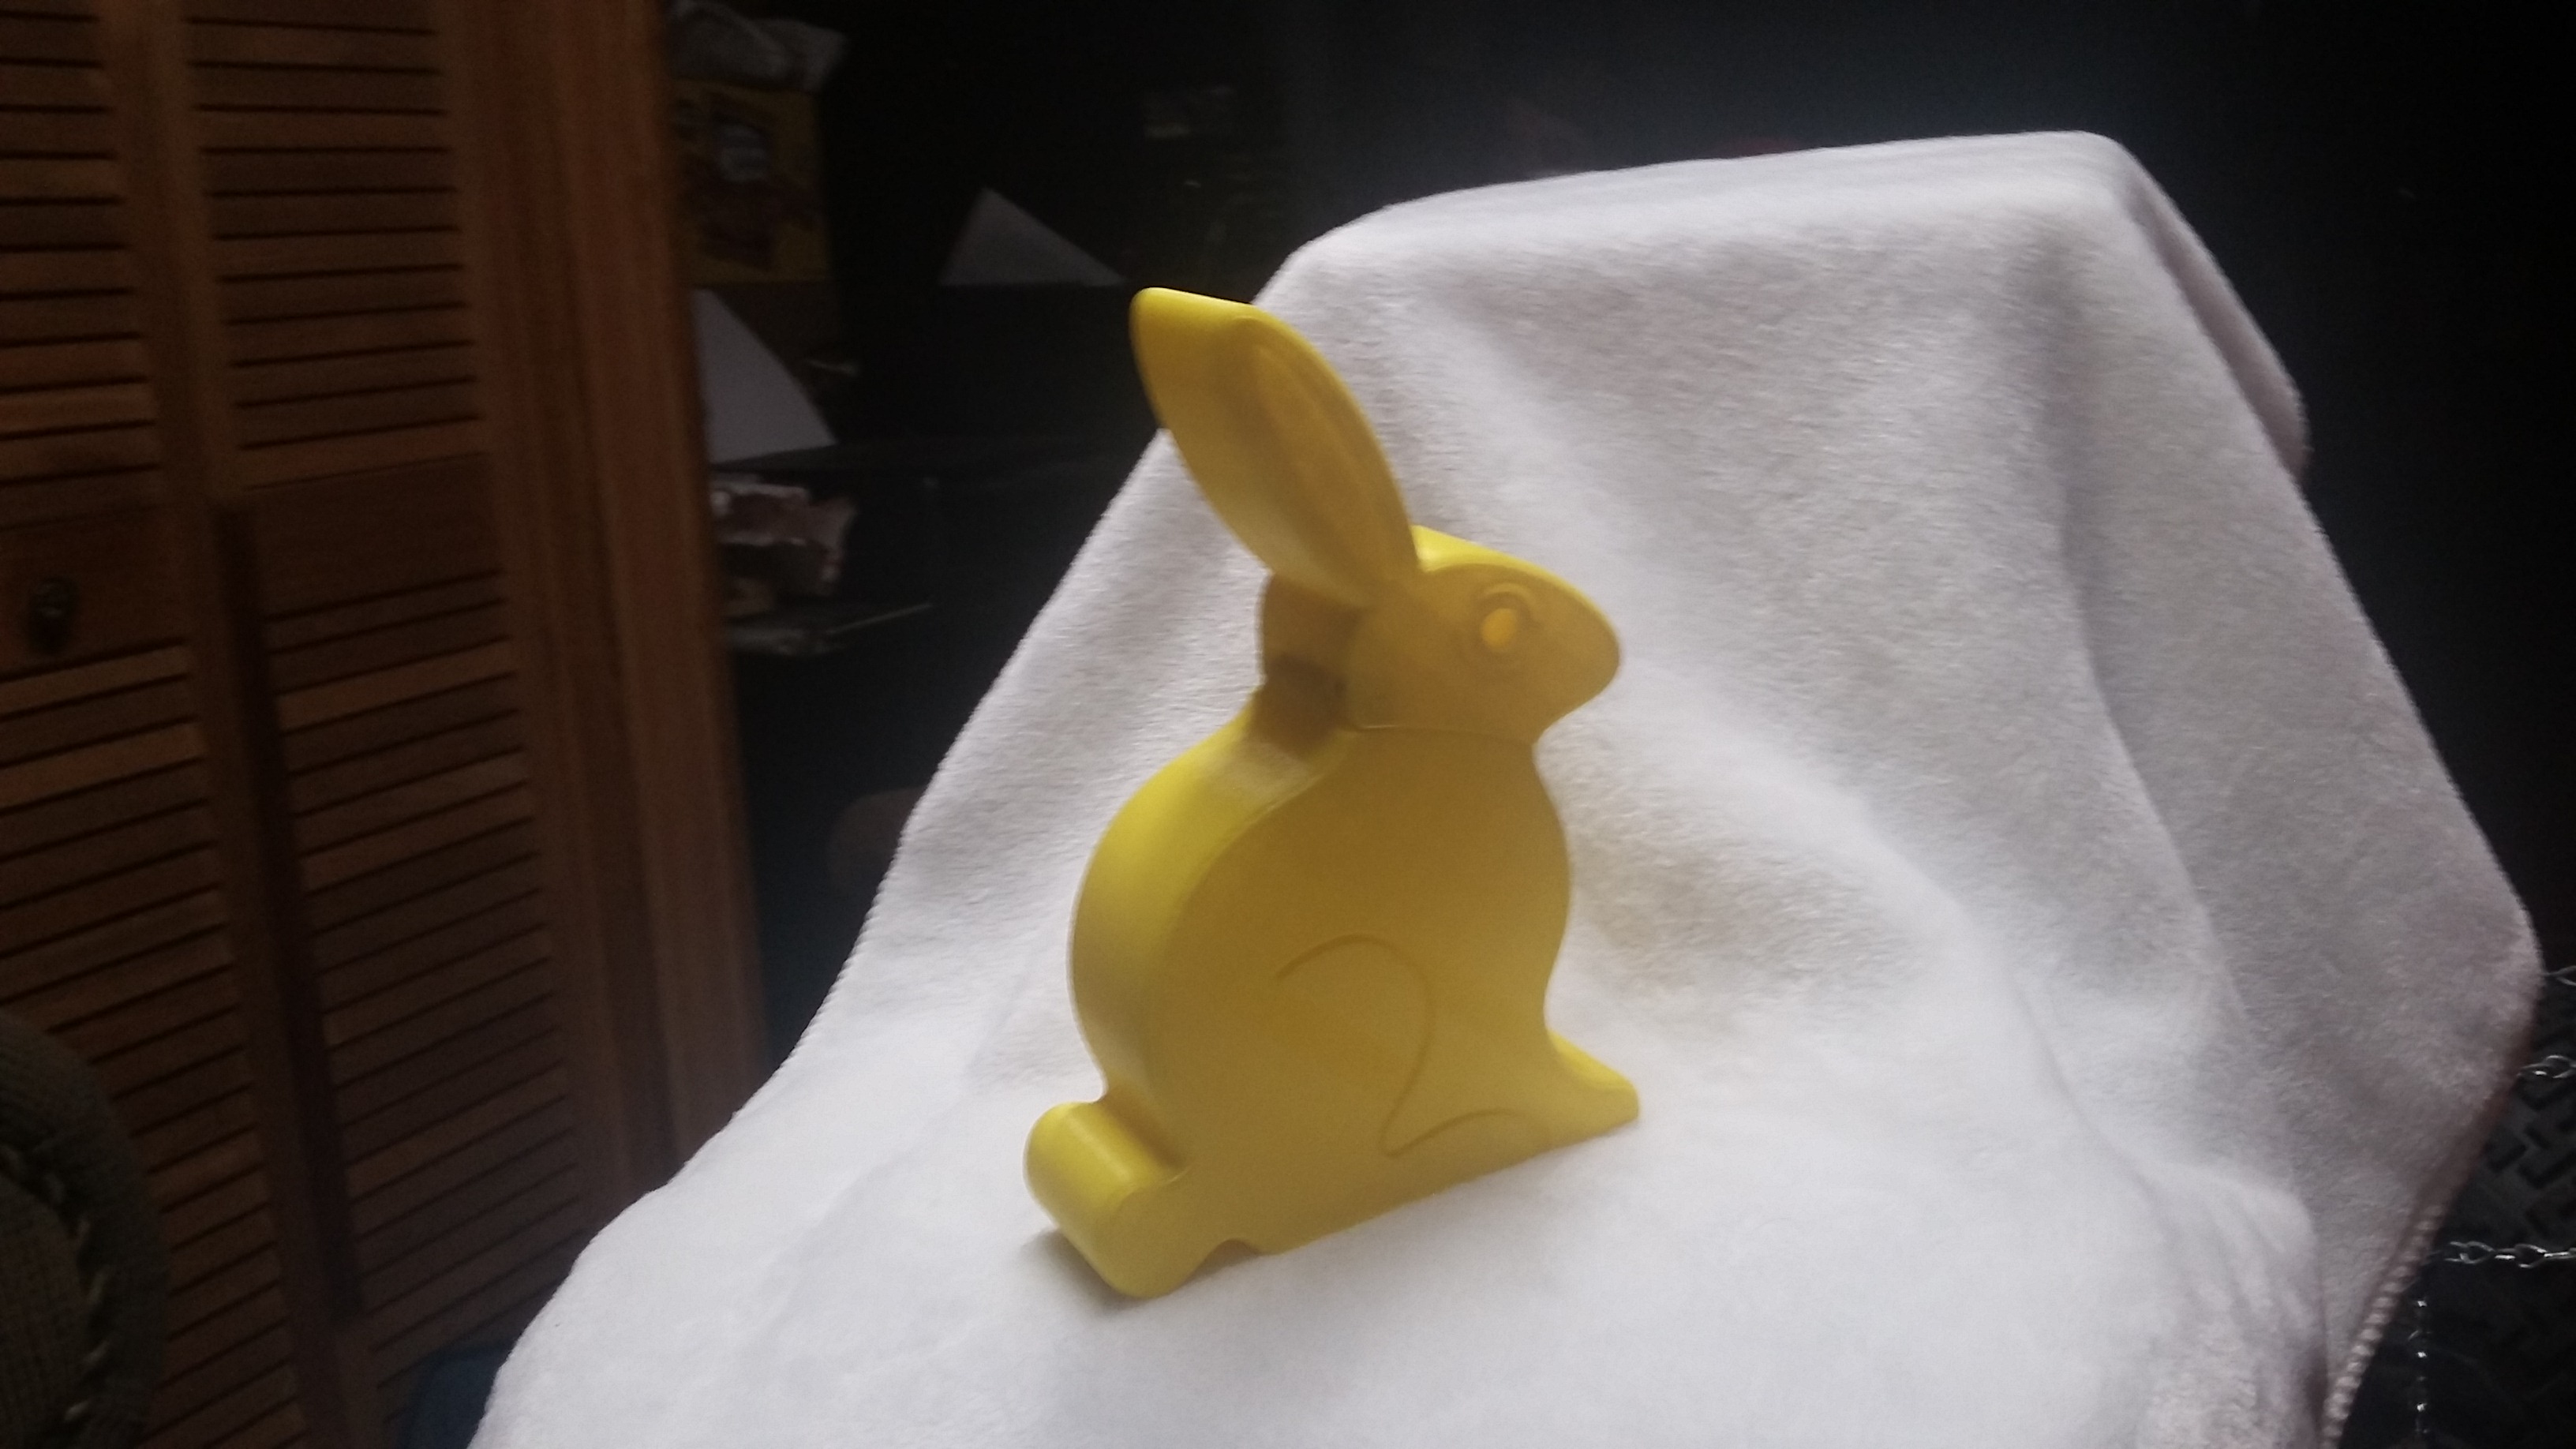
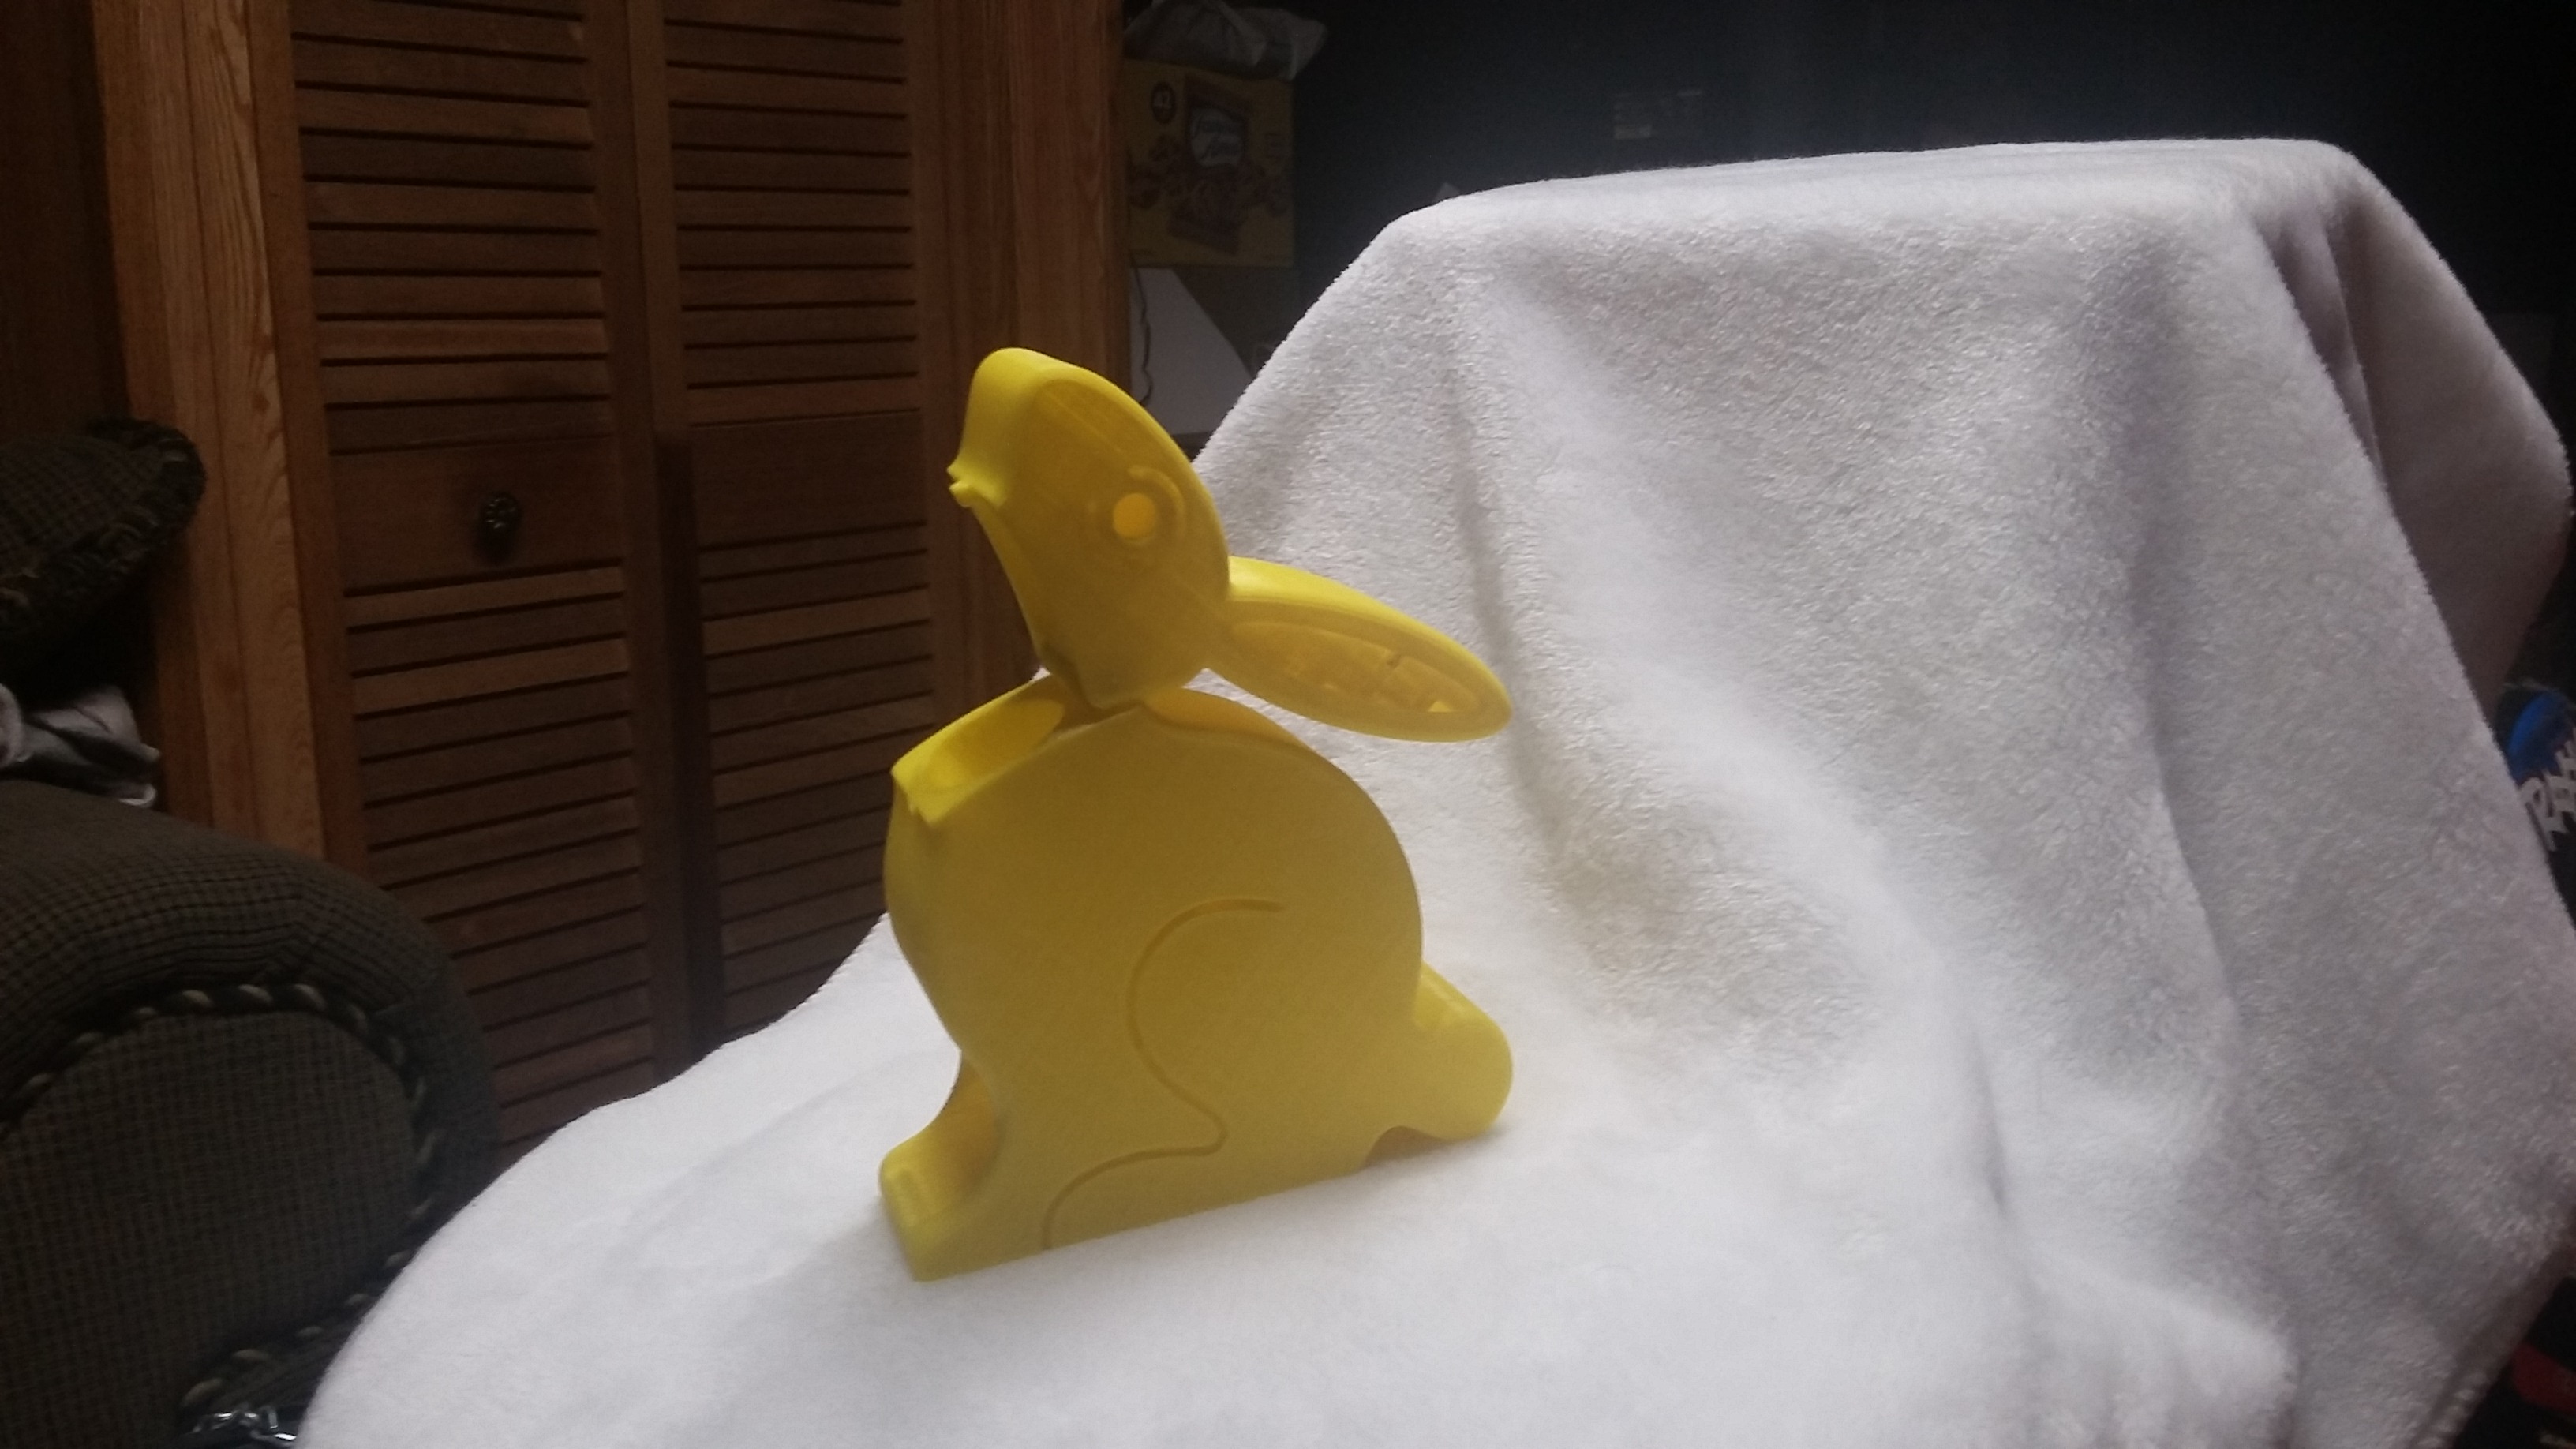
The Easter Egg Dispenser Bunny is a fun and decorative easy-to-print design for use over the Easter season. The Bunny features a 'flip-top' head so you can load mini chocolate Easter Eggs into an internal channel that runs around the back and out the bottom at the front. A 'stop' is designed in at the bottom to hold the Easter Eggs from rolling straight through so they can be 'dispensed' one at a time. When the presented Easter Egg is removed the rest shuffle down the internal channel so the next is ready to be dispensed...
At standard scale he dispenser measures 150mm x 105mmx 35mm and will take mini chocolate Easter Eggs measuring up to 28mm x 22mm (The channel at standard size measures 30mm x 23.5mm allowing 1.5 to 2mm rolling clearance). If you have a large enough build plate the design can be scaled up uniformly to accept larger Easter Eggs. TIP: Please measure the Easter Eggs to be dispensed 'before' printing to ensure they will roll freely in the internal channel. If not, scale up to suit (Calculate the increase required including allowing for rolling clearance).
Make sure you roll your Easter Eggs in sideways so they roll through the internal channel. You may need to hold the first egg in (bottom egg) during loading otherwise following eggs being loaded may have enough momentum to knock the previously loaded eggs out (i.e. dispense them all at once).
Before loading your Easter Eggs check the internal channel is free of print debris and as smooth as possible so the Easter Eggs inside can roll down with the minimum possible resistance. A well printed dispenser should have no/very few printing imperfections affecting the channel... but if you have some cut them away or sand smooth.
Removing / dispensing Easter Eggs is easy... just gently remove the available egg. The remaining eggs inside will move down a space. Please note that removing eggs slowly / gently will ensure the remaining eggs inside cannot gain enough momentum to roll down and jump the retaining ridge / stop at the end of the channel (i.e. The retaining ridge could have been made bigger / taller but this makes the eggs harder to remove... so it is a trade-off between easy to remove eggs and eggs being well held in place).
This is purely a fun Easter thing. It has been designed to be an easy one piece print with two components. The clearances applied are intentionally loose so it should print well regardless of the slicing app or machine used (as not all slicing apps or machines produce the same results).
The notch at the front side of the joint is purely for alignment purposes to help ensure the head sits straight in its lowered position.
Great fun...print in you choice of color/s and make sure you have plenty mini Easter Eggs on hand. The hard part is keeping the Easter Egg Dispenser Bunny stocked with eggs!
Please refer to the print setting and images for additional information... and post images of your Easter Egg Dispenser Bunnies in use for others to see.
Note: If you like this check out the rest of my fun and practical designs


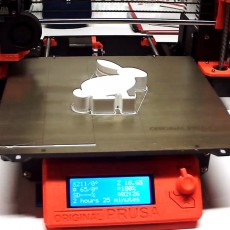
Easy print... no support required. Print flat on its side as per the design orientation.
At standard scale the Easter Egg Dispenser Bunny measures approx. 150mm tall, 105mm wide, and 35mm thick. Prints at this scale will use close to 100gm filament with the recommended print settings.
Scale up uniformly to fit larger Easter Eggs but scaling down is not recommended as it will mean common size Easter Eggs will not roll through the internal channel and the head / body joint be thinner so not as strong.
Just add Easter Eggs...
Make sure you roll your Easter Eggs in sideways so they roll through the internal channel. You may need to support the first egg out (bottom egg) during loading otherwise following eggs being loaded may have enough momentum to knock them out... dispense them.
Before loading your Easter Eggs check the internal channel is free of print debris and as smooth as possible so the Easter Eggs inside can roll down with the minimum possible resistance.
Cute bunny... easy print and fun. The hard part will be keeping it stocked with your mini Easter Eggs!
| Date published | 10/04/2017 |
| Tecnologia | FDM |
| Complessità | Very Easy |
| Supporto Gratuito | YES |

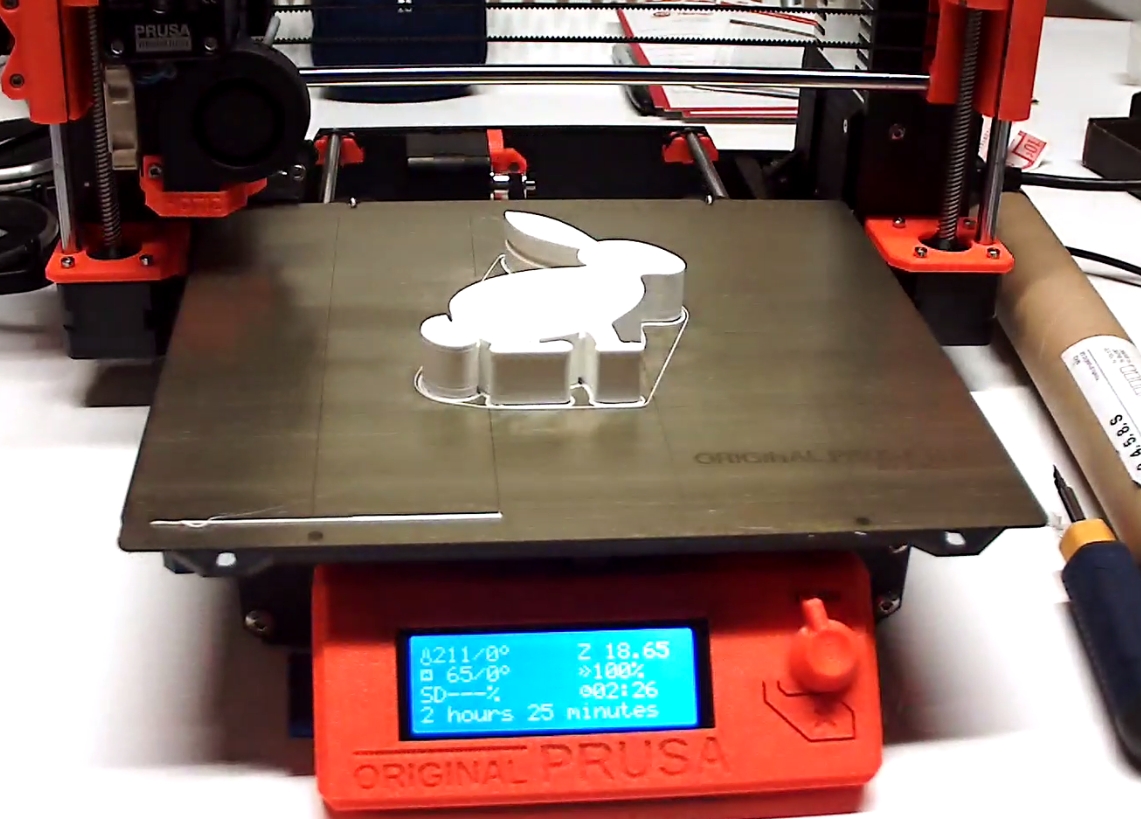


Printed very well! Thank you! I used the Prusa I3 Mk3 with Prusa Slic3R. It took 10m of PLA and 2.5h