Iron Man MK3 Articulated Figure


Iron Man MK3 Articulated Figure
Published 2020-05-29T22:44:09+00:00
Welcome to OpenFigure3D!
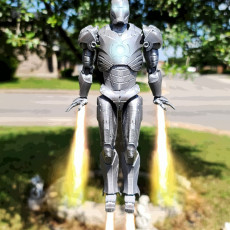
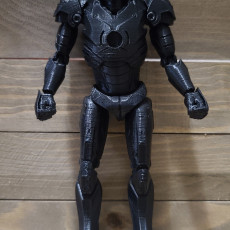
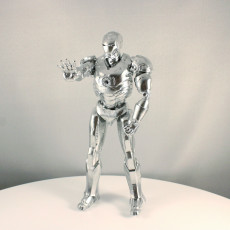
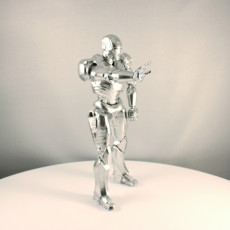
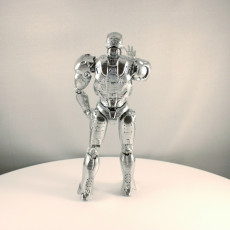
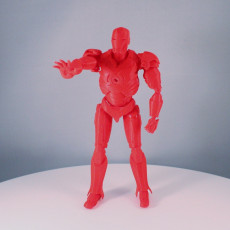
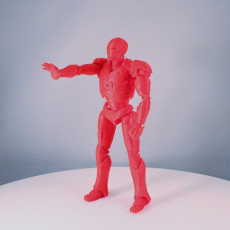
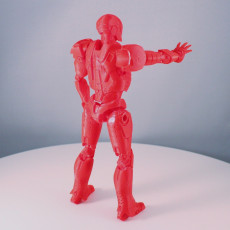
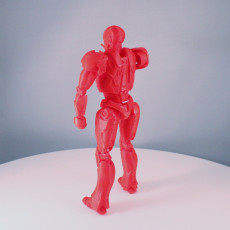
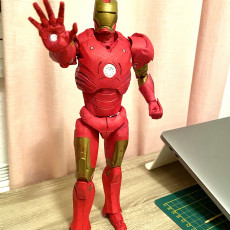
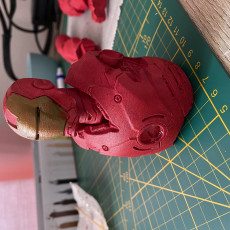
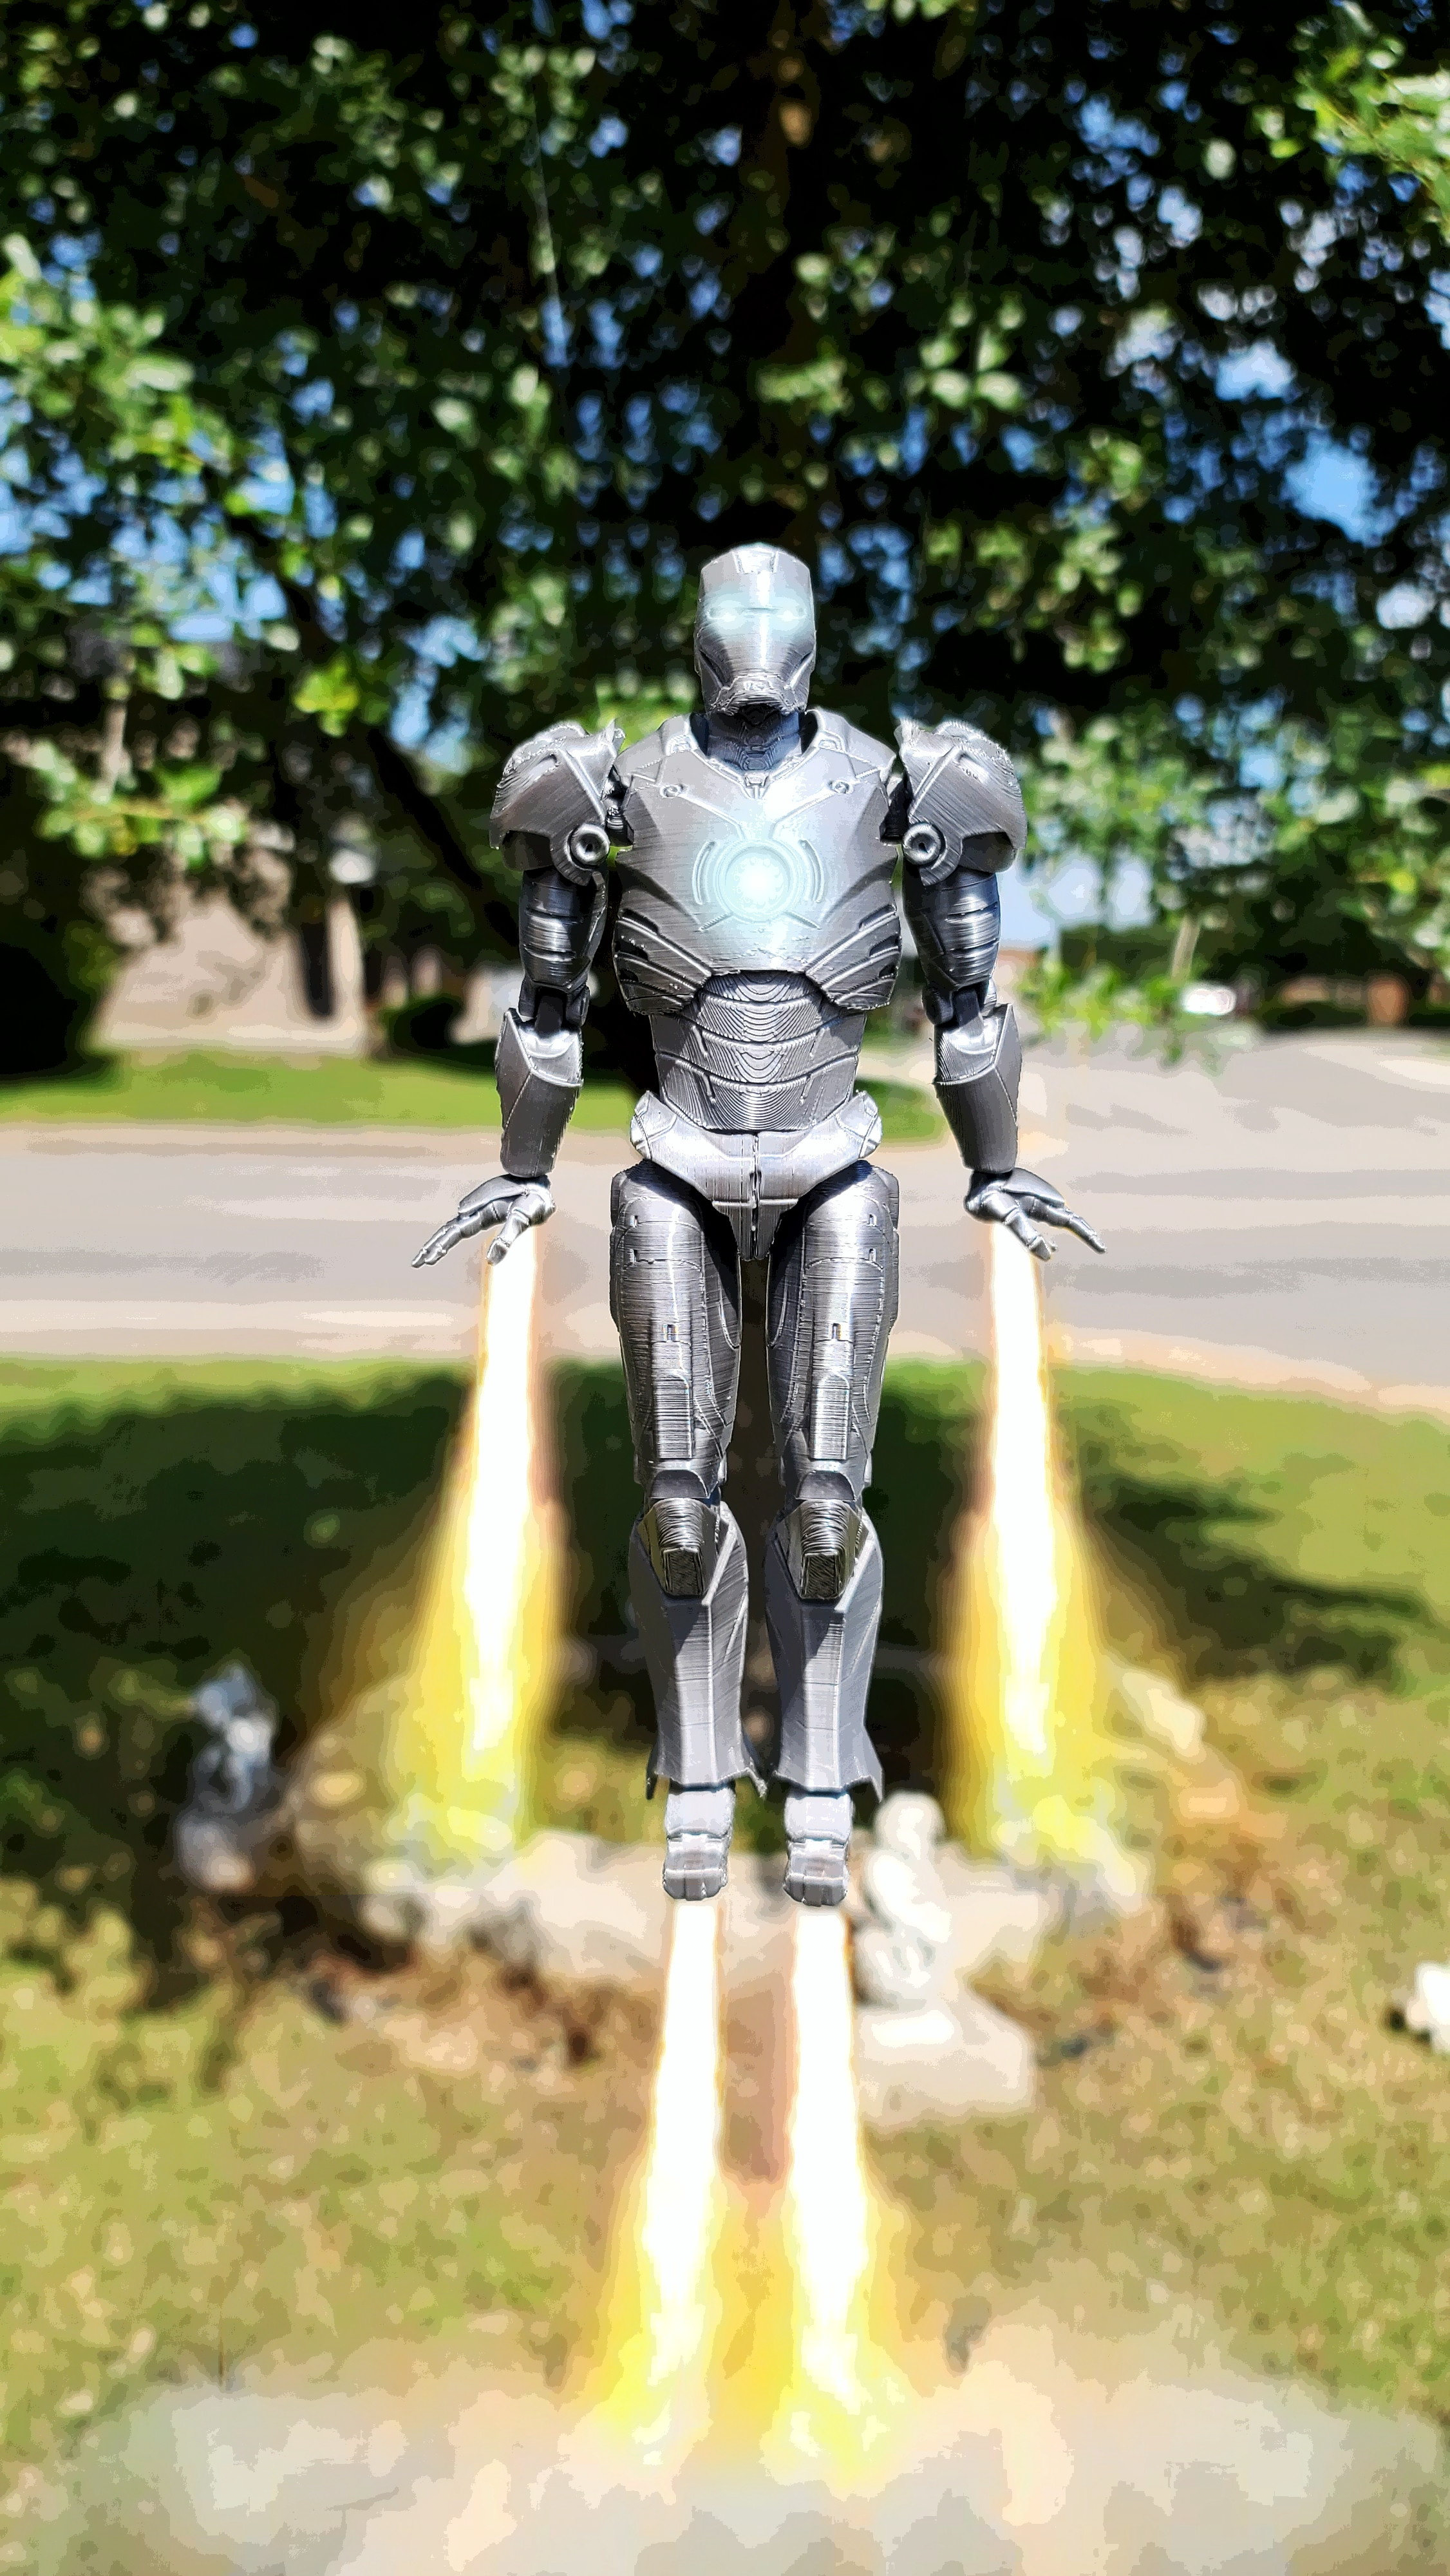
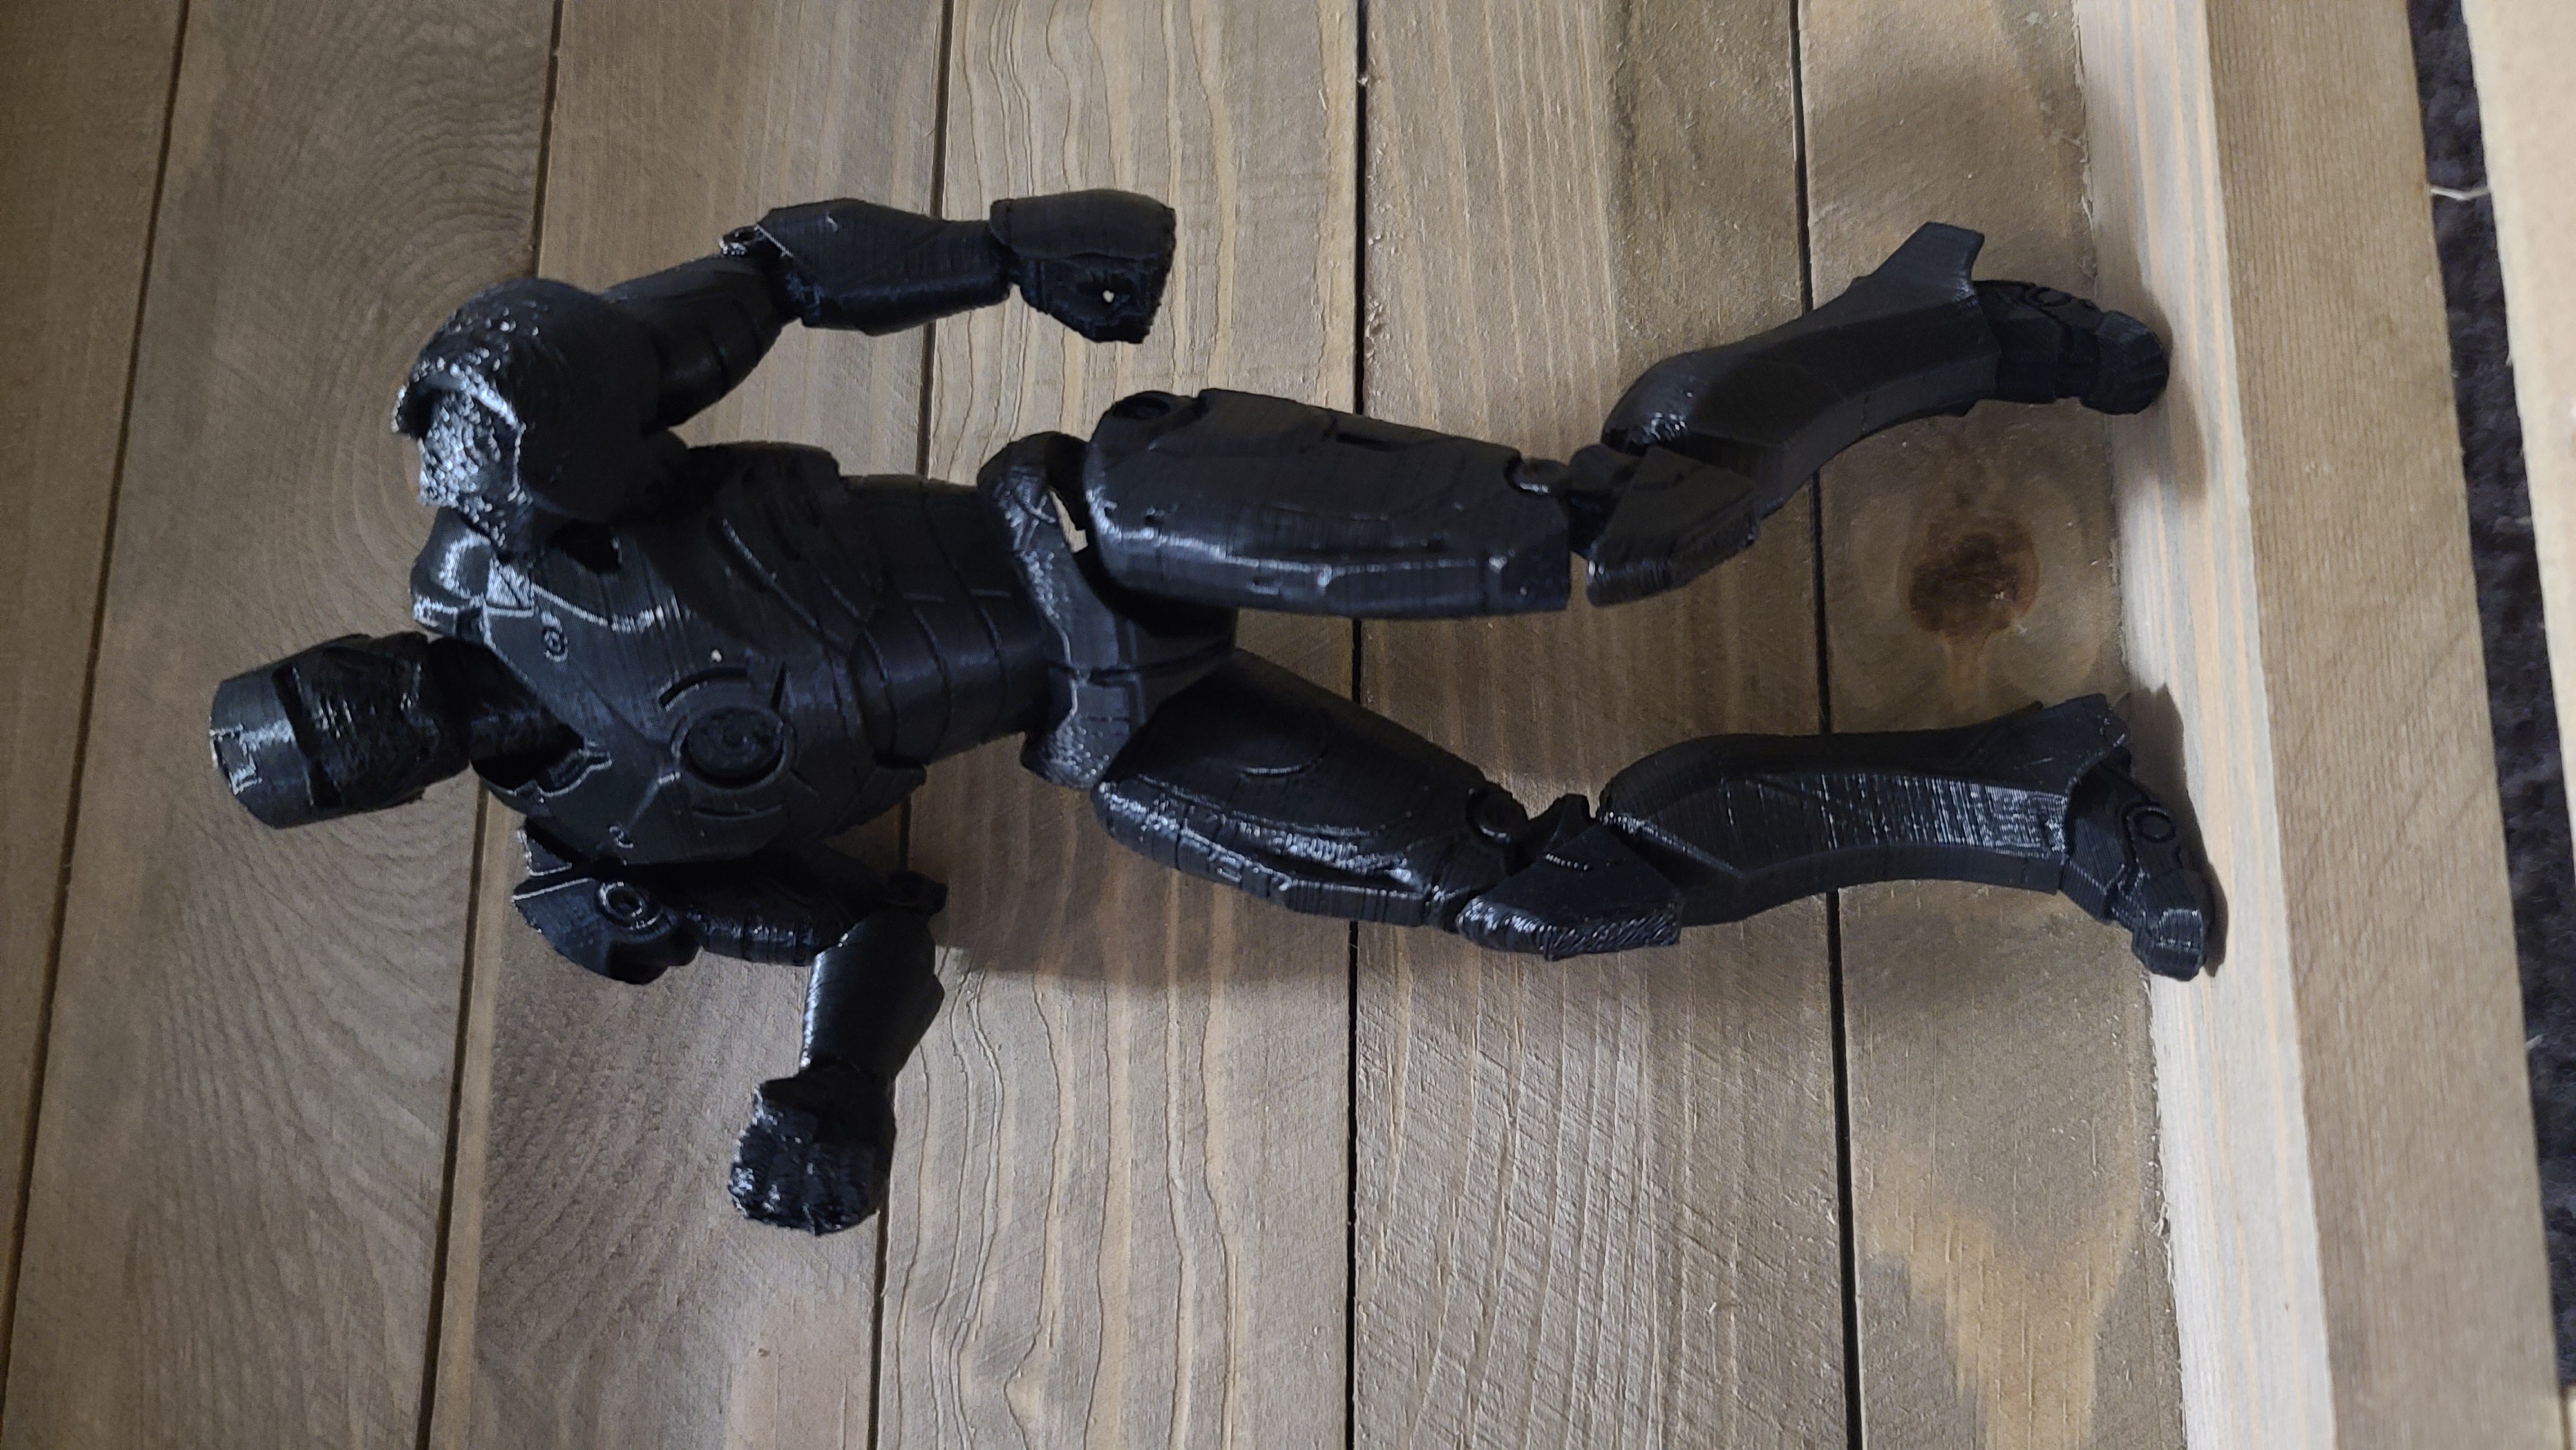
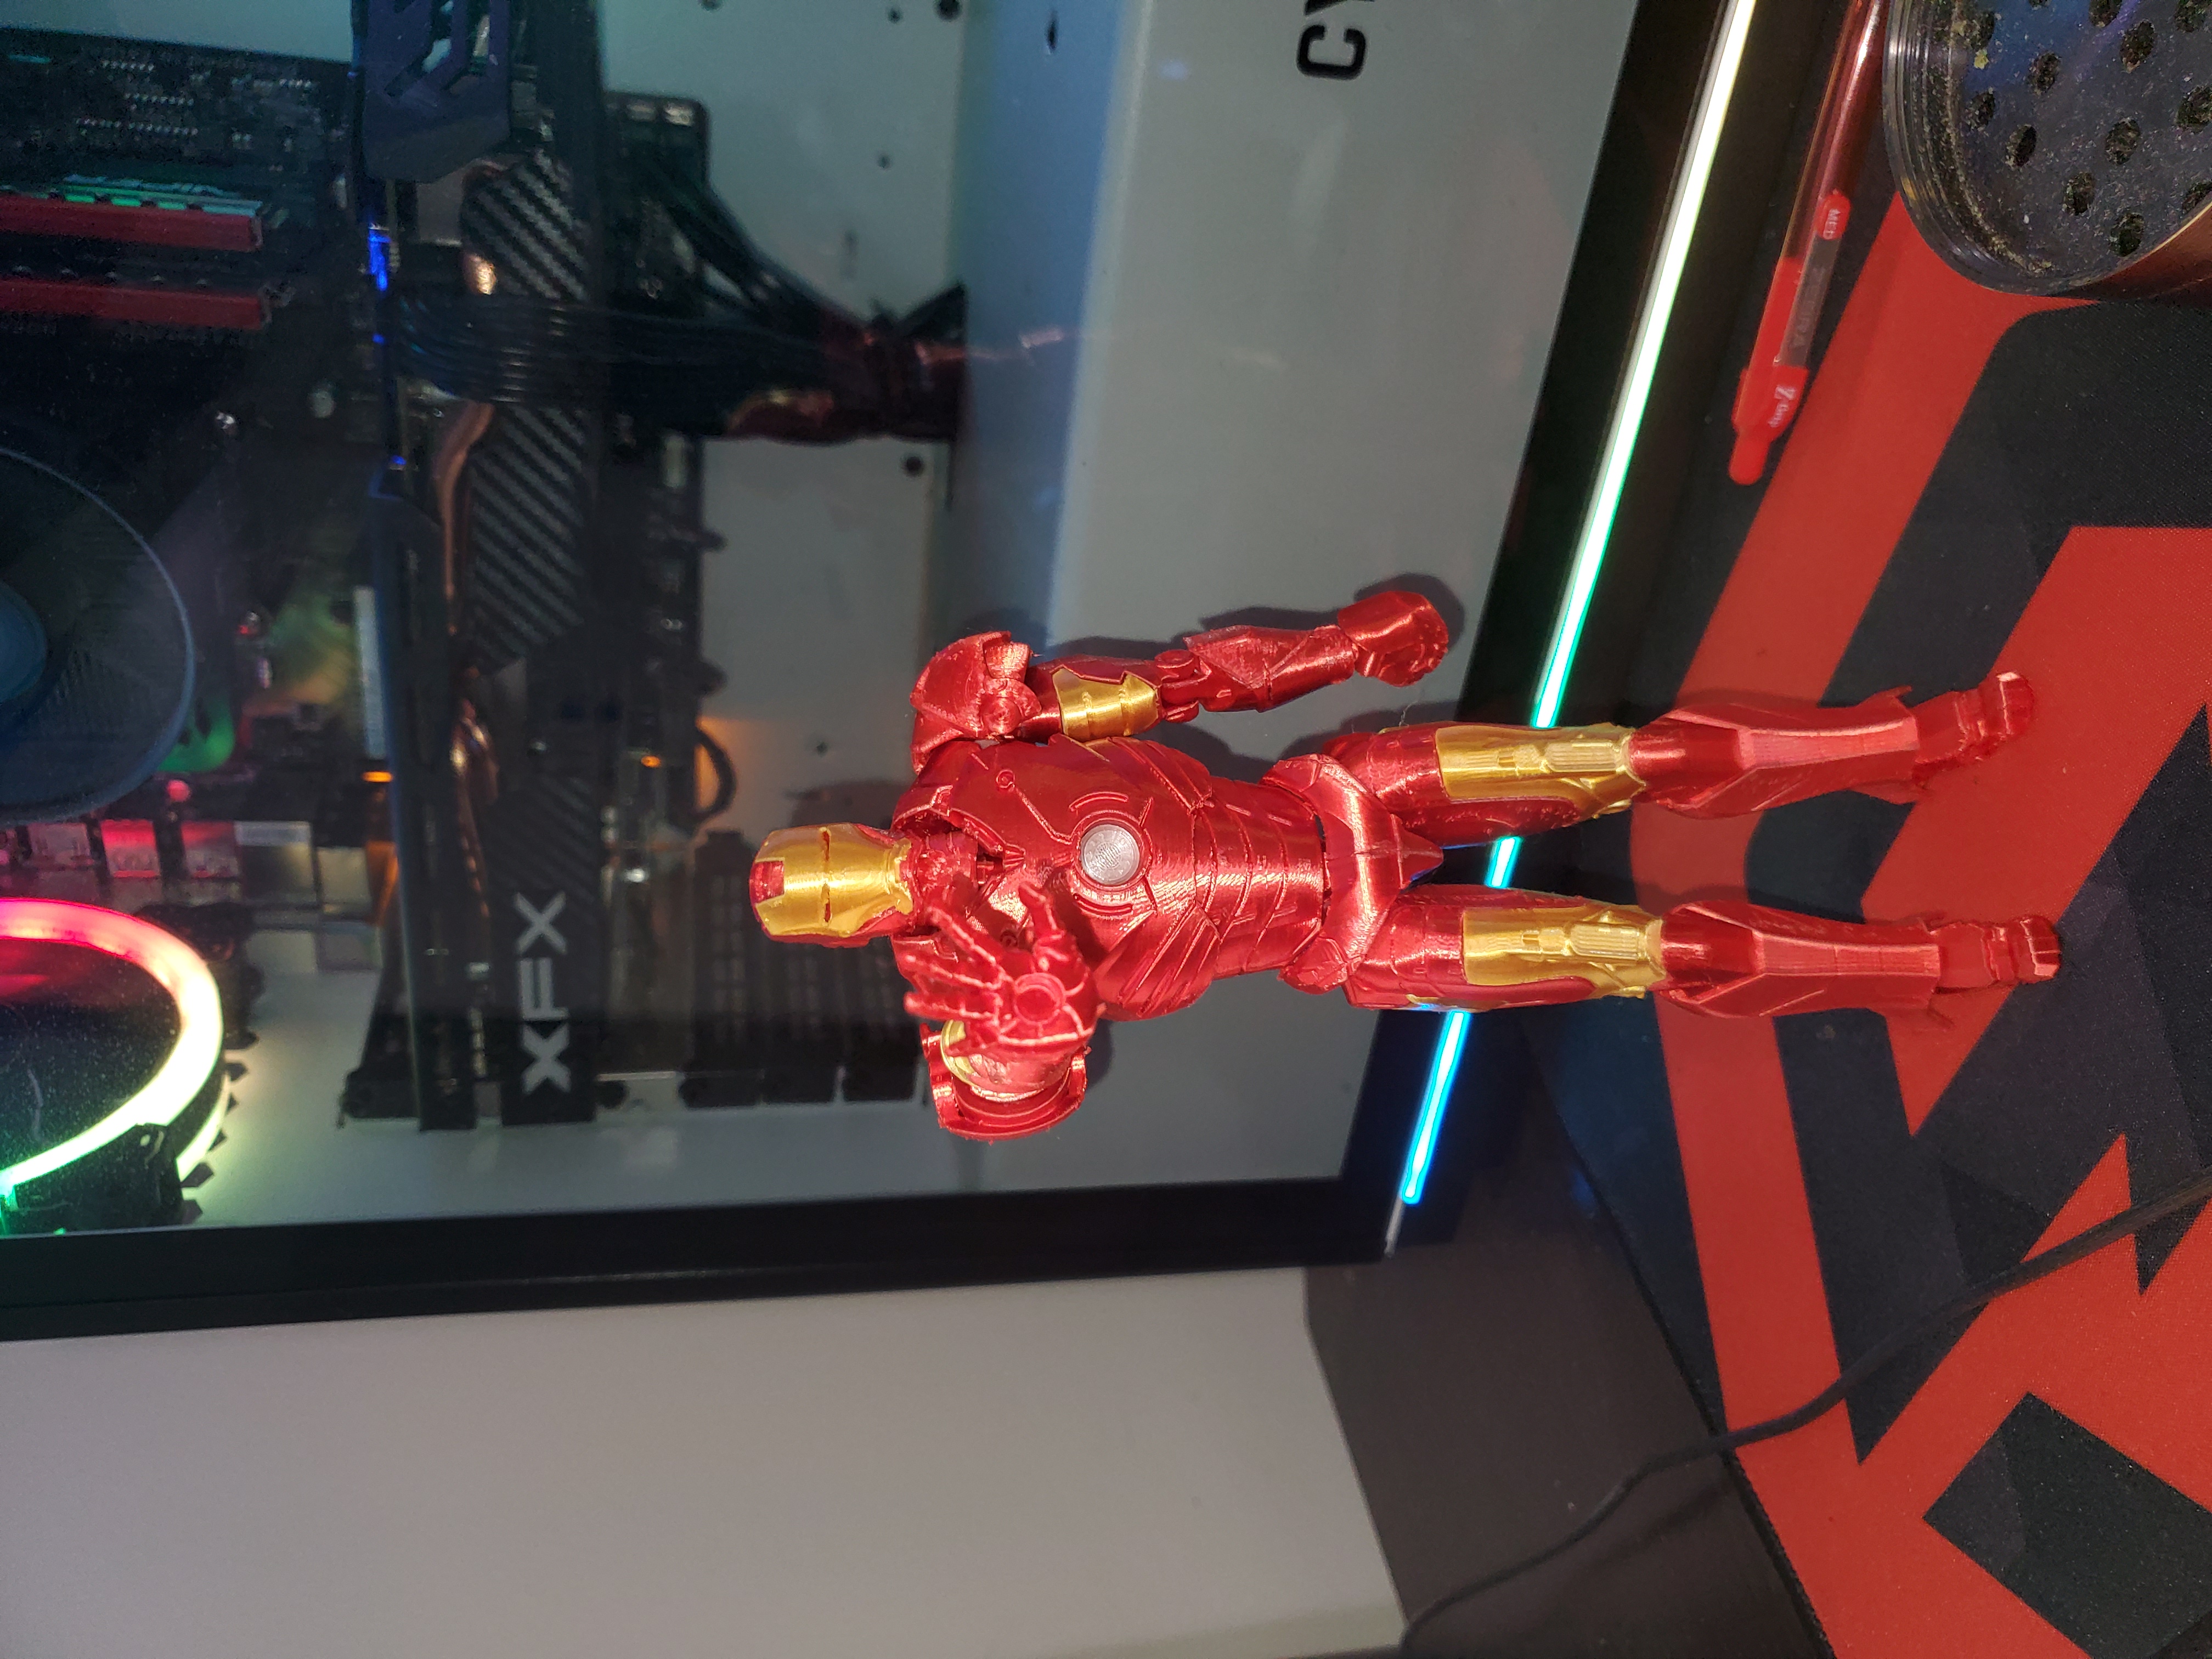
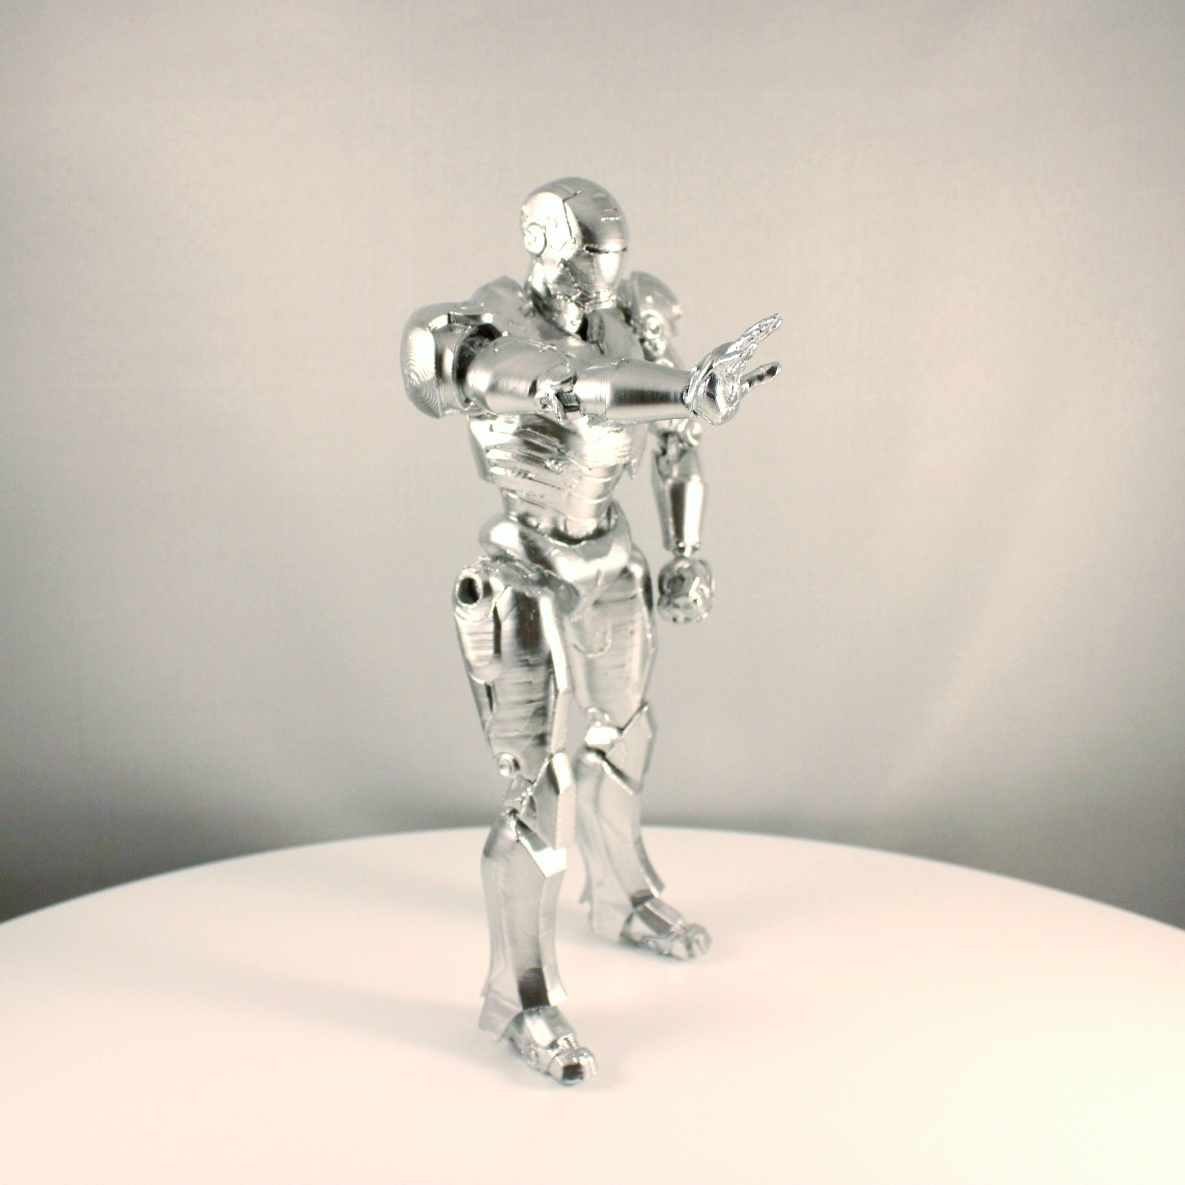
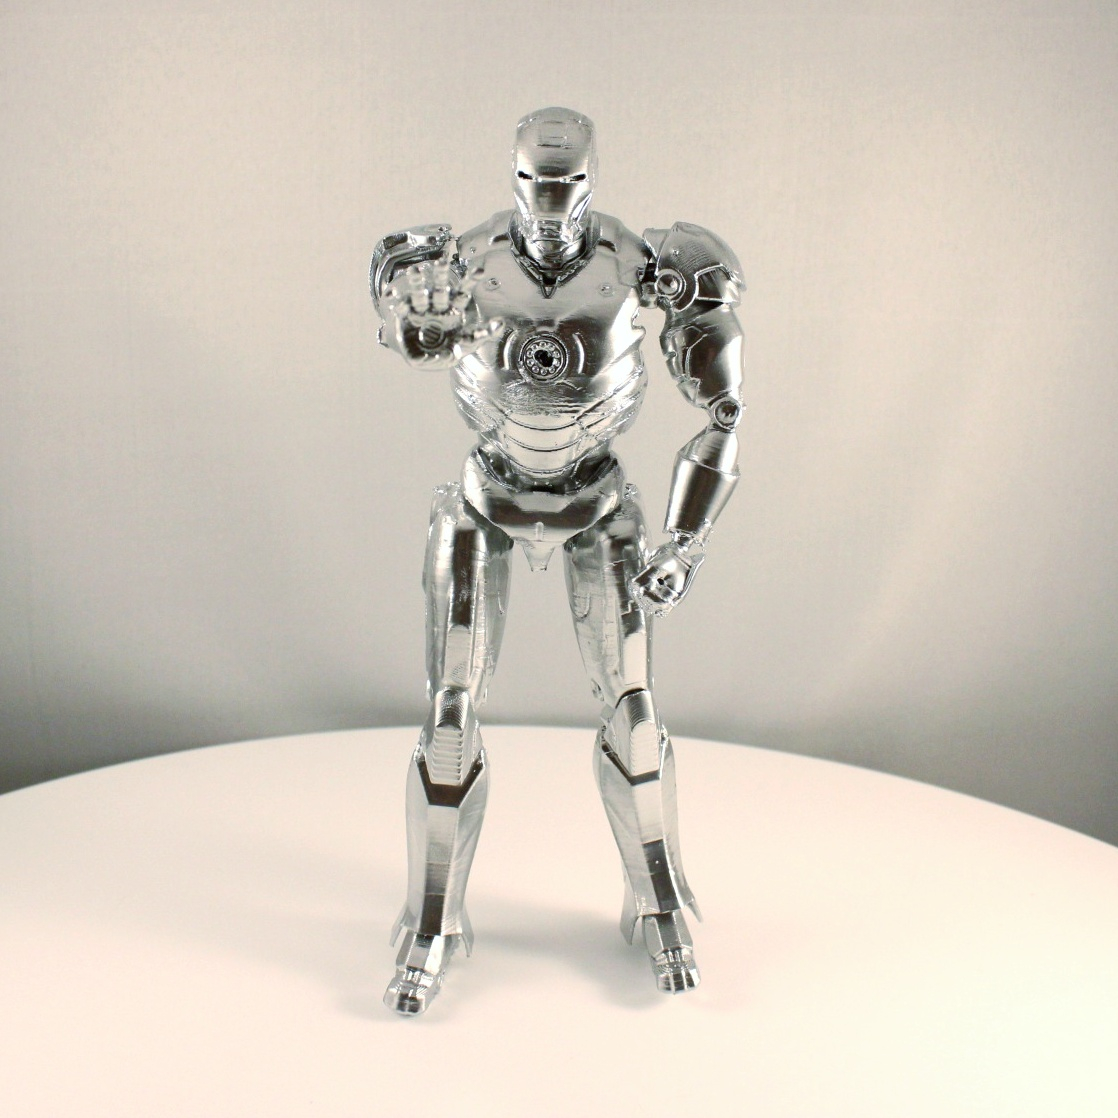
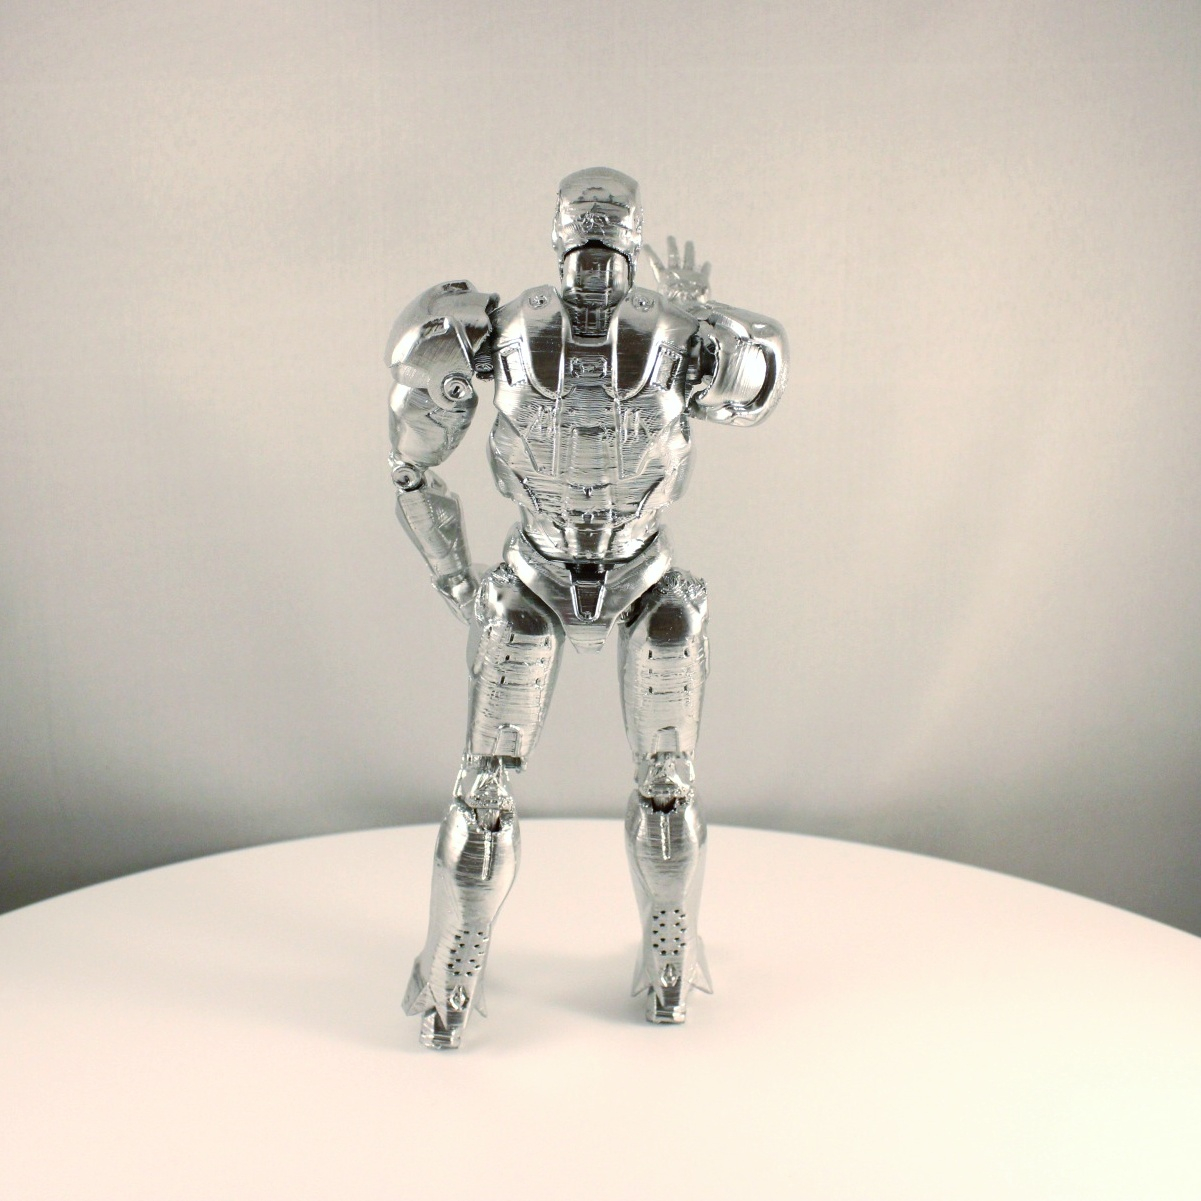
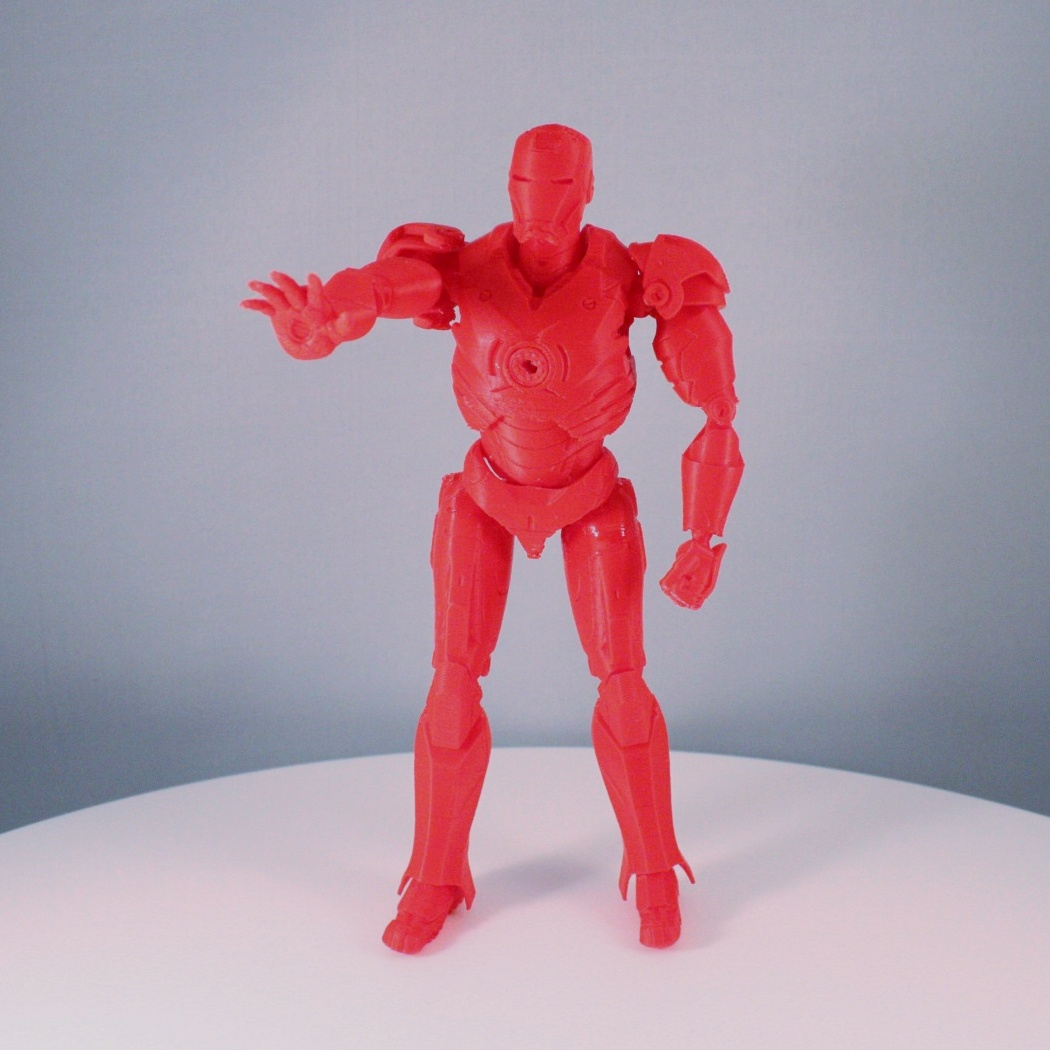
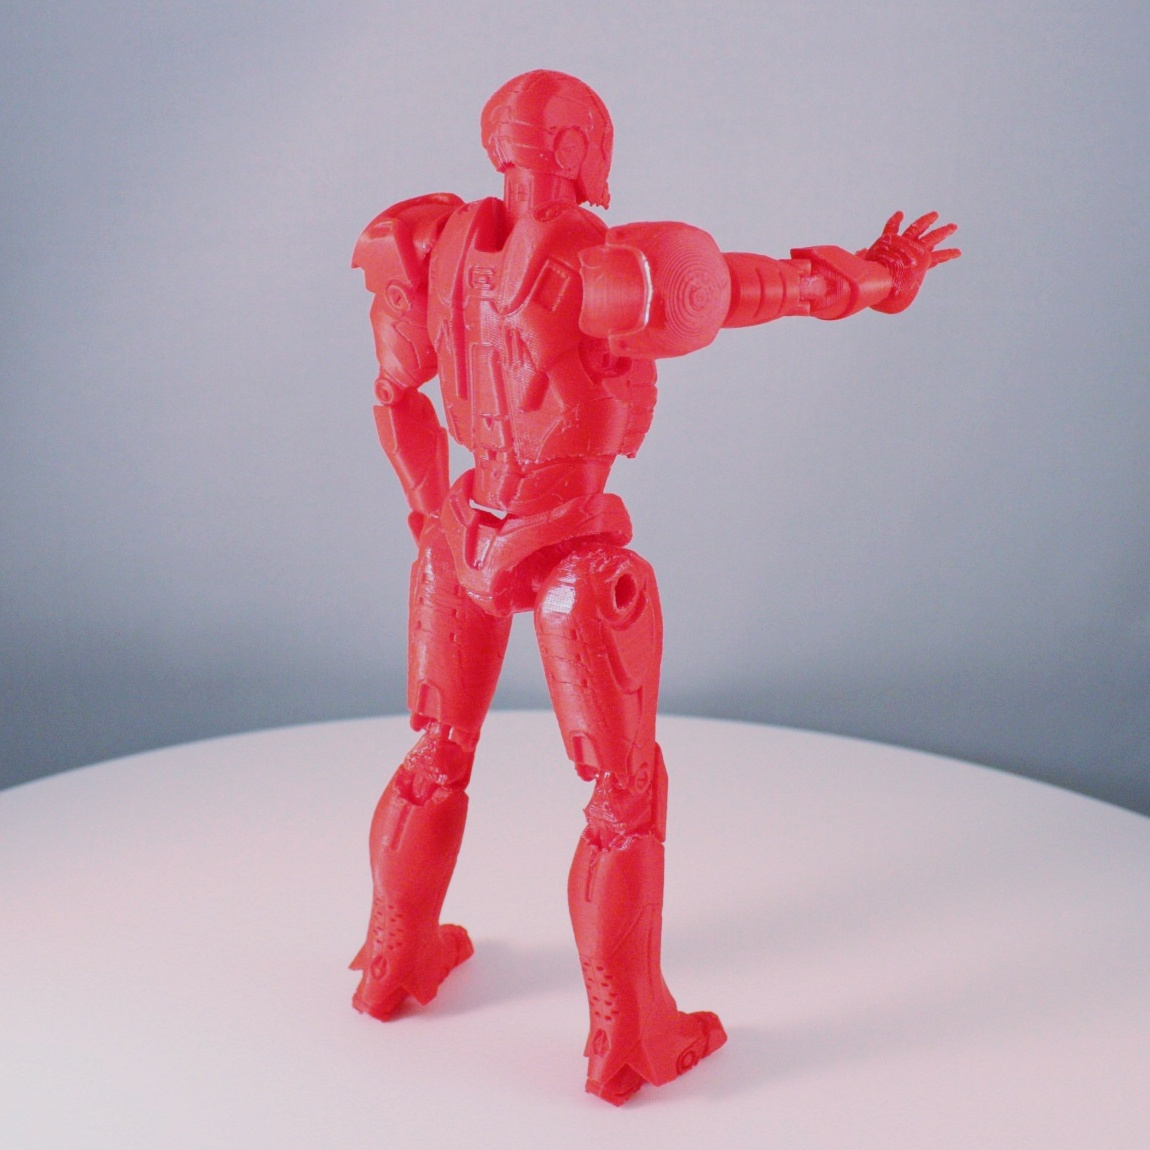
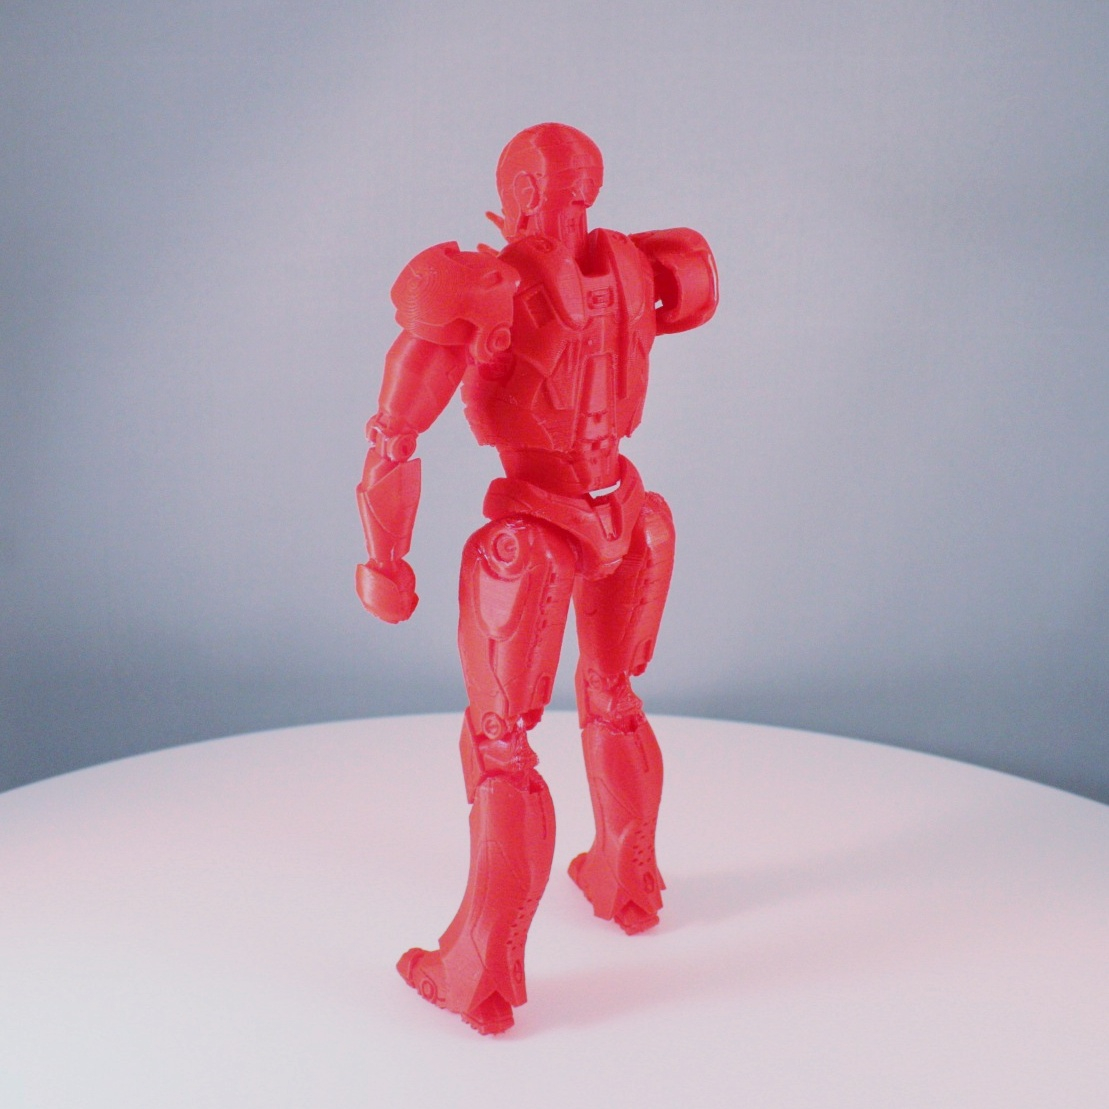
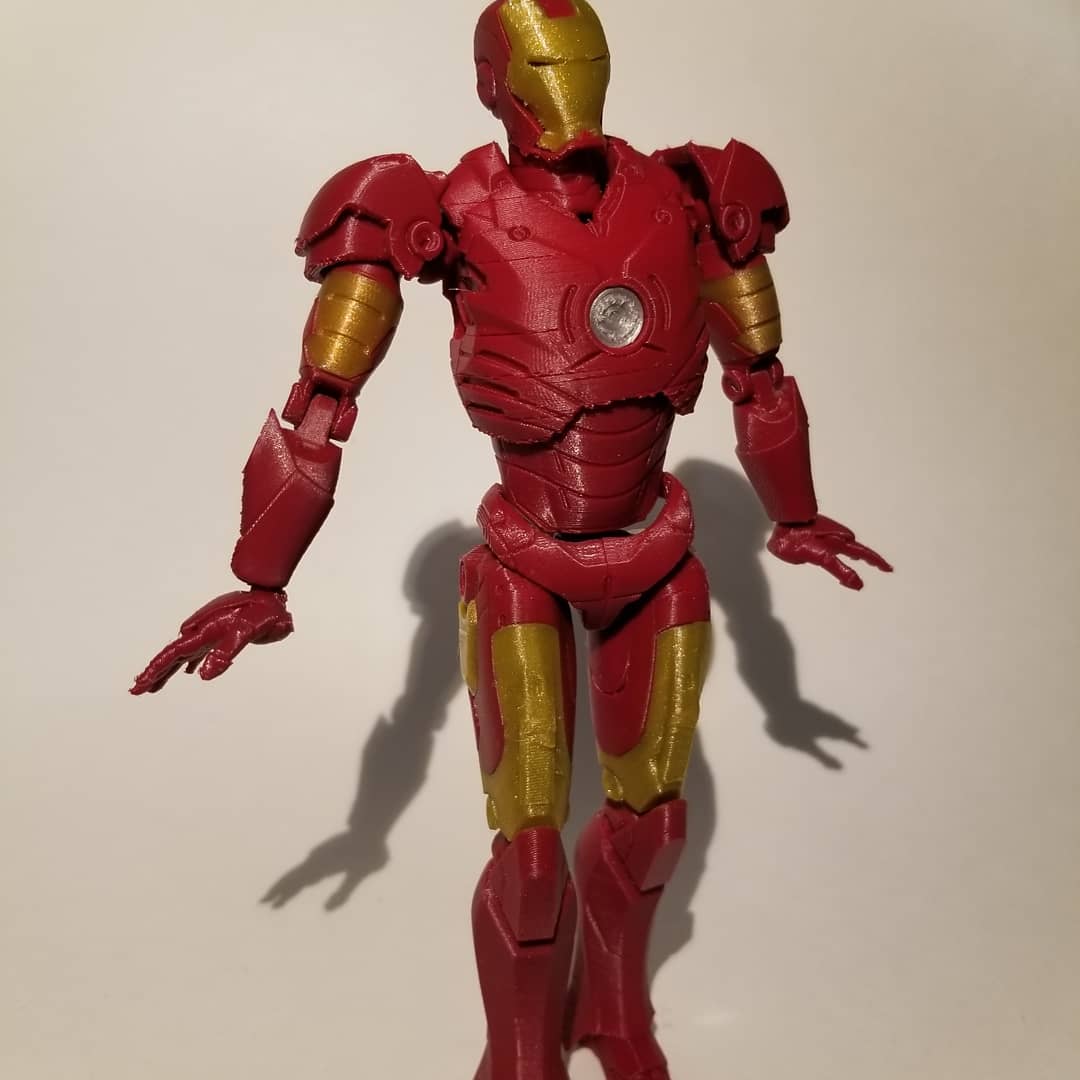
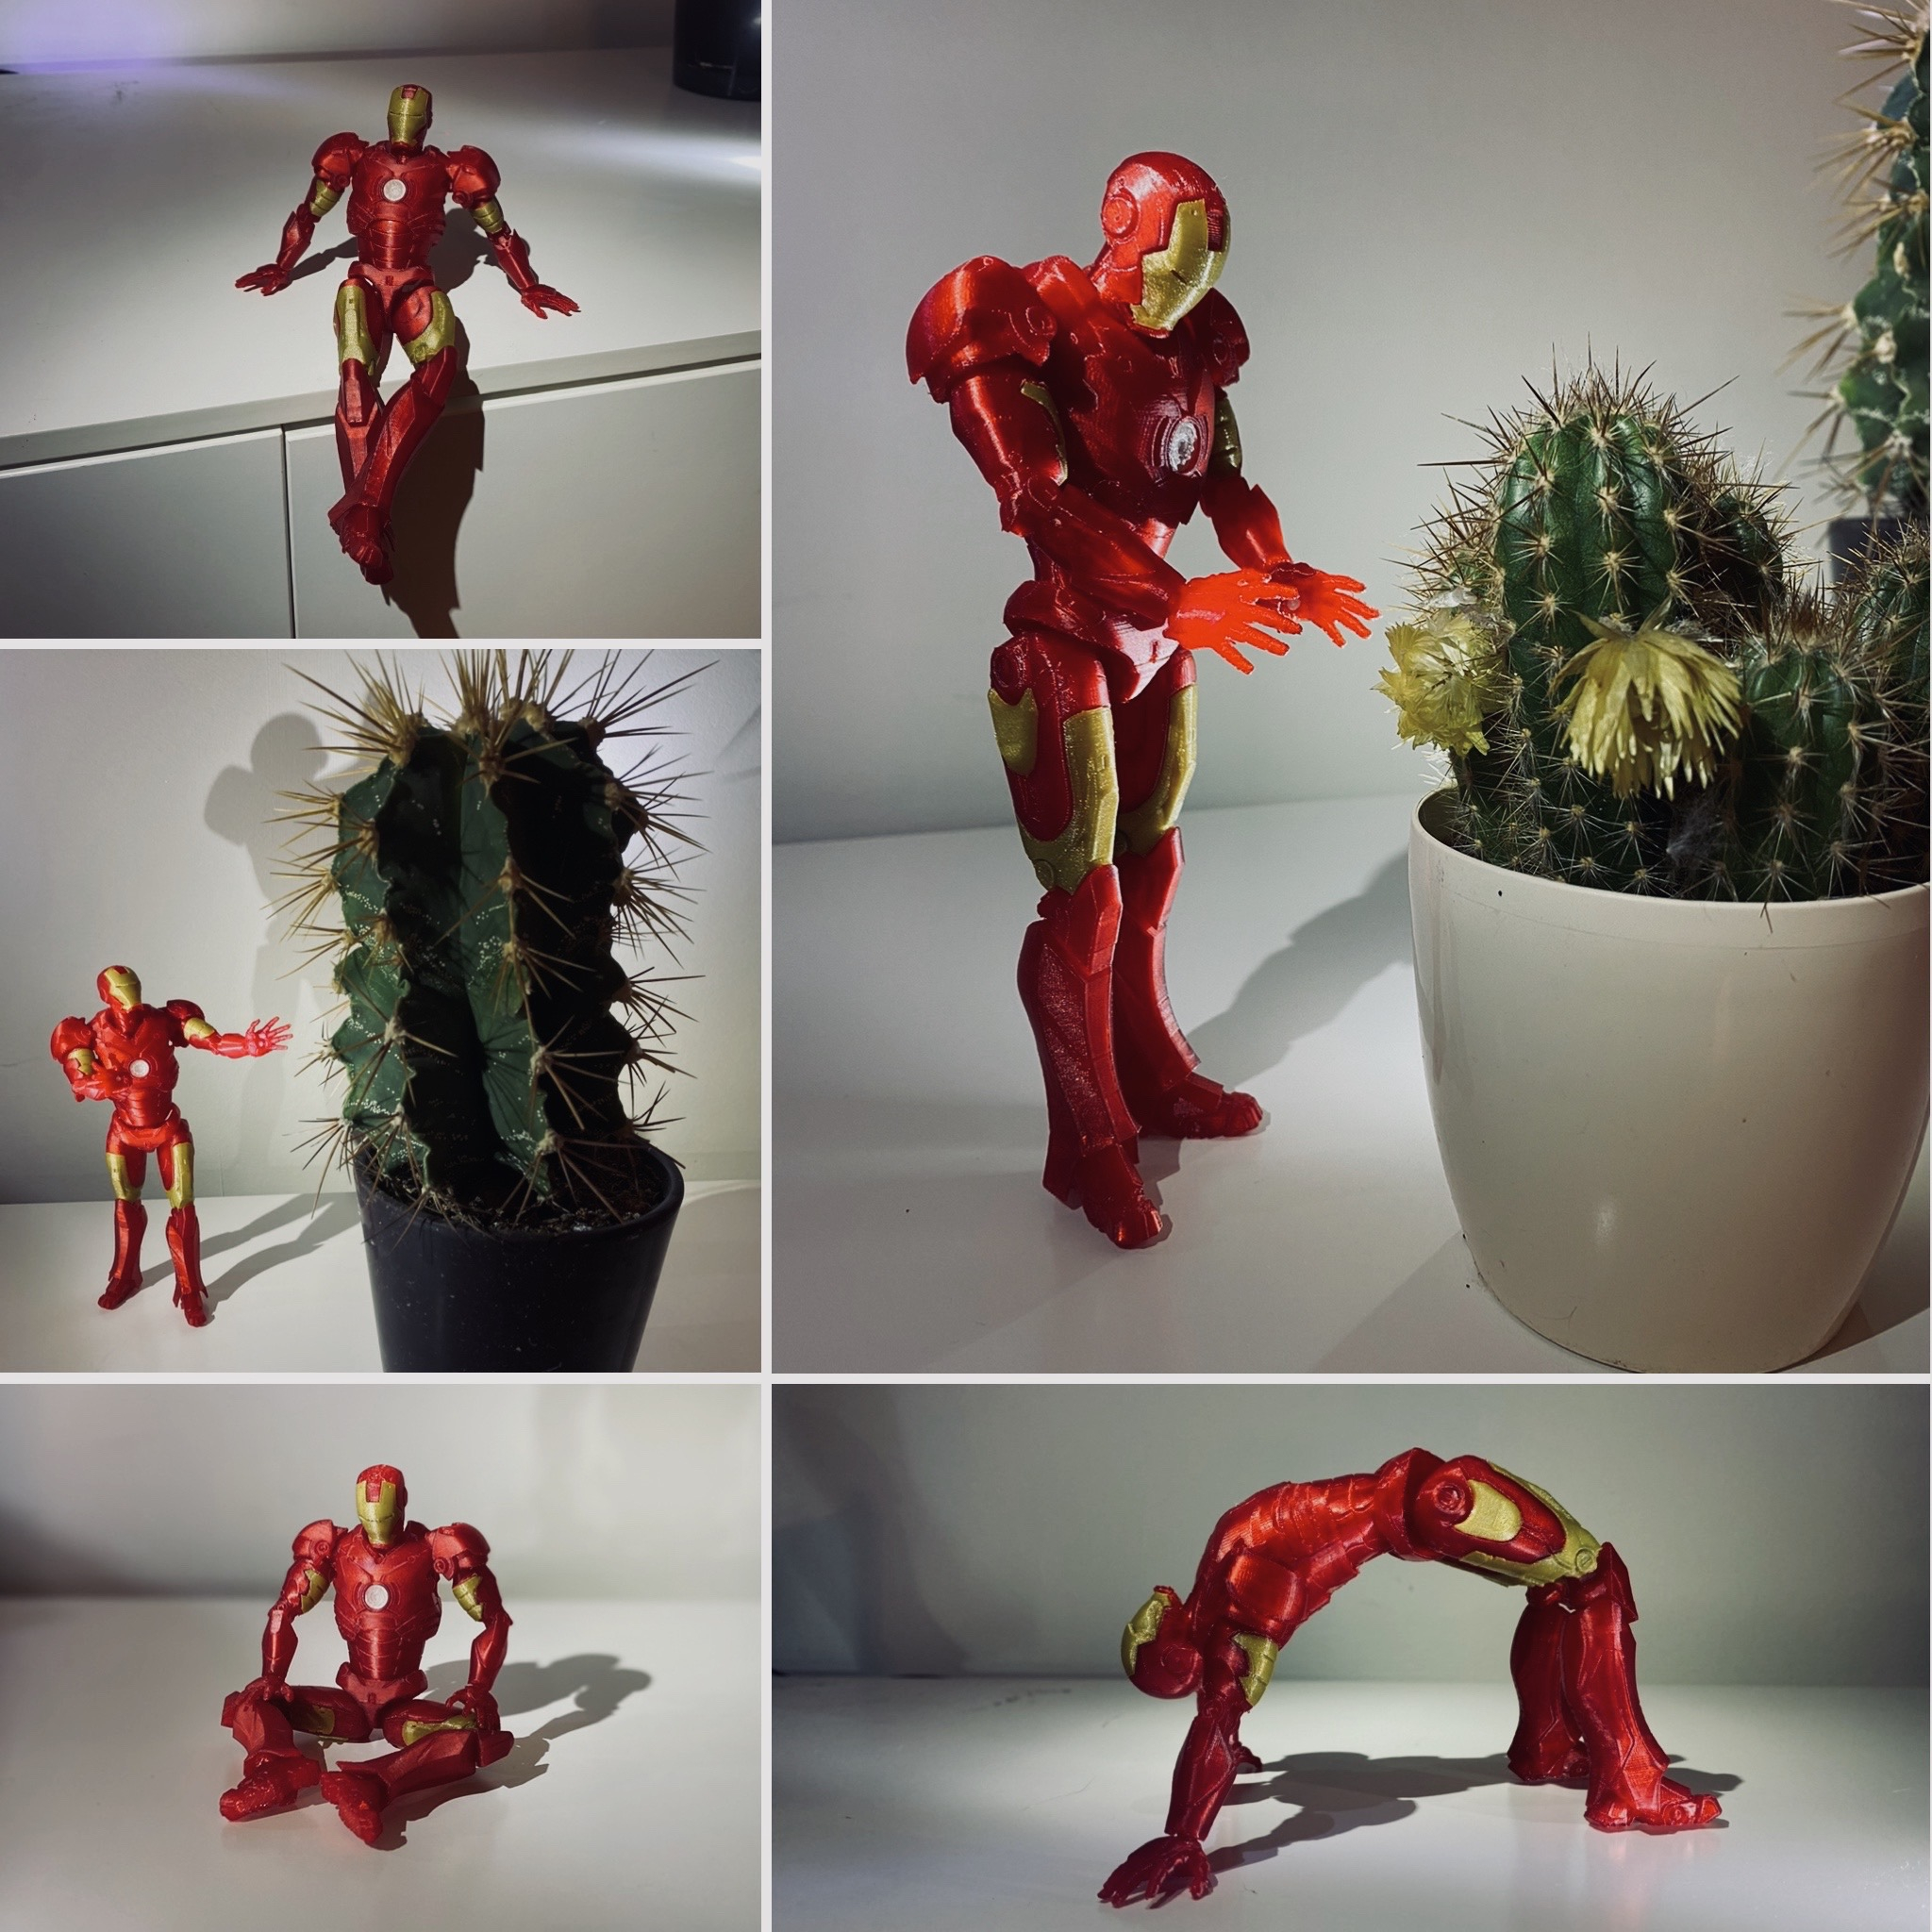
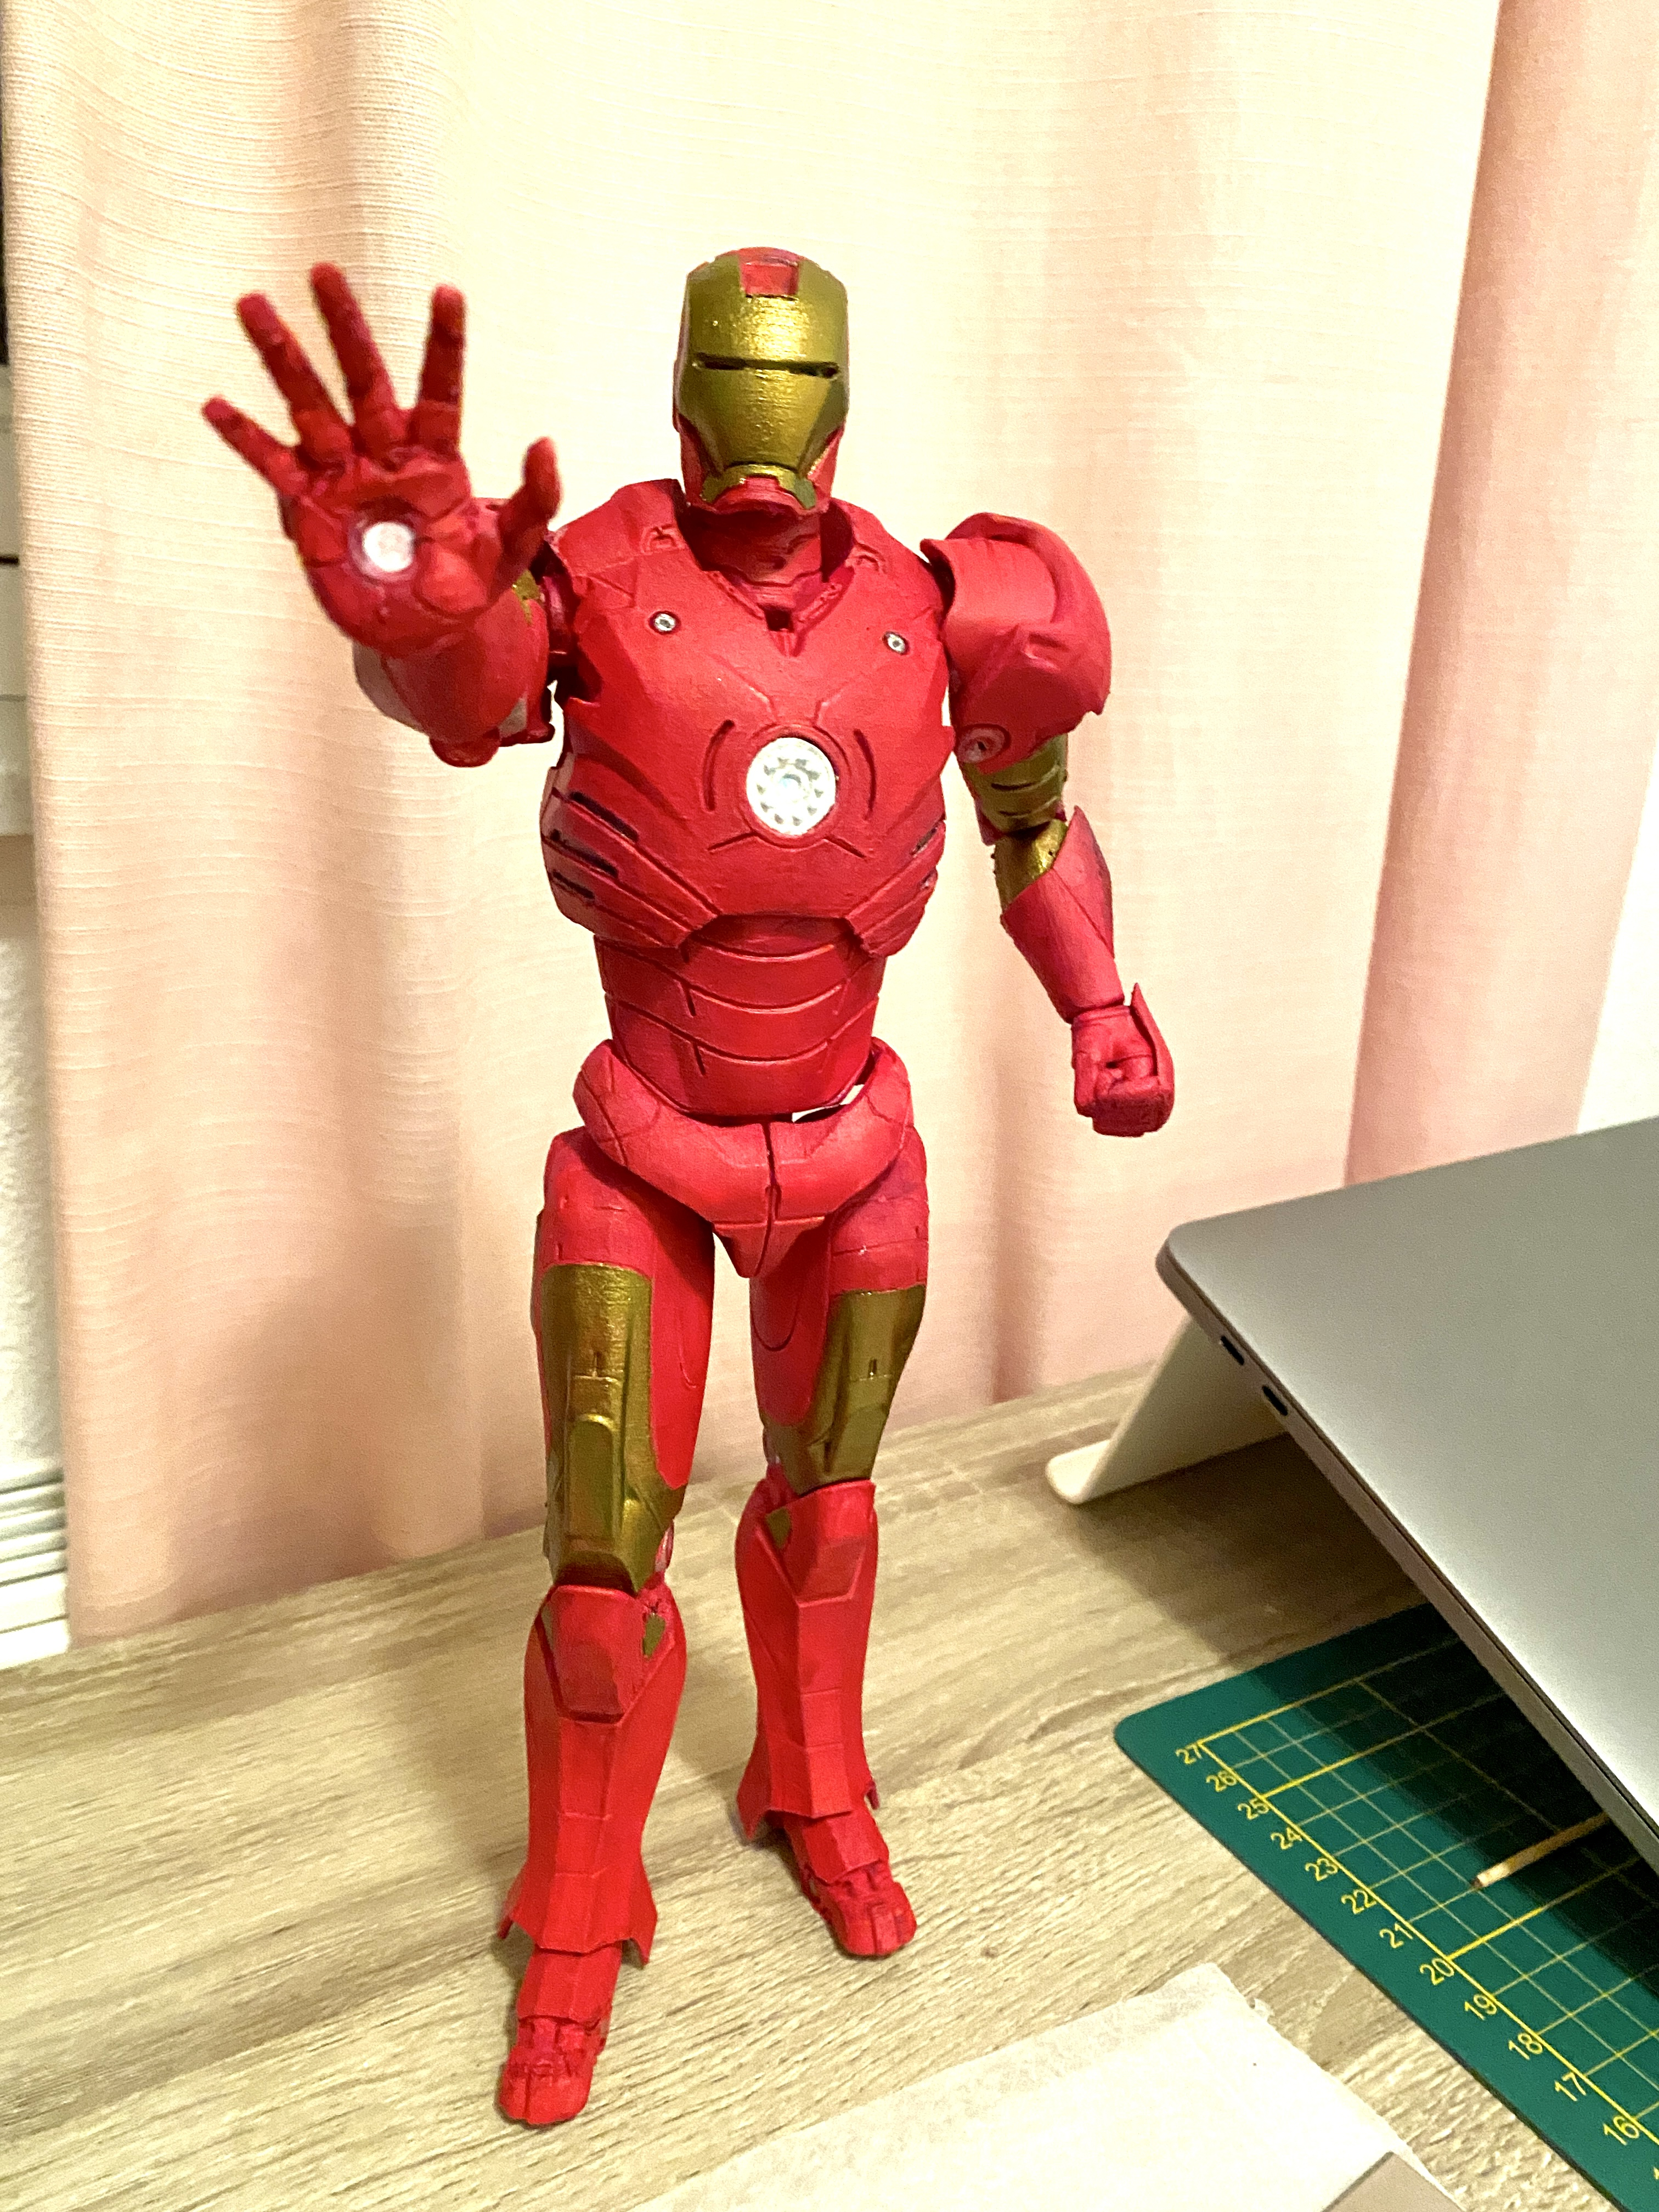
This is our first fully 3D-printable articulated figure: Iron Man MK3, as seen on the first MCU movie Iron Man of 2008. The designer is Dany Sánchez, who is also behind MiniWorld3D, and the Samus & Mandalorian figures.
Further below are the full instructions, so for now please read this:
- - OpenFigure3D is an account where several designers and 3D artists share 3D printable articulated figures & toys. These are free fanarts or originals.
- - THIS MODEL IS FREE & available only on Printables.com & MyMiniFactory, DO NOT BE FOOLED AND PAY FOR IT ELSEWHERE.
- - Please don't publish these files elsewhere. OpenFigure3D is meant to be OPEN, contact us to be part of it, let's keep it all here.
- - This is no Bandai, Hot Toys, S.H. Figuarts , Figma, Black Series figure lol. It's 3D printed so it will not be perfect - but hey, it's free and fun!
----------------
That's it! Thank you so much for printing our figures! We hope to see your photos here or on Instagram at @openfigure3d
Please remember to keep this models to yourself, support us by not re-publishing or selling them. We will continue to create more free fanarts and originals here!
Credits:
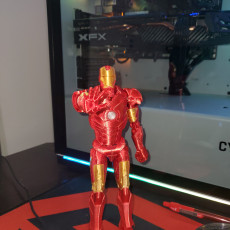
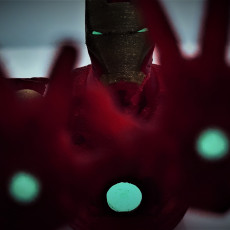
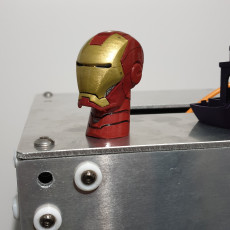
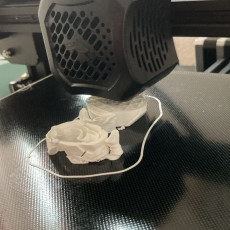
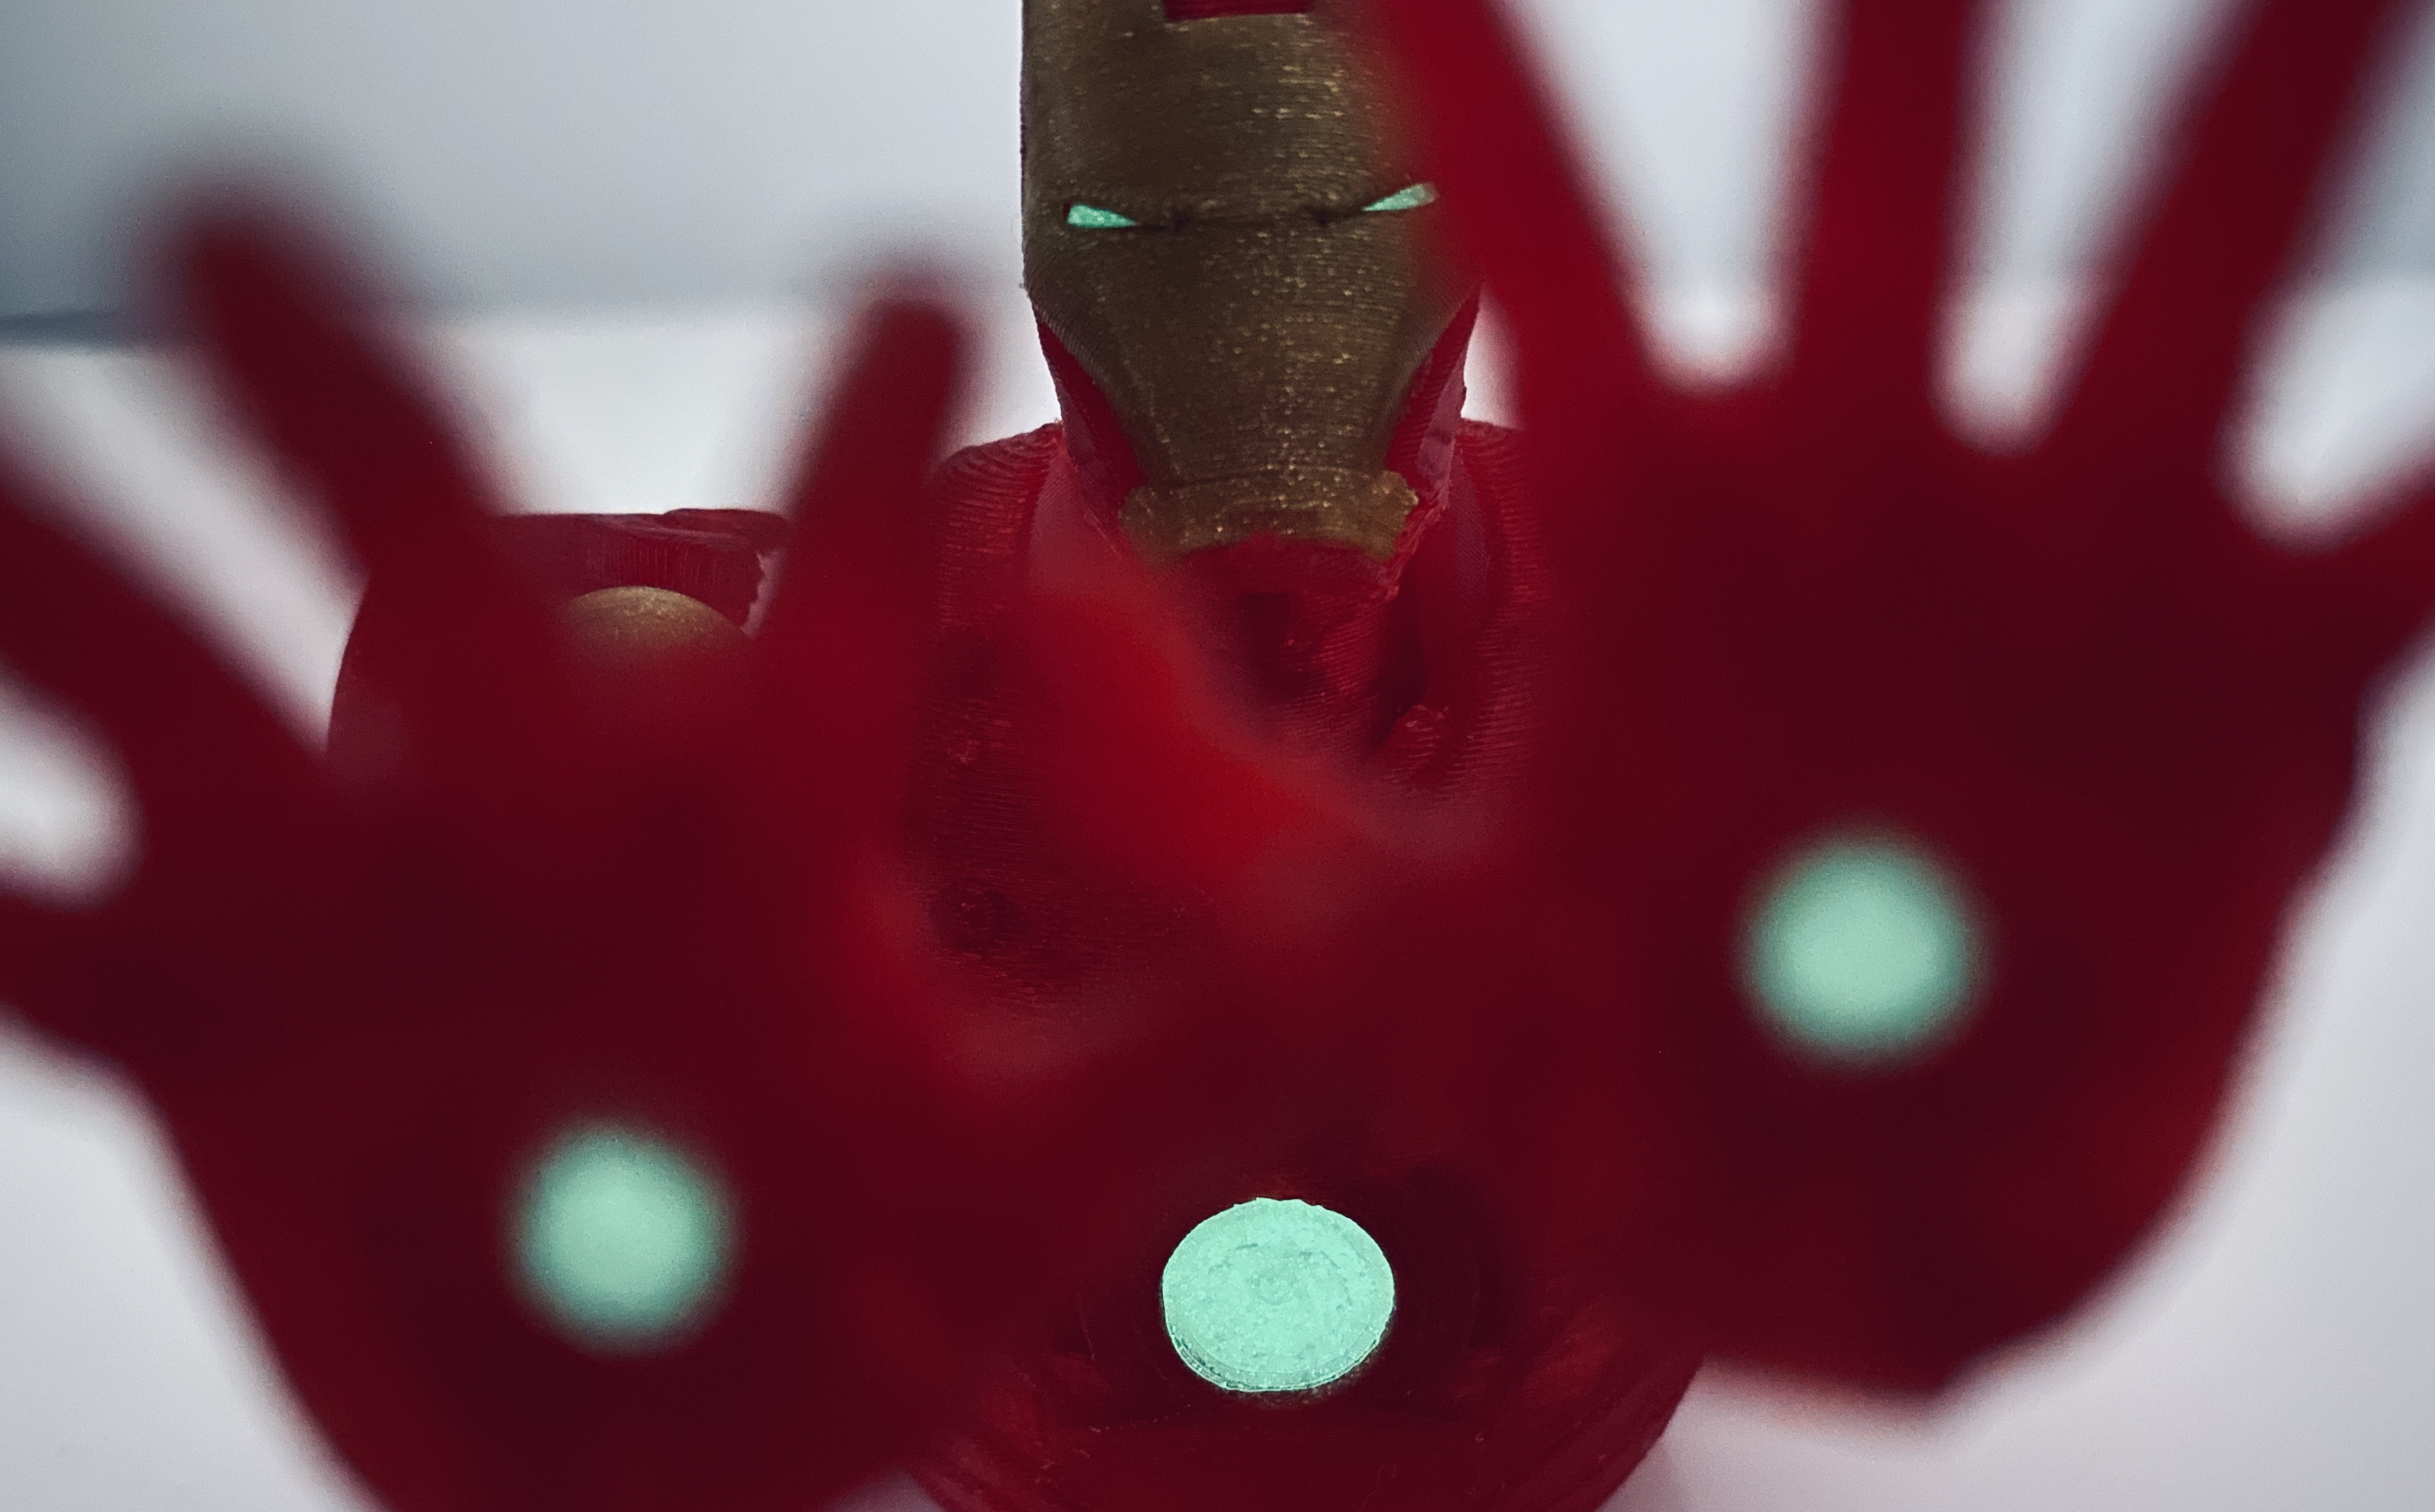
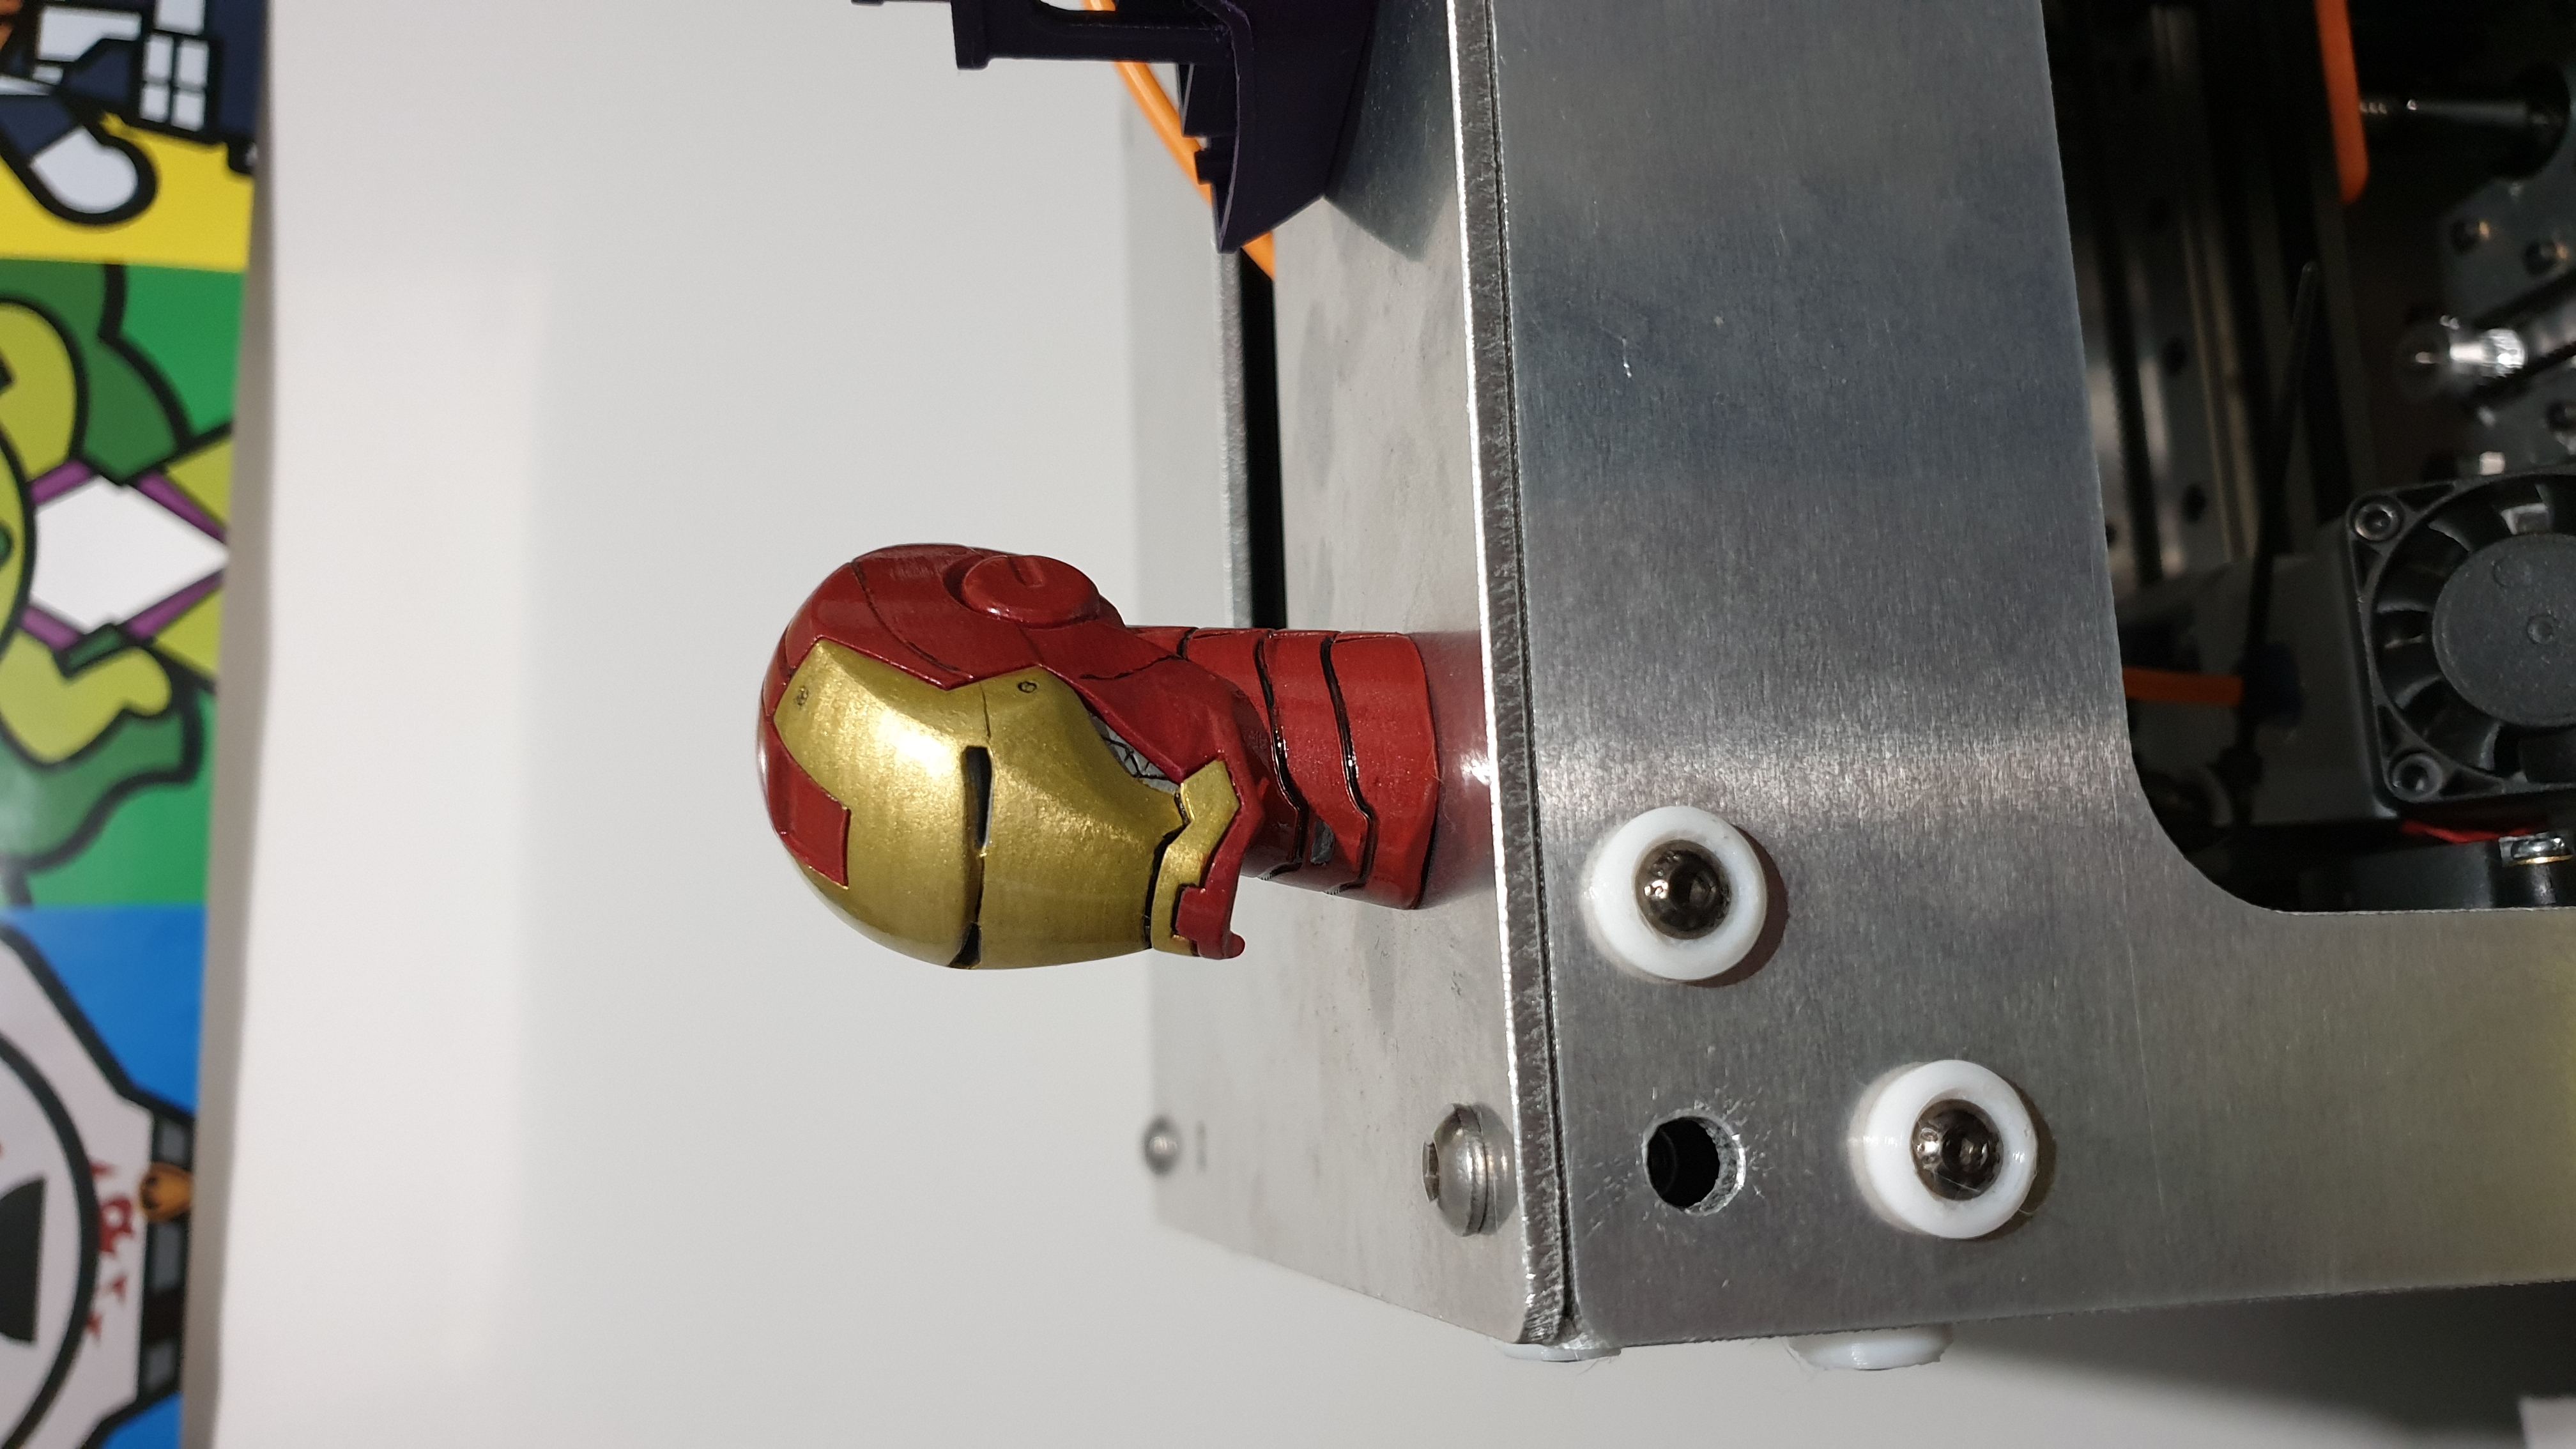
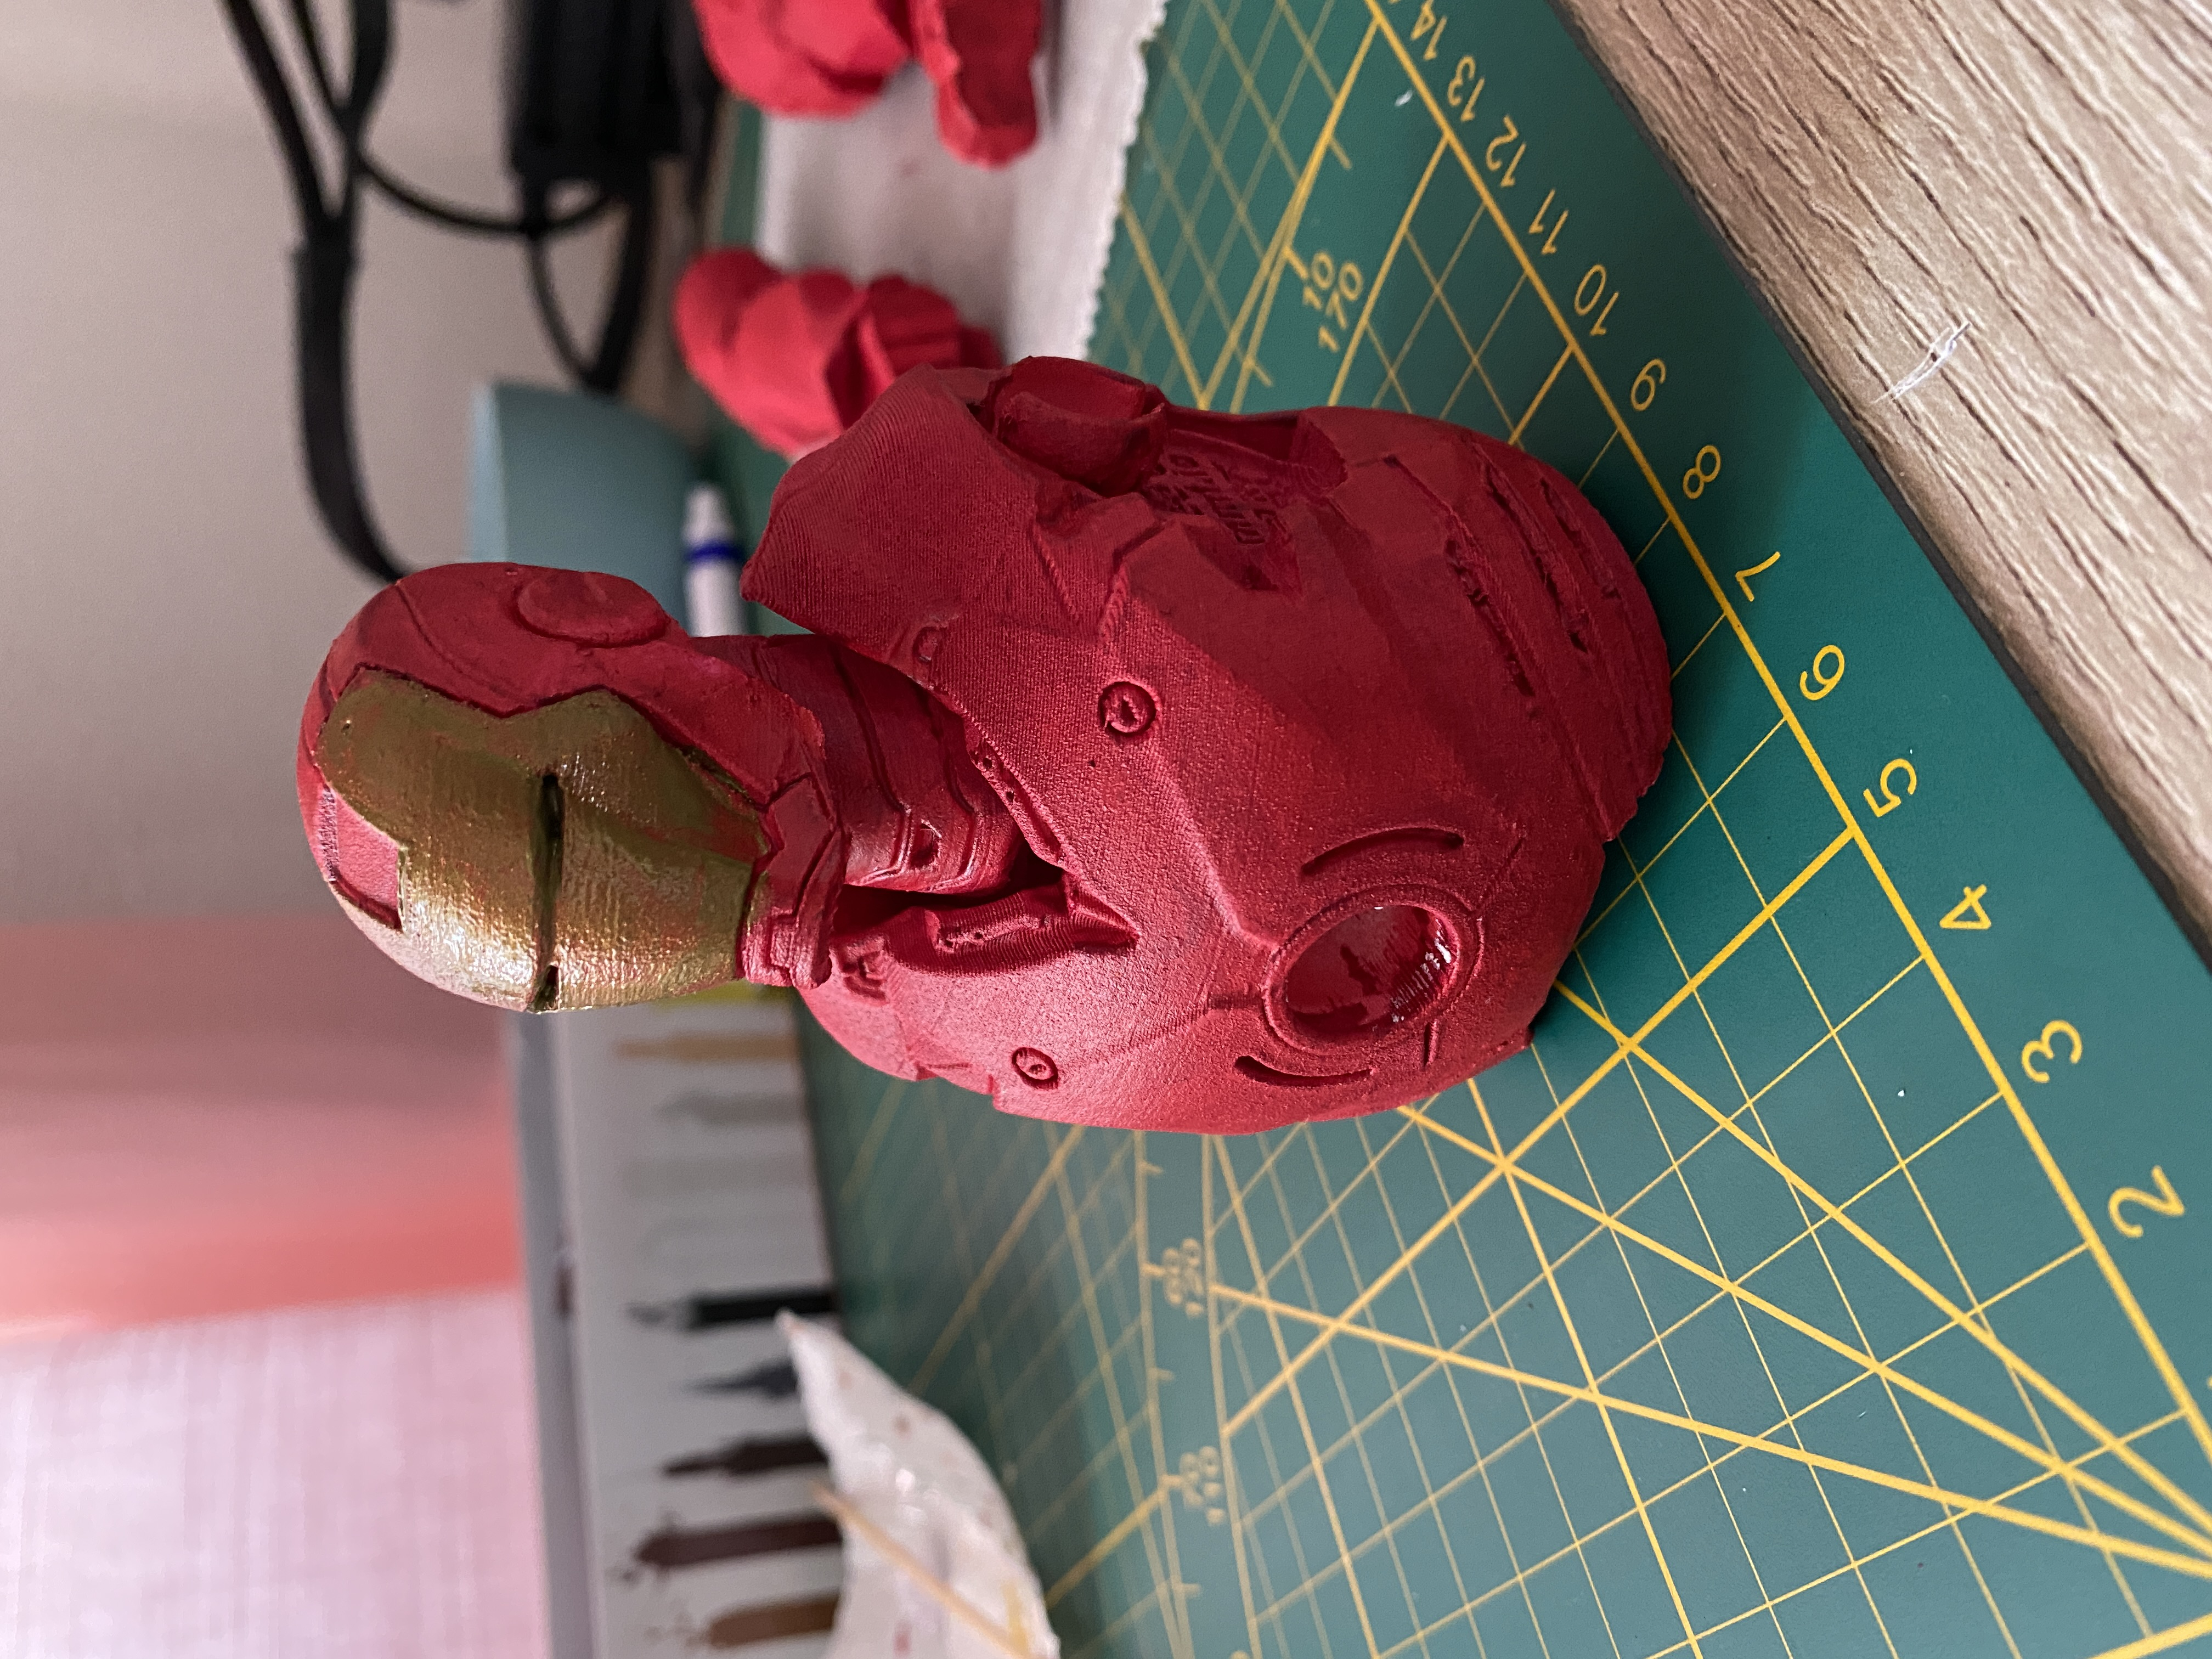
Photos by Dany Sánchez, printed in HALO3D Filaments Royal Blood Red, New Gold Dream, and Silver Machine. Painted version printed in Fillamentum Pearl Ruby Red and Plasticz Netherlands Metallic Grey, hand painted in acrylics by Dany Sánchez.
Thanks to all beta testers and friends who printed this!
[ ! ] This figure is for personal use ONLY - do not distribute digital files or sell physical reproductions.
IRON MAN, The Avengers, and all of its affiliated properties remain the intellectual property of Marvel Studios, LLC . under Disney. Characters, Names And Related Indicia Are Property of their respective owners. This model is a non-profit, fan work inspired and based on the appearances on screen. You are forbidden from selling this 3D digital file or physical print. No infringement is intended.


--FULL INSTRUCTIONS-------
TAKE YOUR TIME. Save this, print this, come to it later. Also, SEE ATTACHED ASSEMBLY MANUAL.
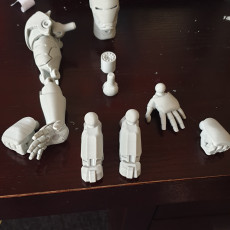
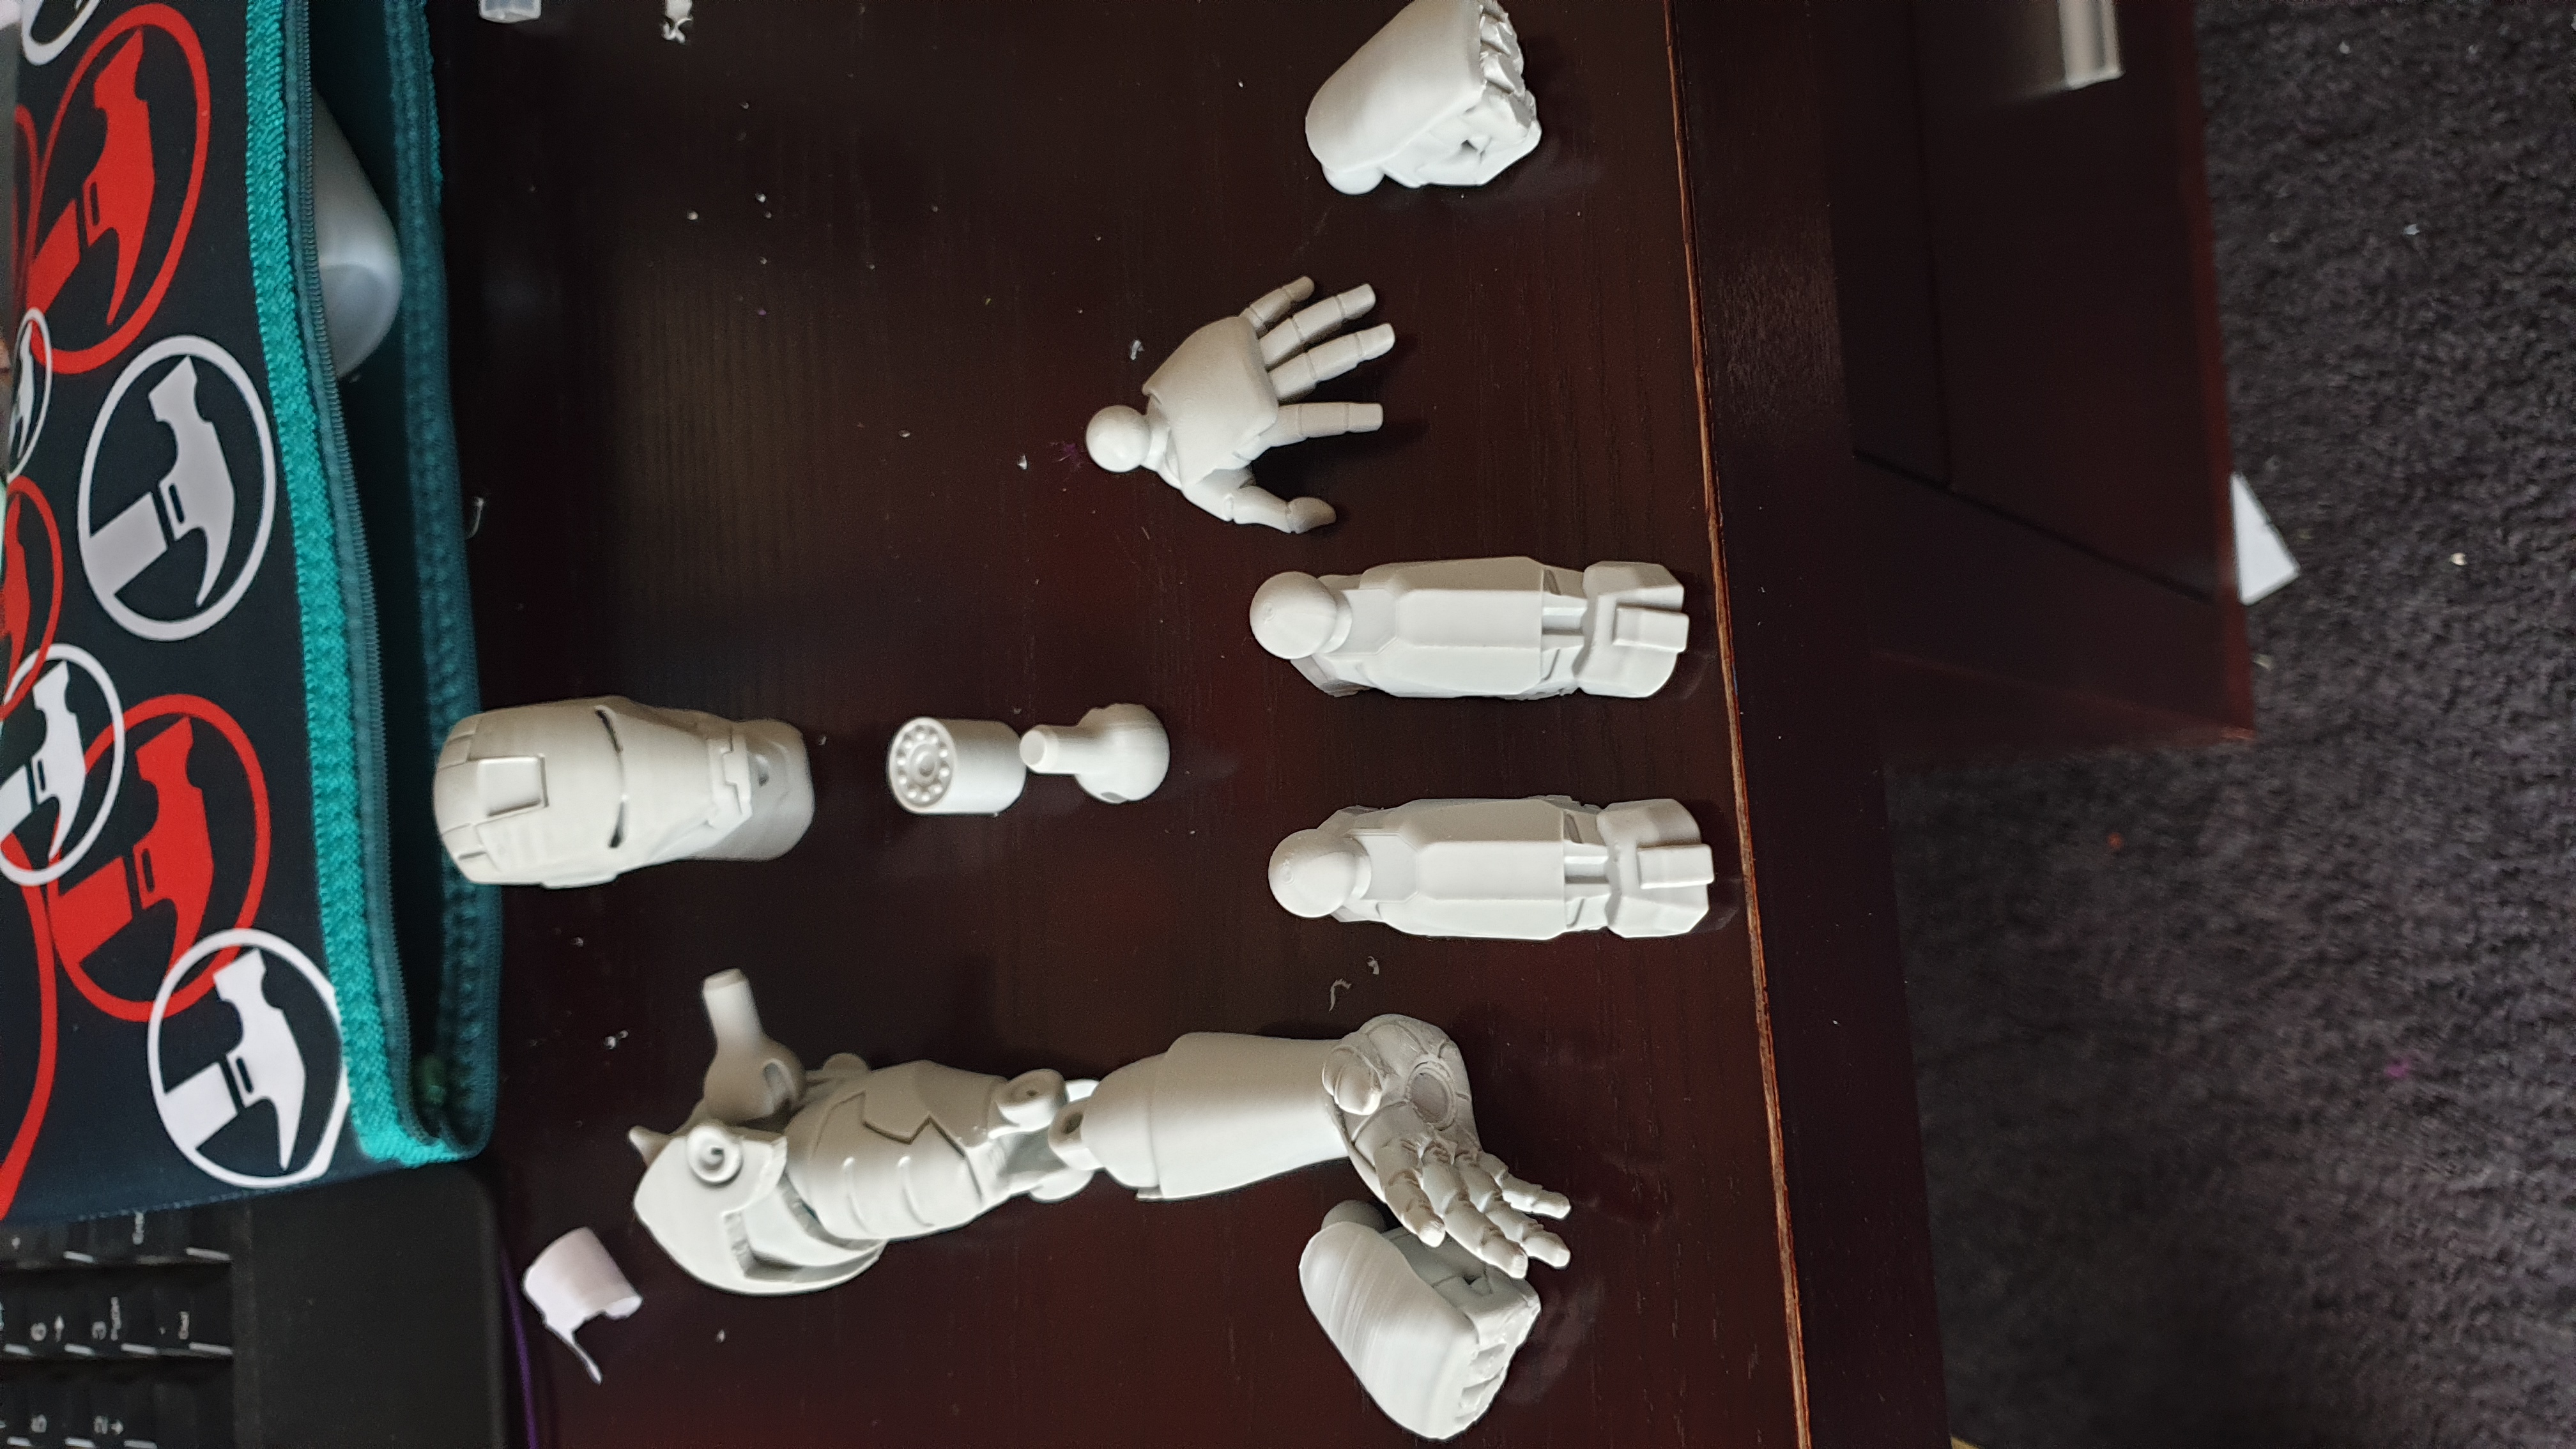
1. What's inside?
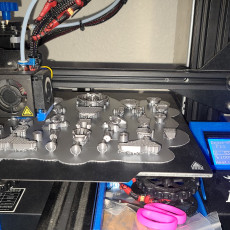
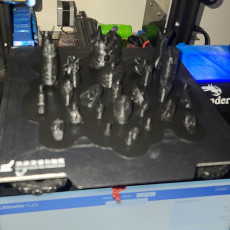
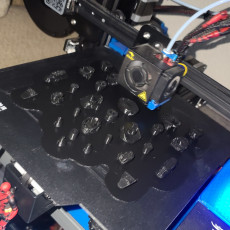
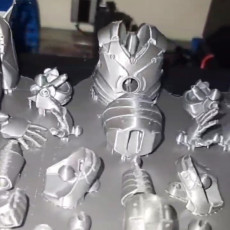
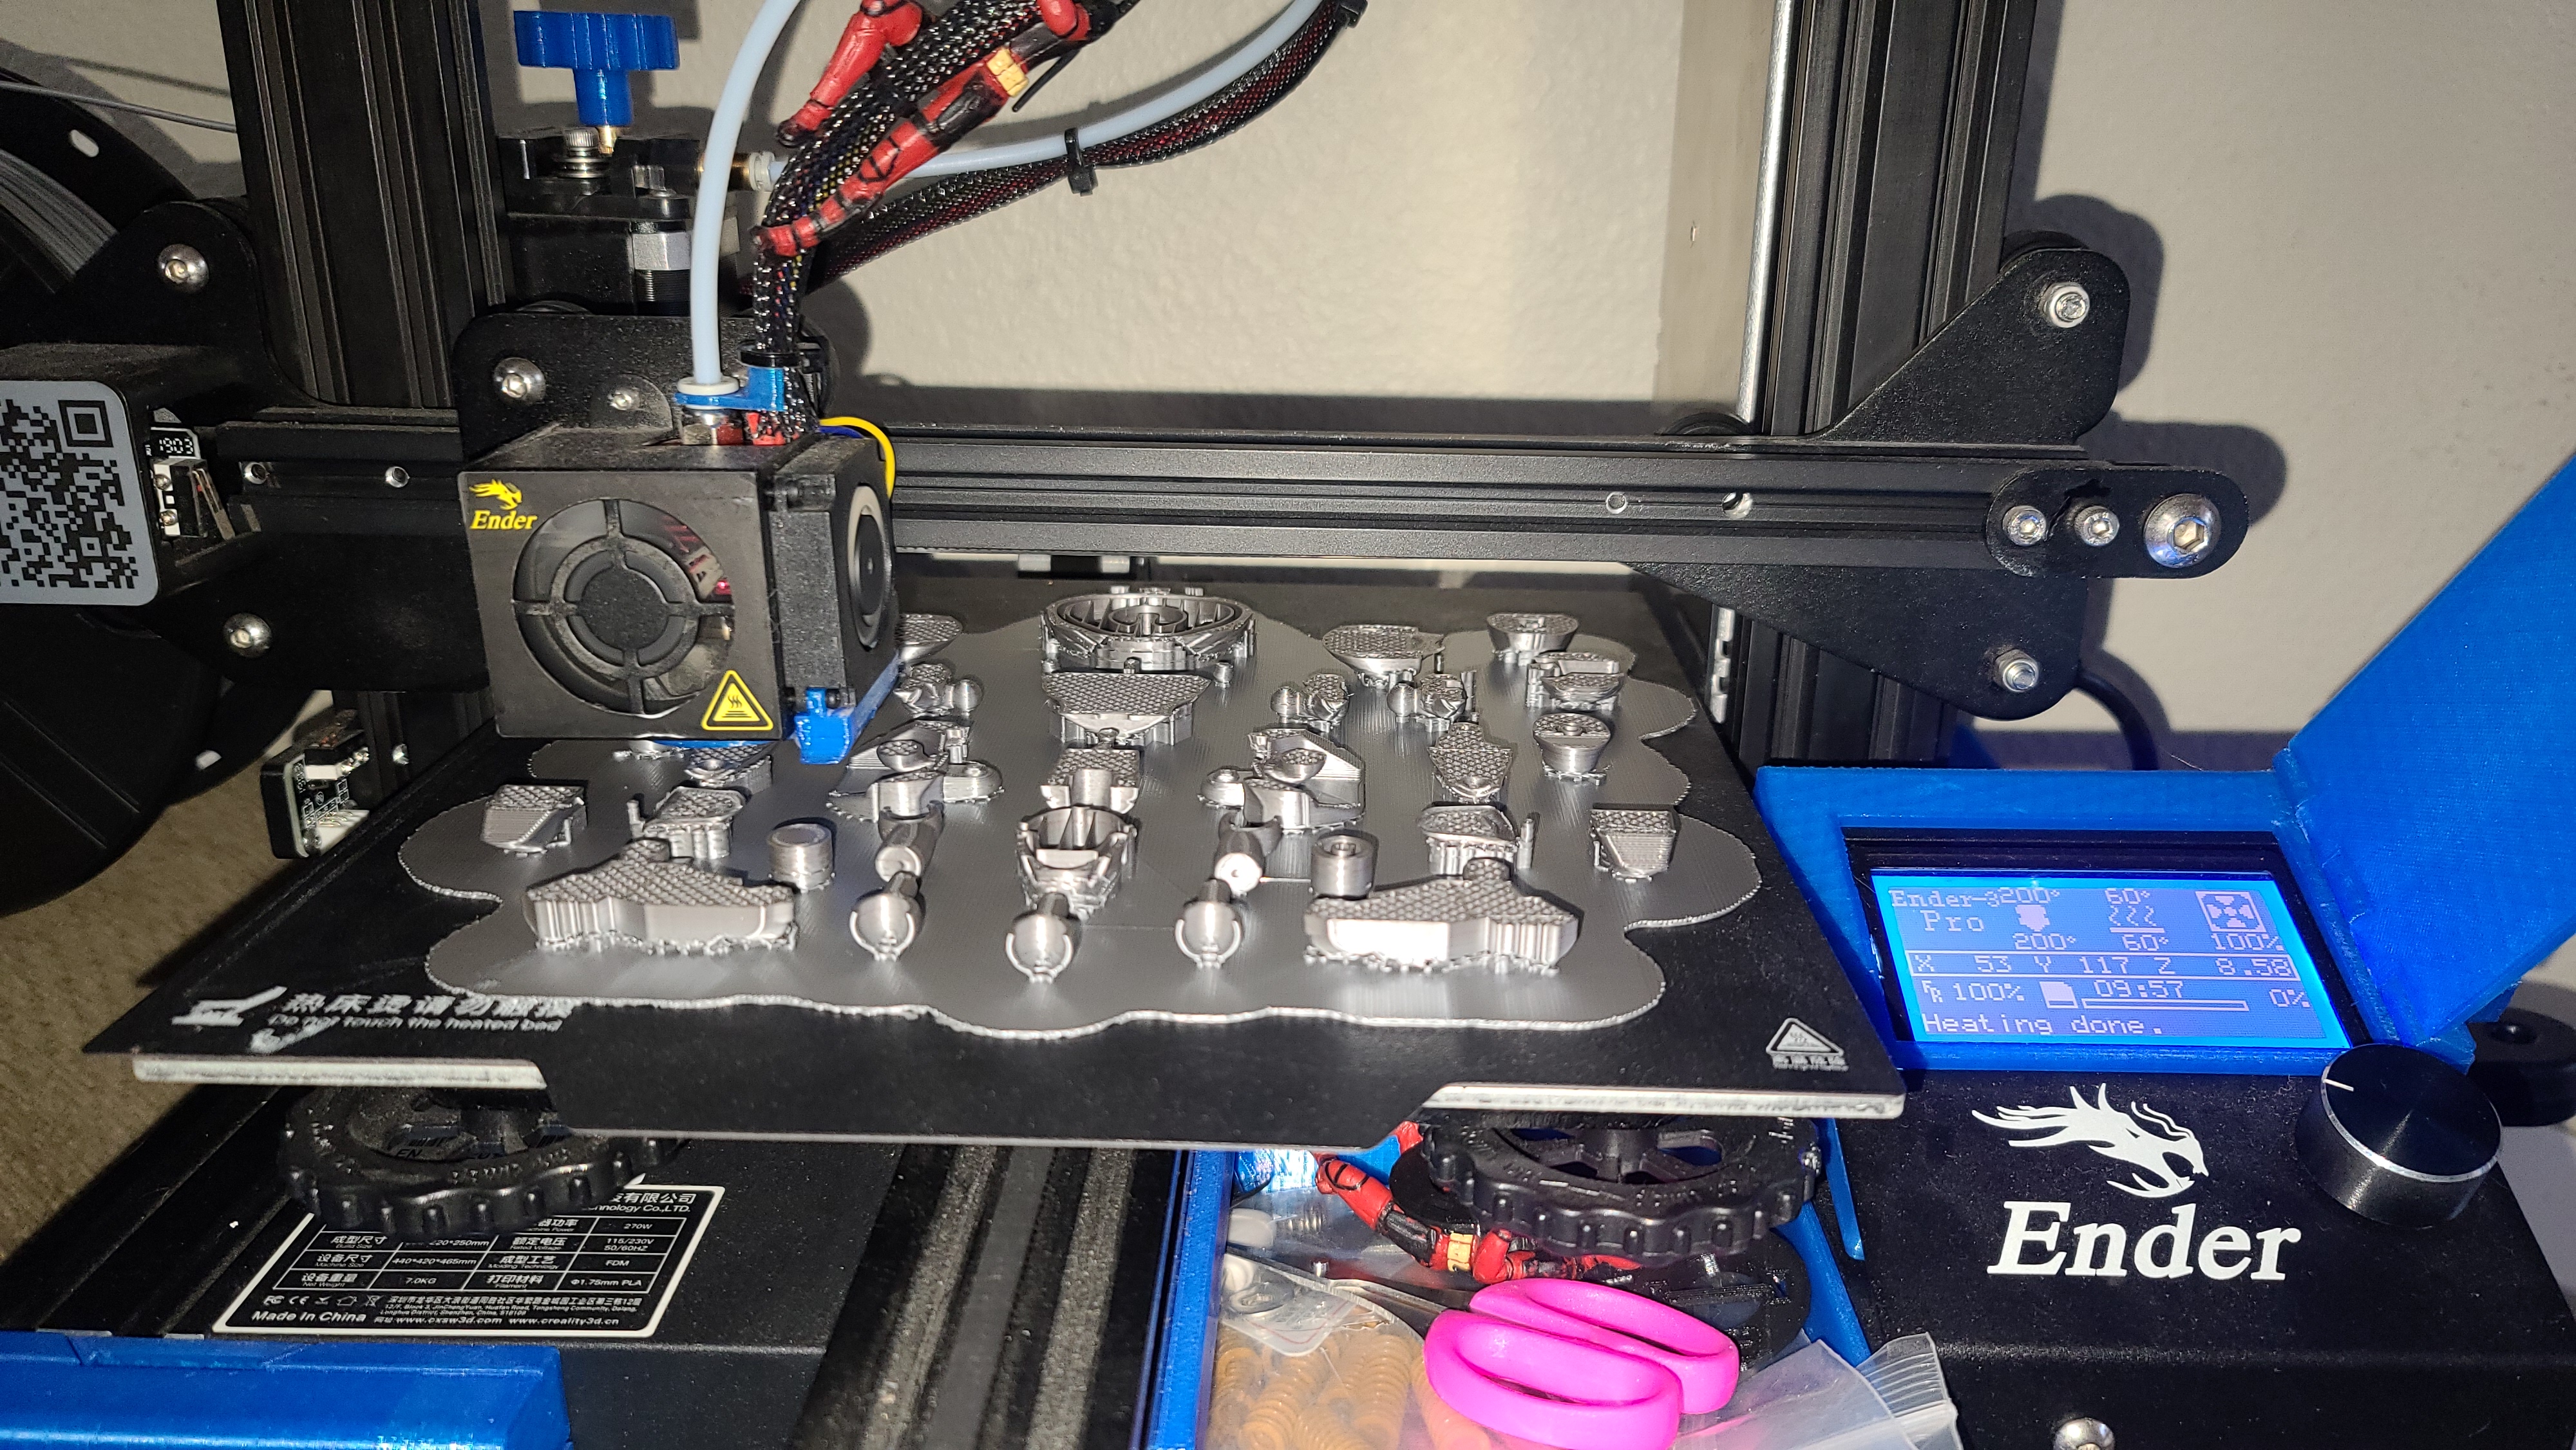
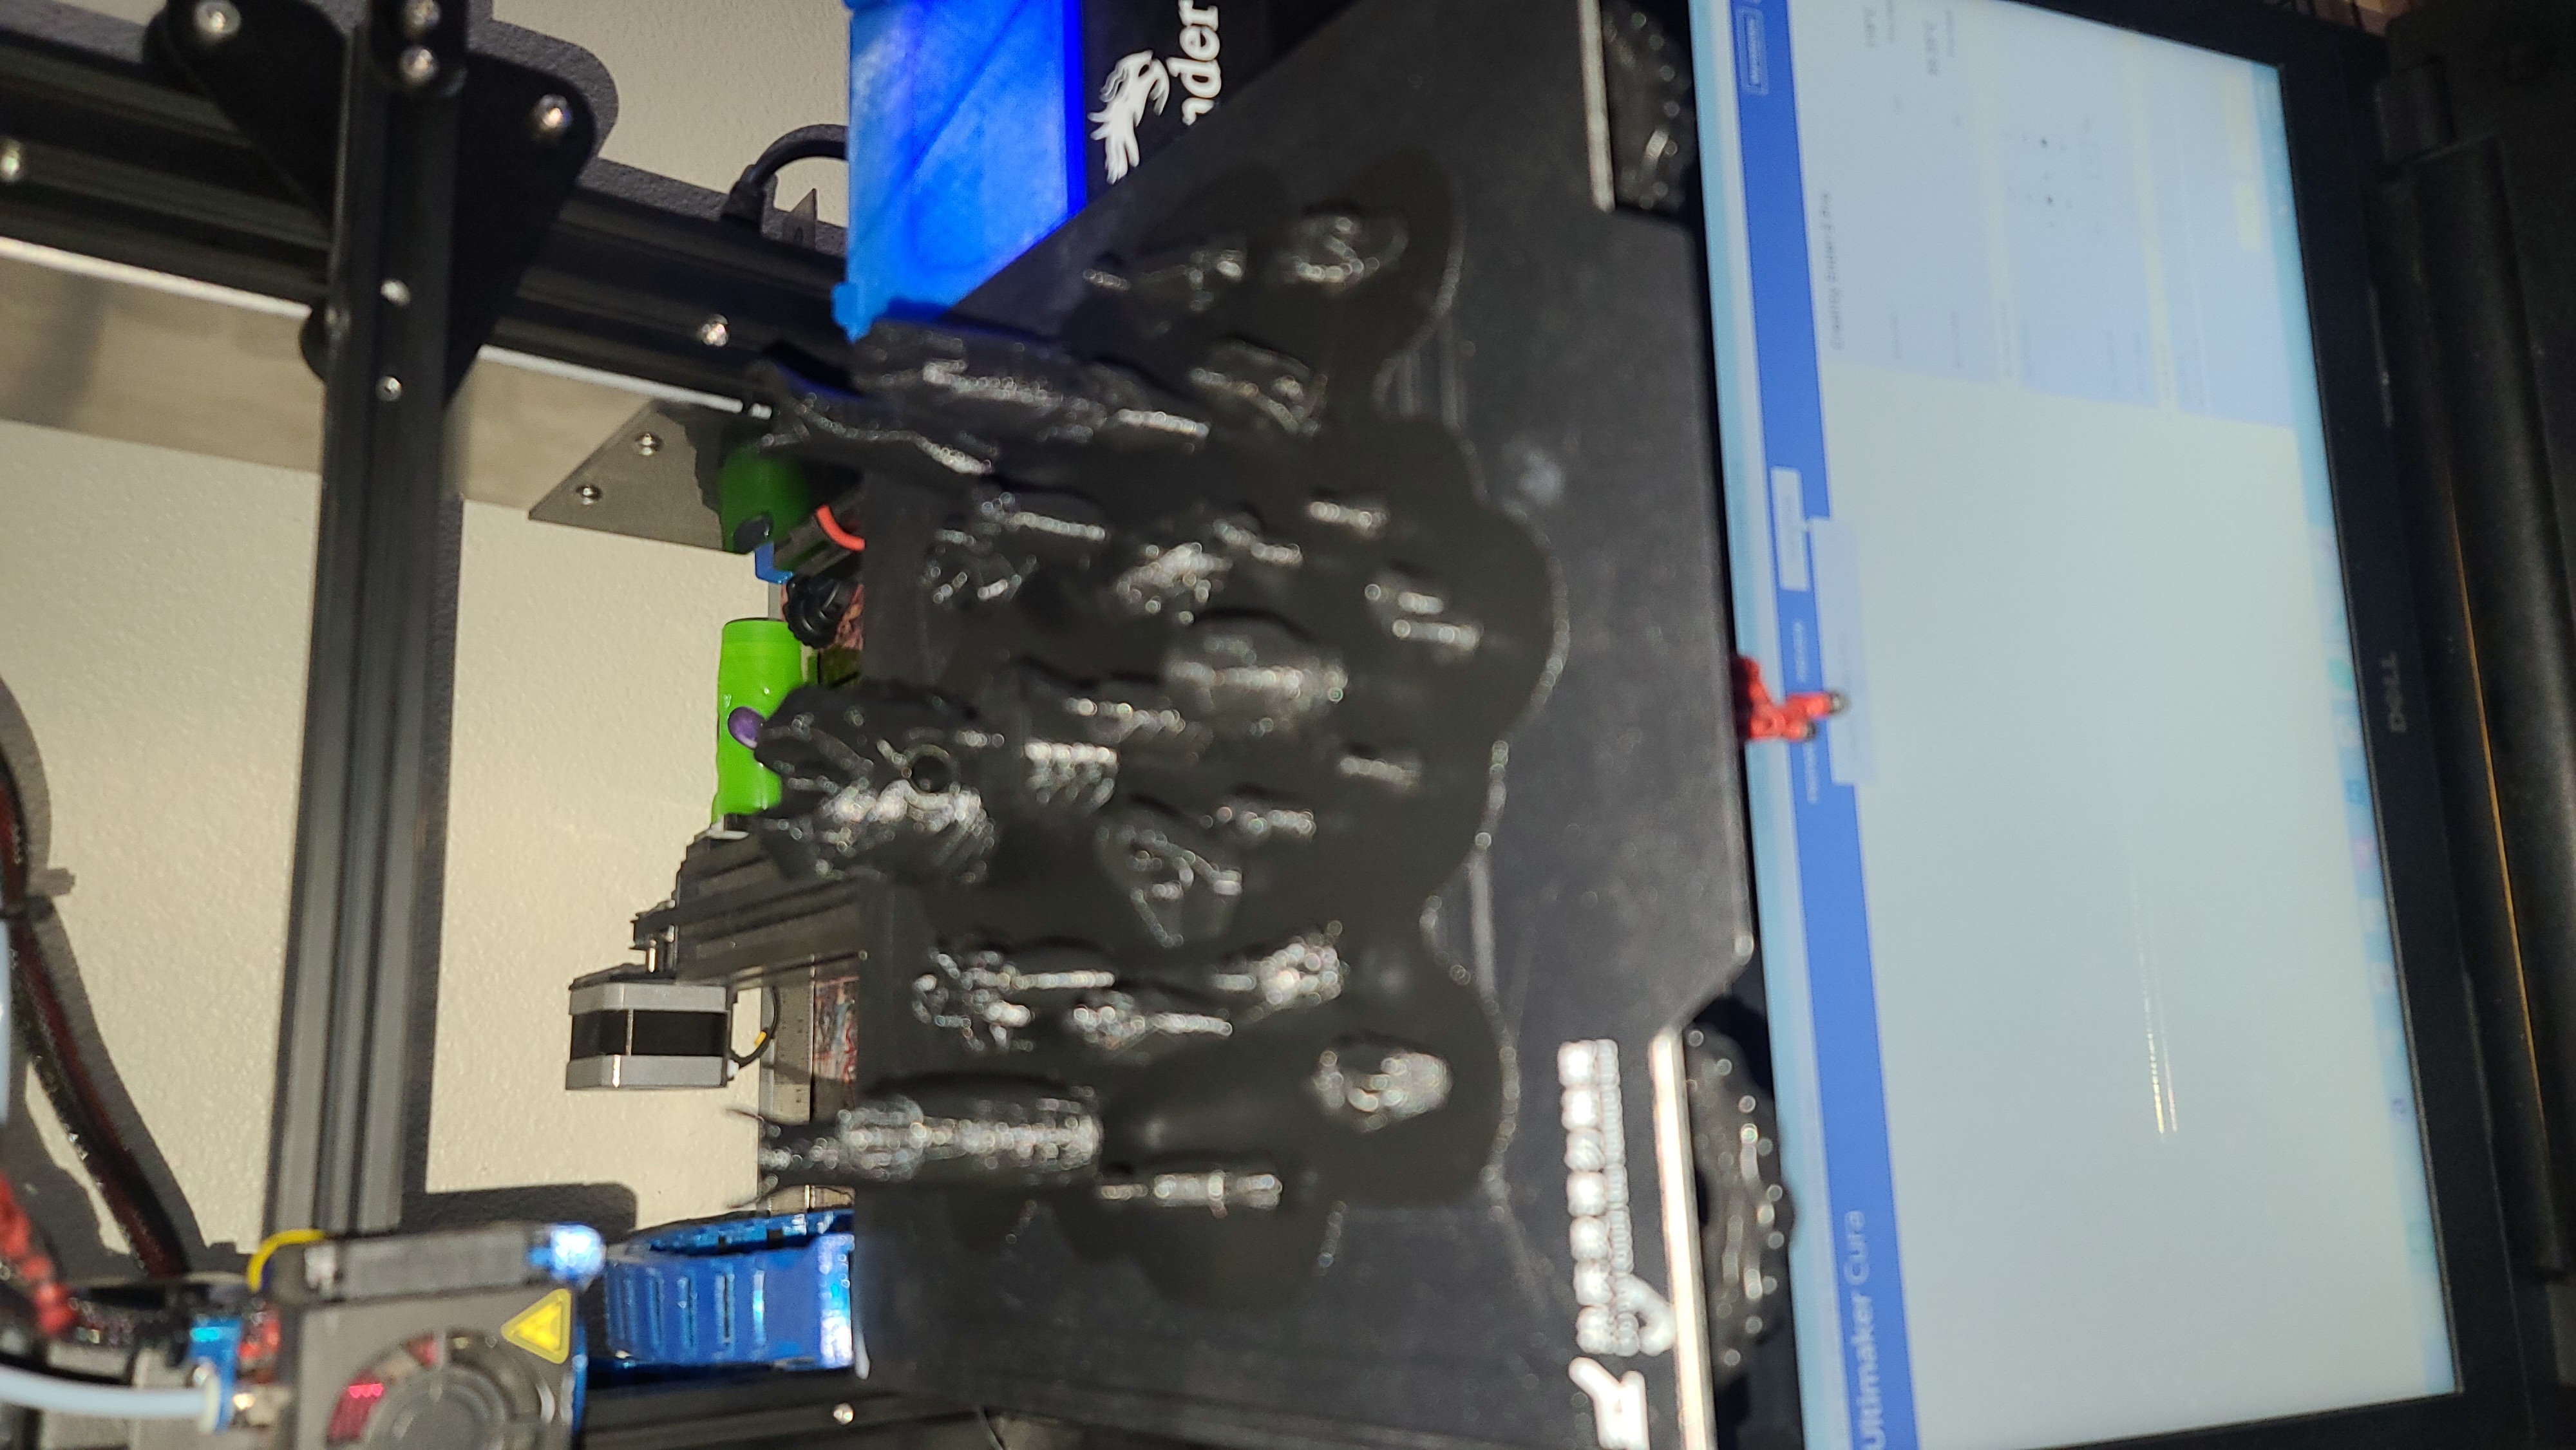
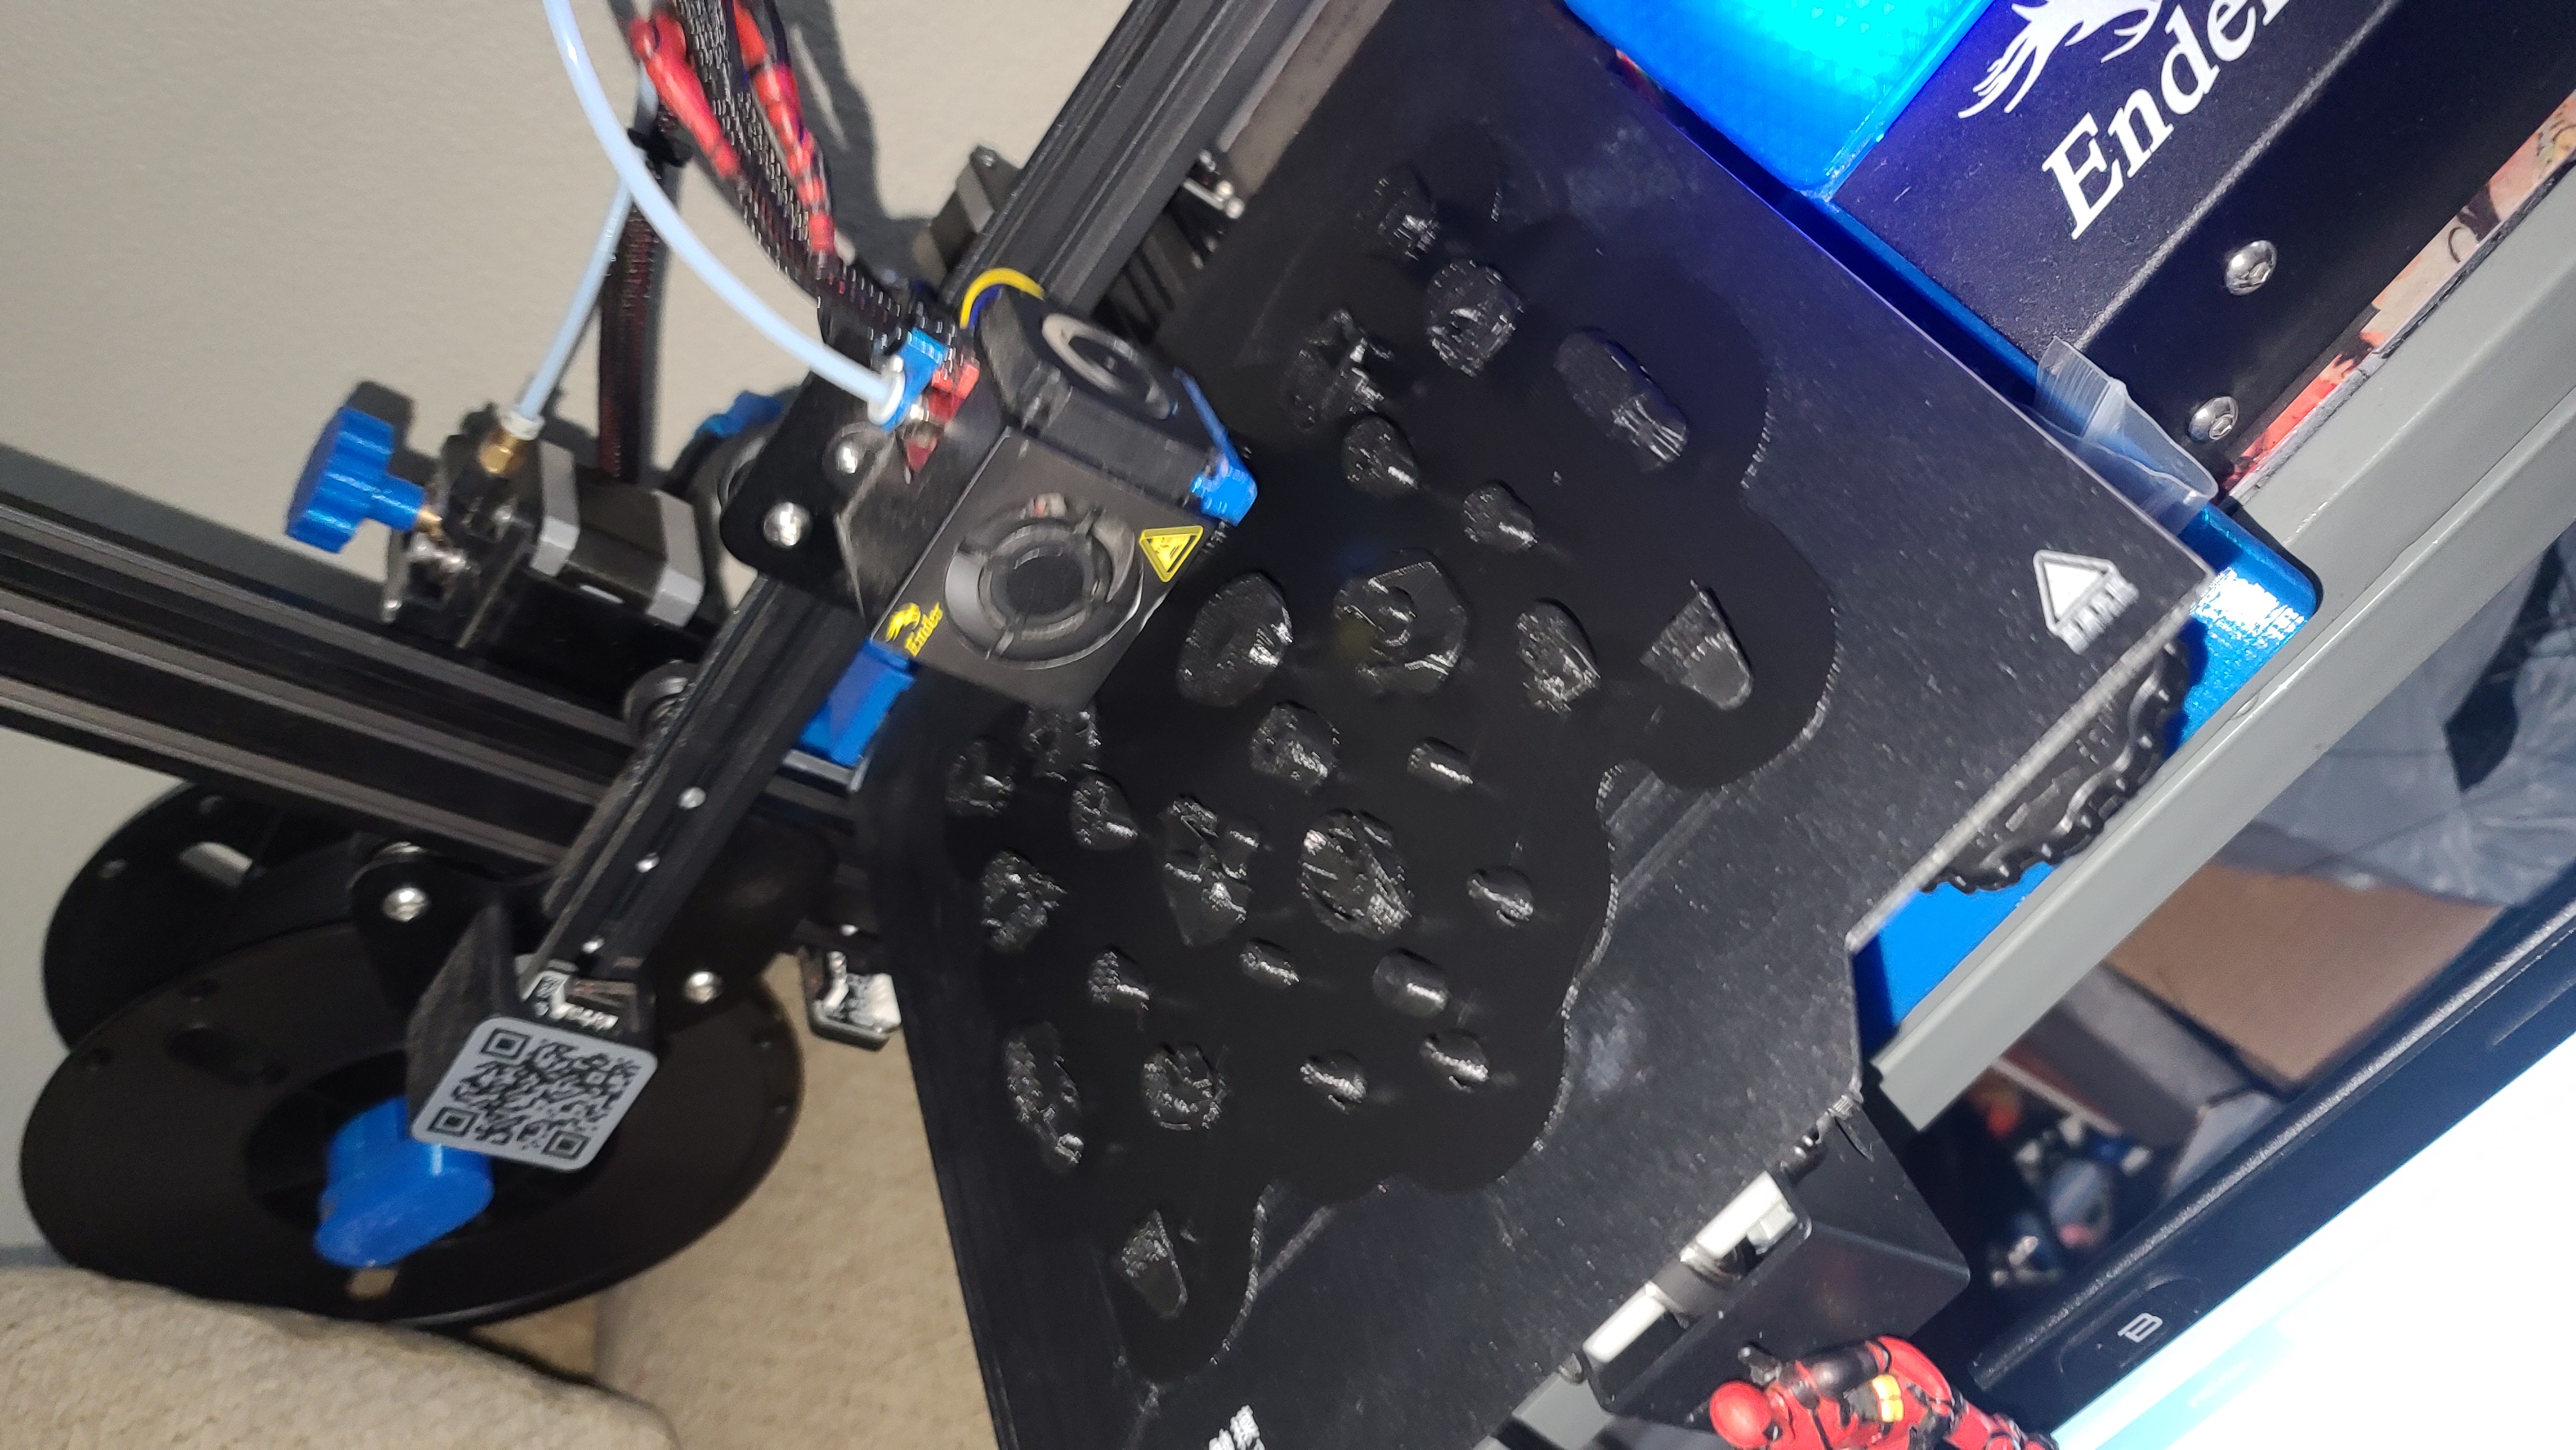
You'll see the body parts, files are named clearly. Arms and legs are just for one side, mirror them in your slicer to make the other side. Some parts are included split for MMU printing, you can choose to do that, or print the simple version.
2. Printing Recommendations
2.1 Scale. The figure stands at 18cm (7 inches) tall. You can scale up as you want, but do not scale down unless you use resin.
2.2 General tips:
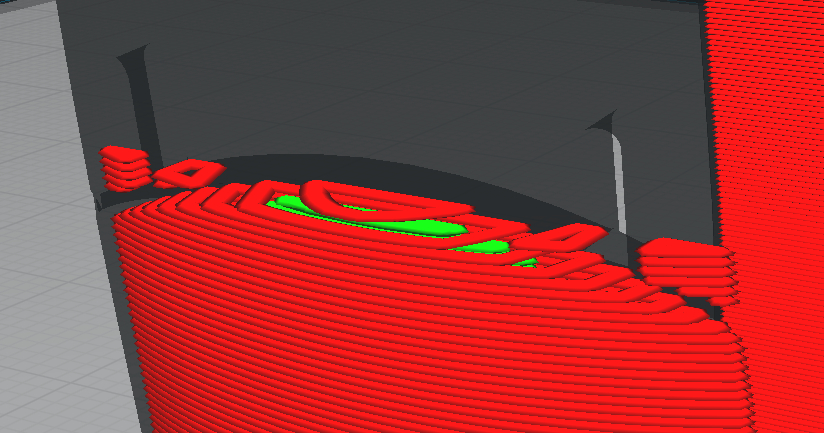
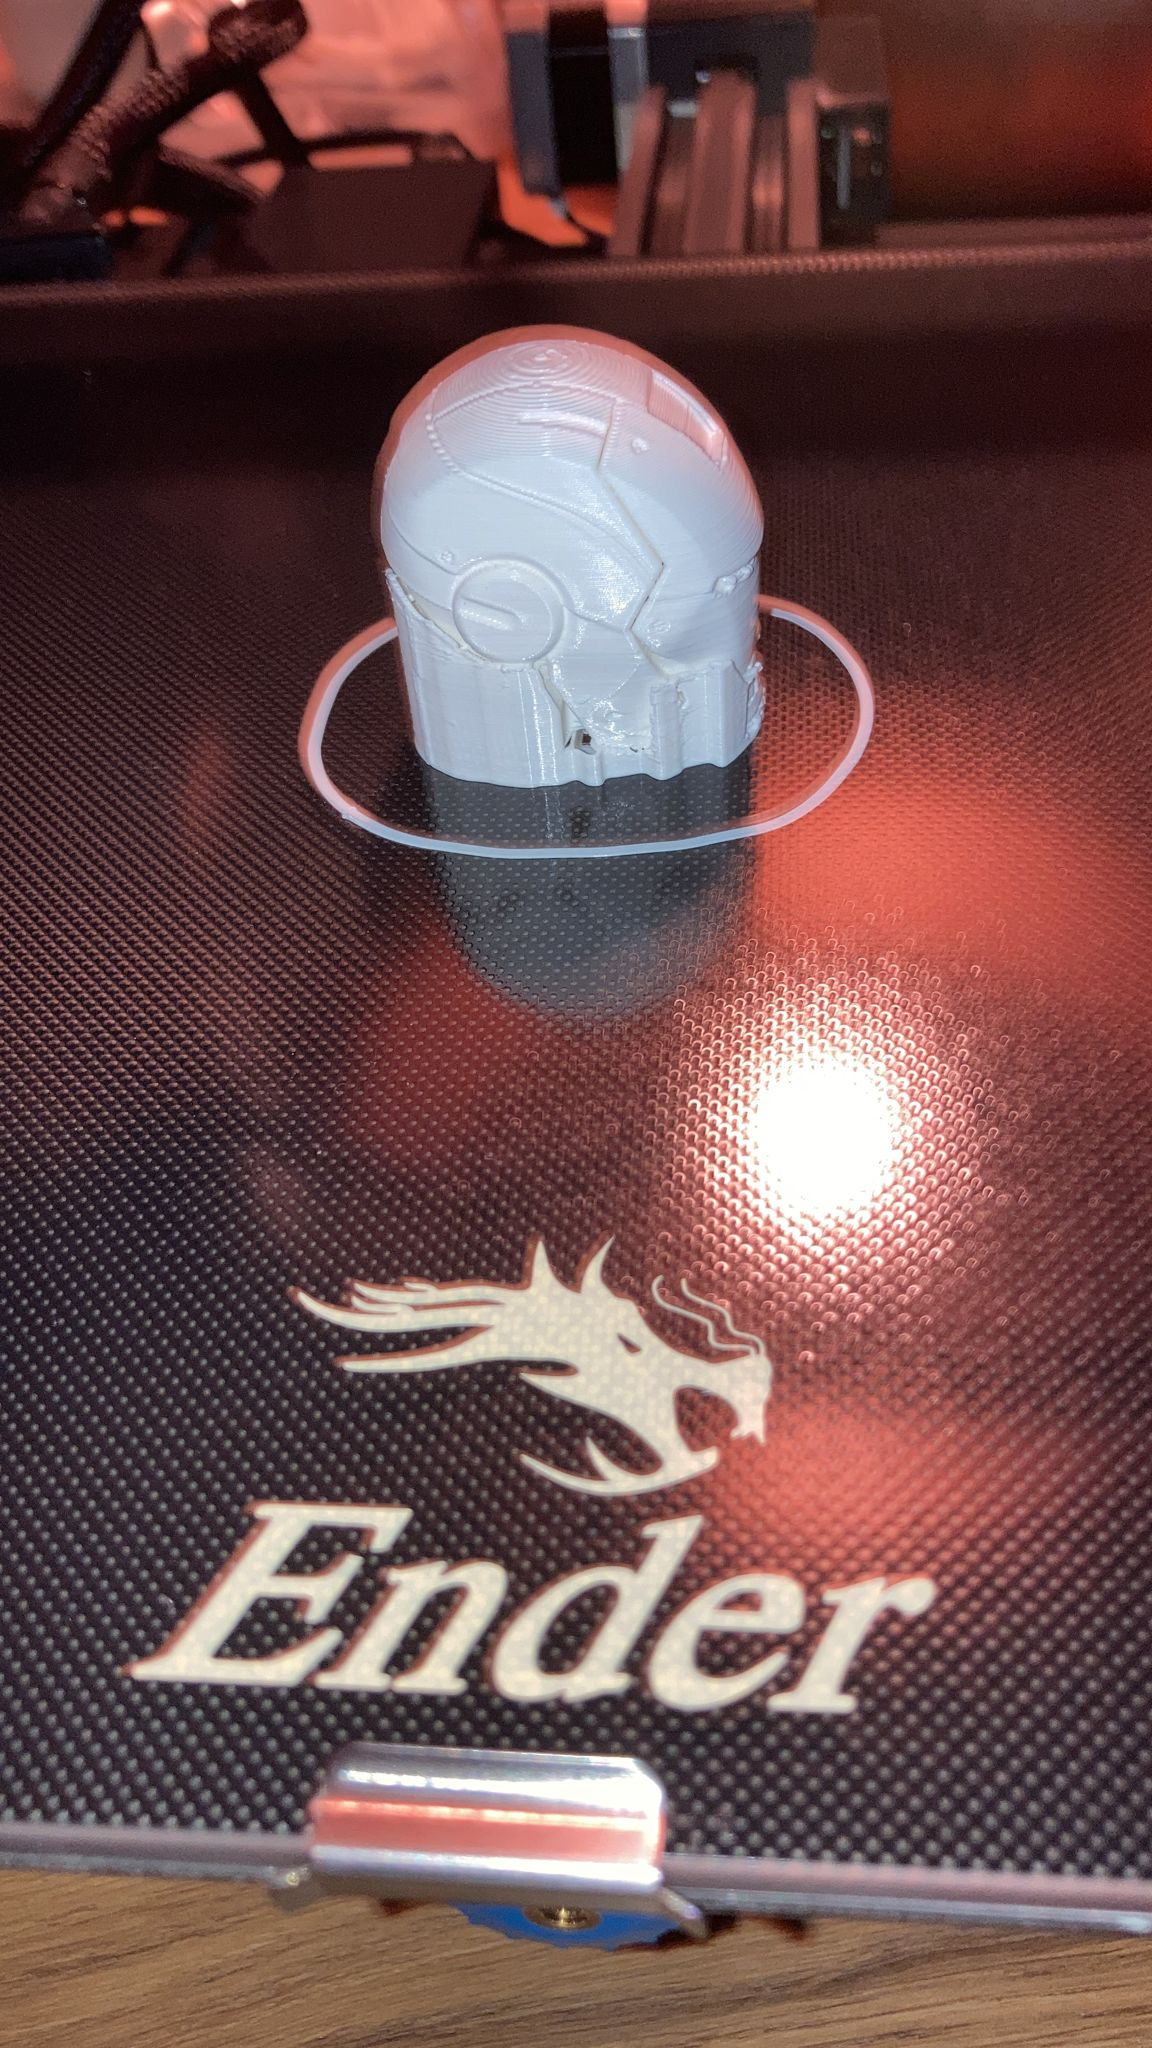
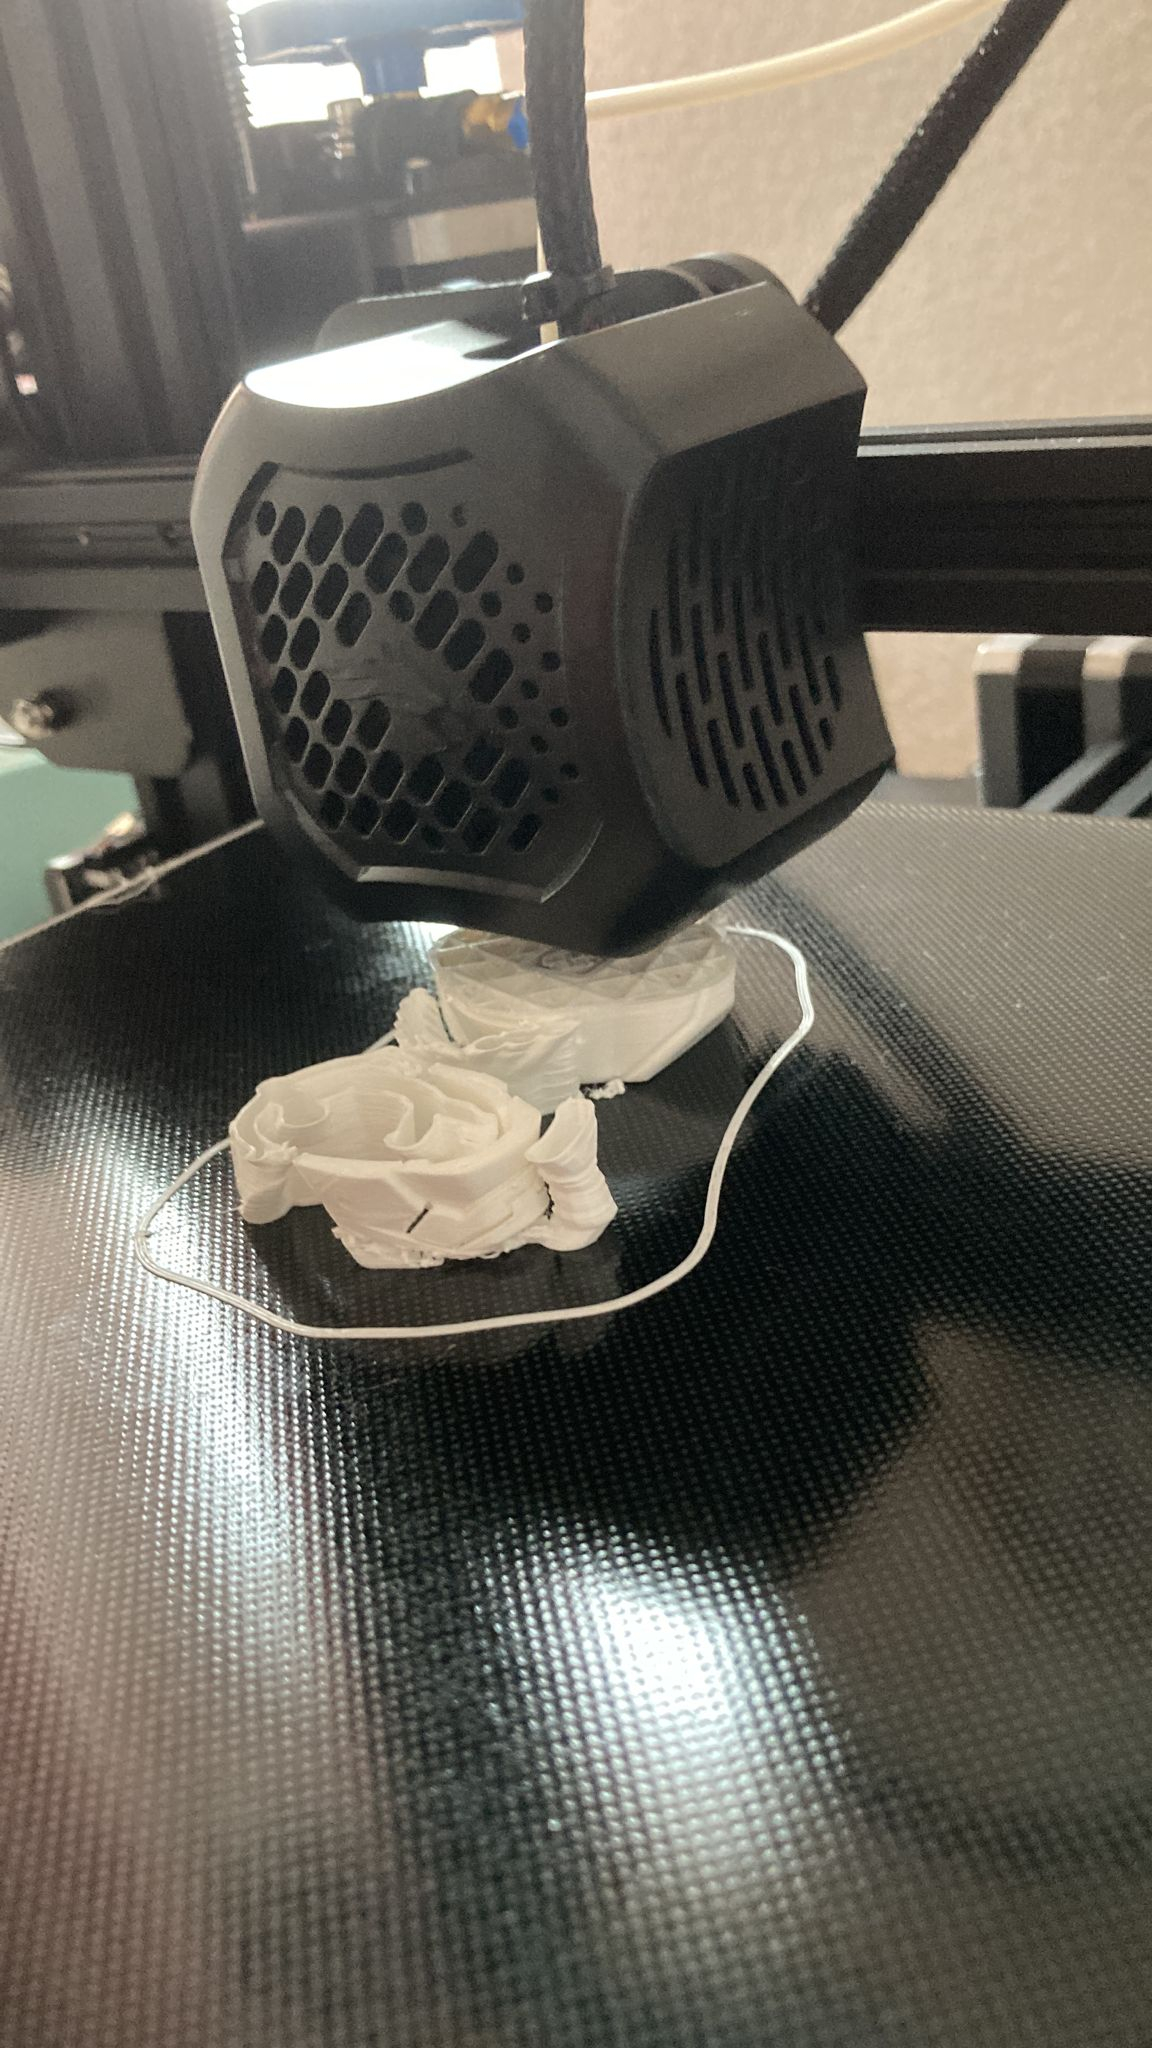
- Most parts need supports.
- Print orientation on bed is important, especially for strength of articulations, which tend to break along layer lines, so try to print perpendicular to them. For example, print sockets and ball joints horizontally so the layers run along it.
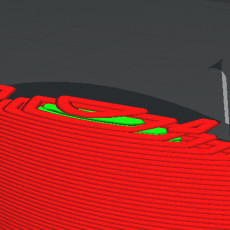
- Ideally print without brims, because they fuse the supports to the part in the first layer, difficulting supports removal. Excellent bed adhesion is required to print without brims.
- Slow speeds are recommended, like 50mm/s.
- Certain strength is needed, we recommend 3 perimeters and at least 15% infill. It might help to make the legs denser for stability.
- Print all at once or each part individually, up to you and your how reliable your settings are.
2.3 Orientation on print bed suggestions (supports on all, except if noted).
- Calf & Thigh straight up like a tower, upside down.
- Thigh socket horizontal. Mirror for left/right.
- Hip ball joints printed best in our test when split in halves, flat side on bed.
- Abdomen and Chest straight up.
- Chest sockets horizontal. You'll need 3, one for each shoulder and one for the abdomen. They are identical so no need to mirror.
3. Post-print recommendations
3.1 Cleanup. Remove supports, brims, & any imperfections that may cause interference between moving parts.
3.2 Tolerances. After thorough testing, we designed parts with 0 tolerance. This is because of the wild variations in printers, settings, filaments, etc. Adjust manually with a knife or sanding until fit is perfect. Avoid loose articulations, which make the figure like a rag doll. If this happens to you, you can reprint the part, use like a piece of paper between the parts to fill the gap and make it tight, or glue with elasticity like silicone or UHU.
3.3 Fractures. If a joint breaks, simply reprint that part or use glue. We designed sockets as separate parts for this reason.
3.4 Assembly. Easy & straight-forward, see attached images if you have doubts. Be kind but firm. Insert small parts to larger ones first, before doing larger ones to each other
| Date published | 29/05/2020 |


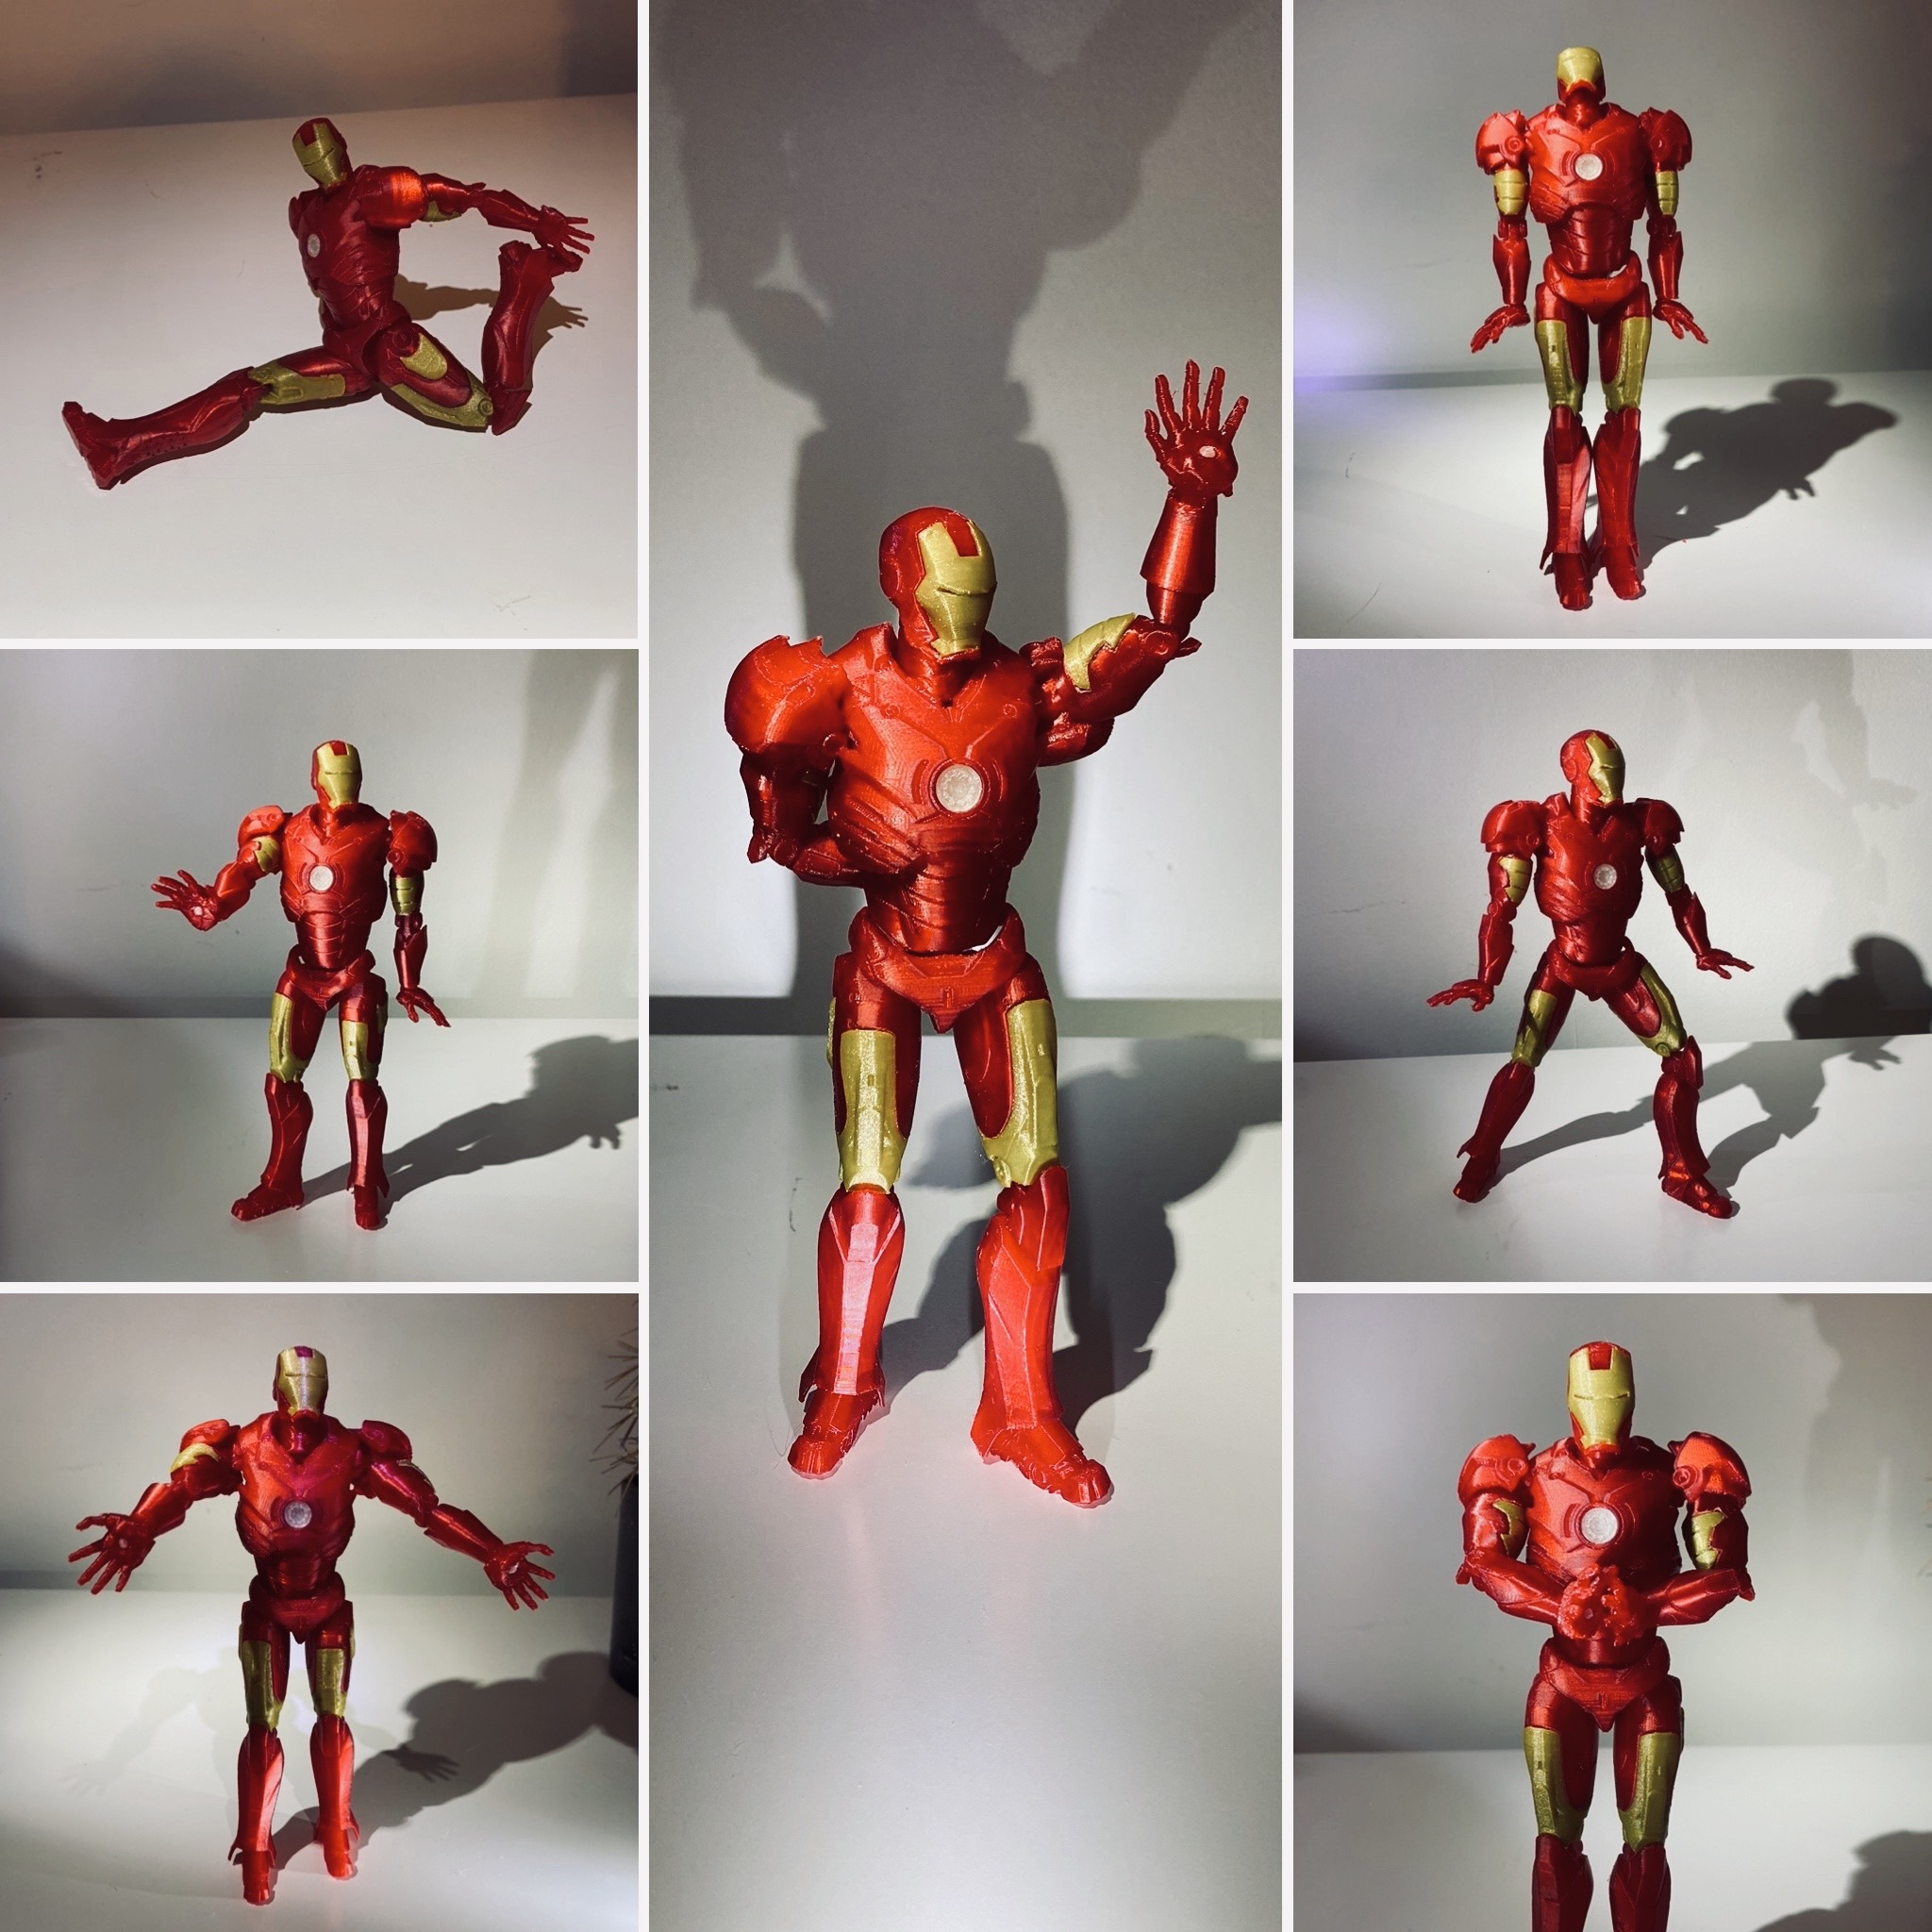


Awesome CAD work from start to finished for a genuine design made by Danny himself. Thanks for making this available to print. IG ~MAOiiCreations~